Schluter®-DITRA & DITRA-XL
Membrane de désolidarisation étanche

- Assure la désolidarisation, l’étanchéité, la gestion de la vapeur et la distribution de lourdes charges pour préserver la durabilité et l’intégrité des installations carrelées
- Facile et rapide à poser sur du béton, du contreplaqué, de l’OSB, du gypse, des planchers de vinyle existants, des planches structurelles, des sous-planchers et des systèmes de plancher chauffant radiant
- Remplacent avantageusement les panneaux de ciment ou de contreplaque
- Utilisez DITRA pour la pose de carrelage sur une couche unique de contreplaque ou d’OSB dans les constructions ou l’espacement entre les solives peut atteindre 19,2" c-c
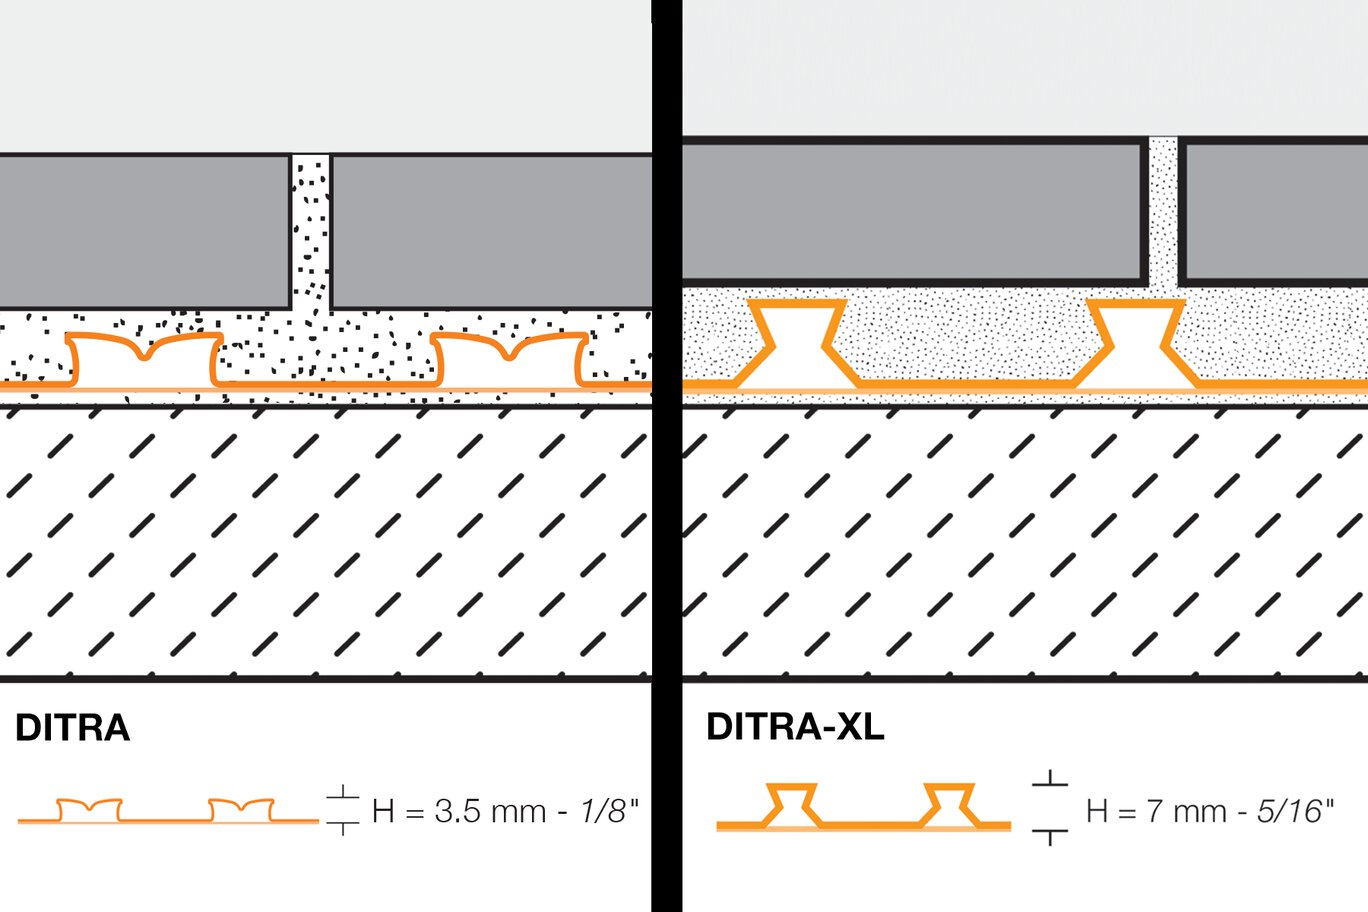
- DITRA n'a qu'une épaisseur de 1/8" (3.5 mm) pour permettre un assemblage aussi mince que possible, sans compromis au chapitre du rendement
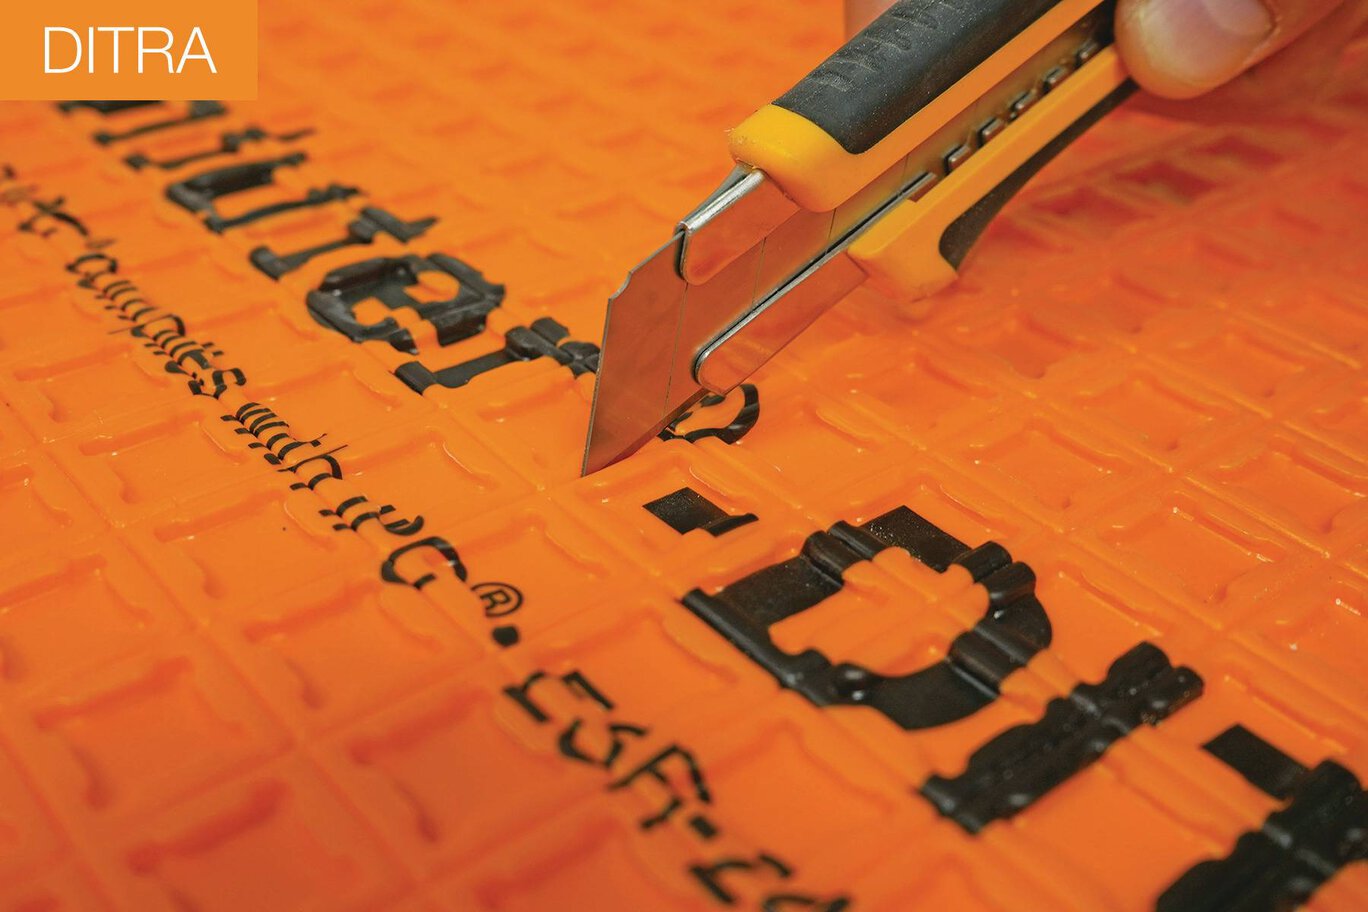
- DITRA comporte des sillons de coupe pour des coupes précises et des conduits d'évacuation d'air aux coins pour un remplissage plus rapide
- DITRA-XL permet l’installation de carreaux de ceramique sur une couche unique de contreplaque ou d’OSB dans les constructions ou l’espacement entre les solives peut atteindre 24" c-c
- DITRA-XL présente une épaisseur de 5/16” (7 mm) – crée des transitions égales entre le carrelage courant d’une épaisseur de 5/16” (7 mm) et le plancher de bois de 3/4” (19 mm)
- DITRA-XL est ideale pour les materiaux sujets a un plus grand mouvement, comme la pierre naturelle, les carreaux de grand format, etc.
- DITRA et DITRA-XL sont pour un usage intérieur uniquement, exposé ou non à l'humidité

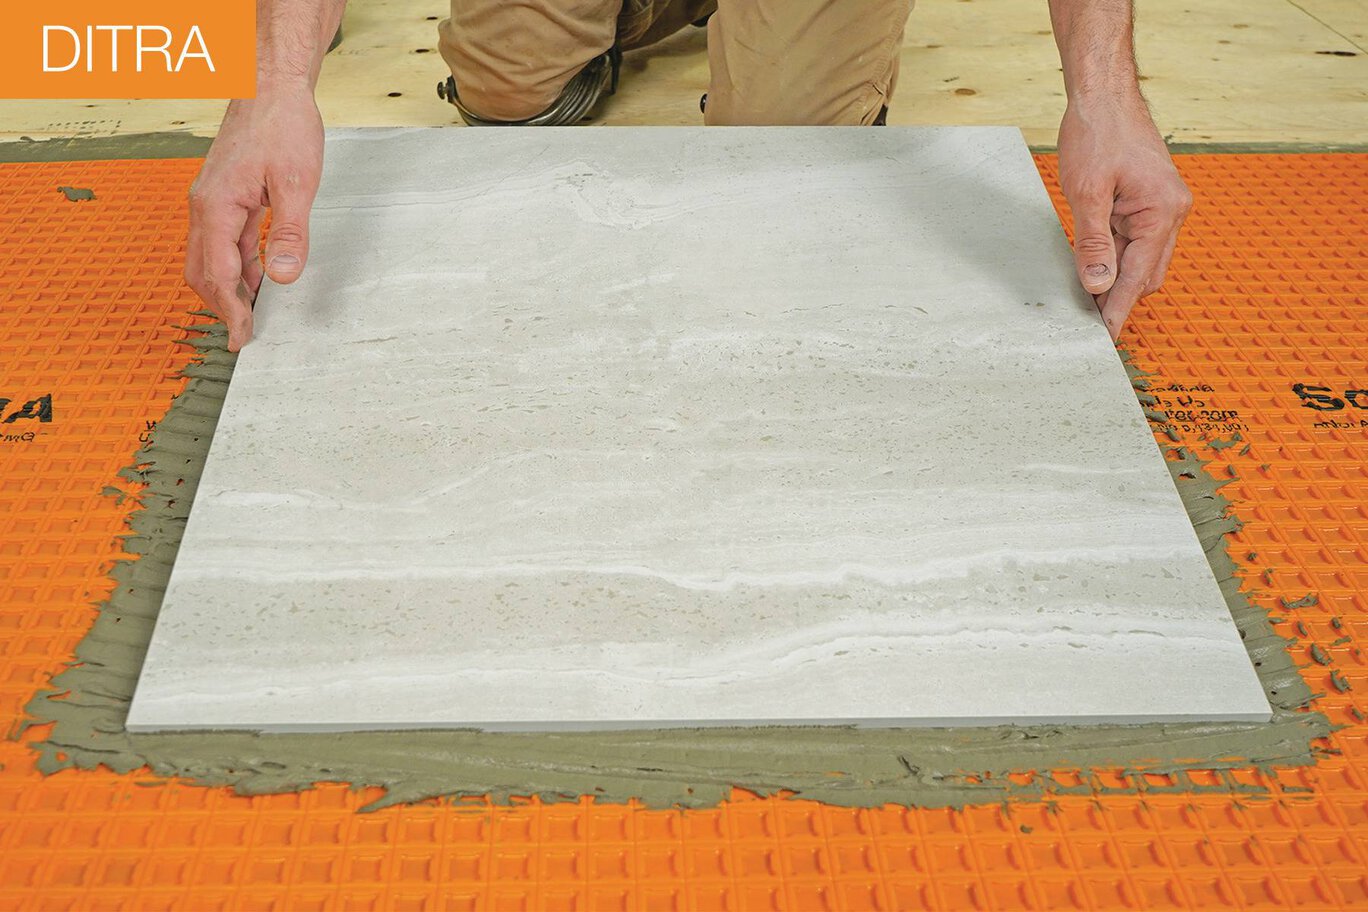
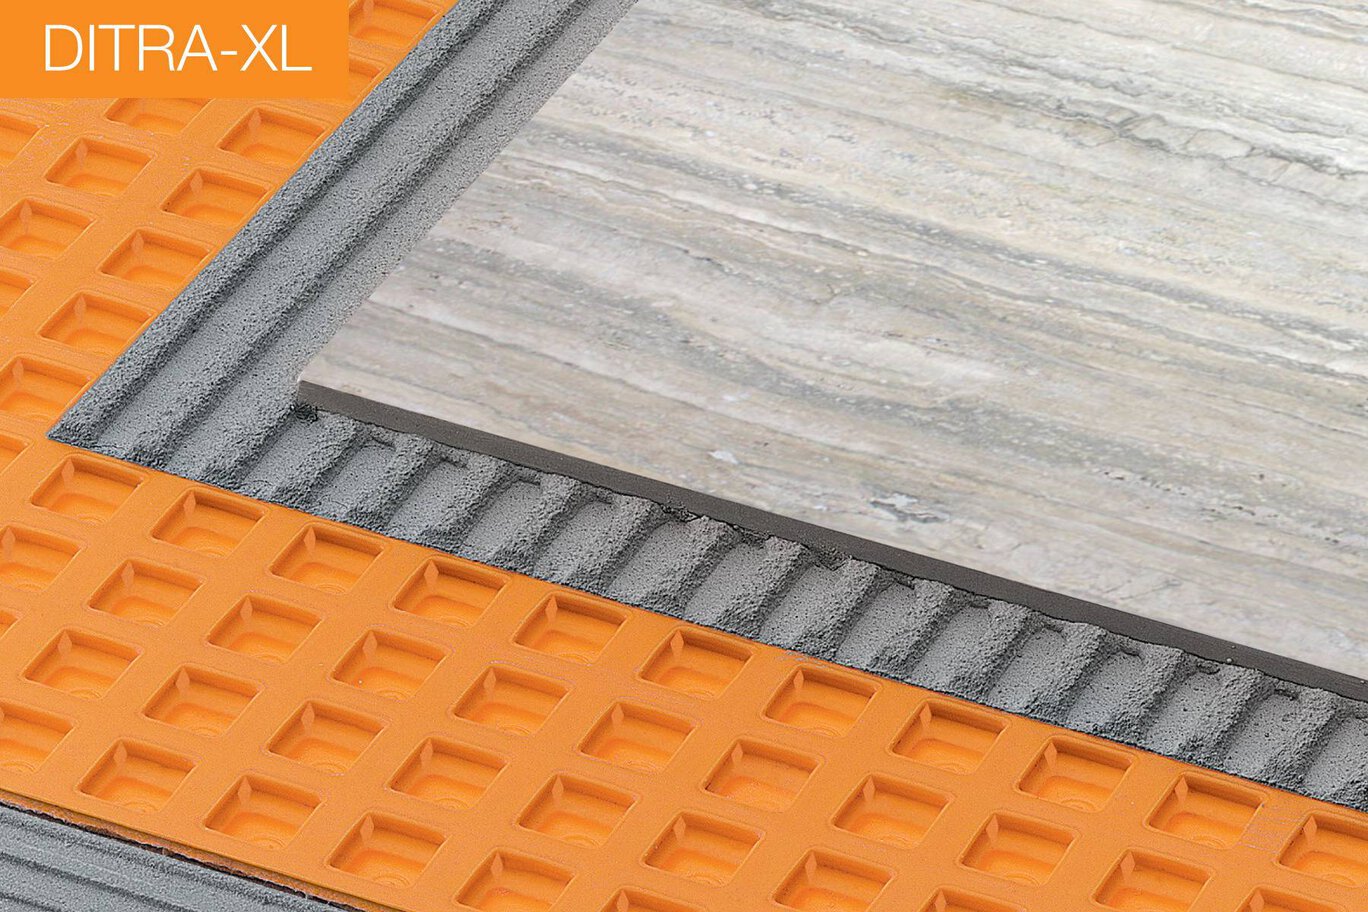
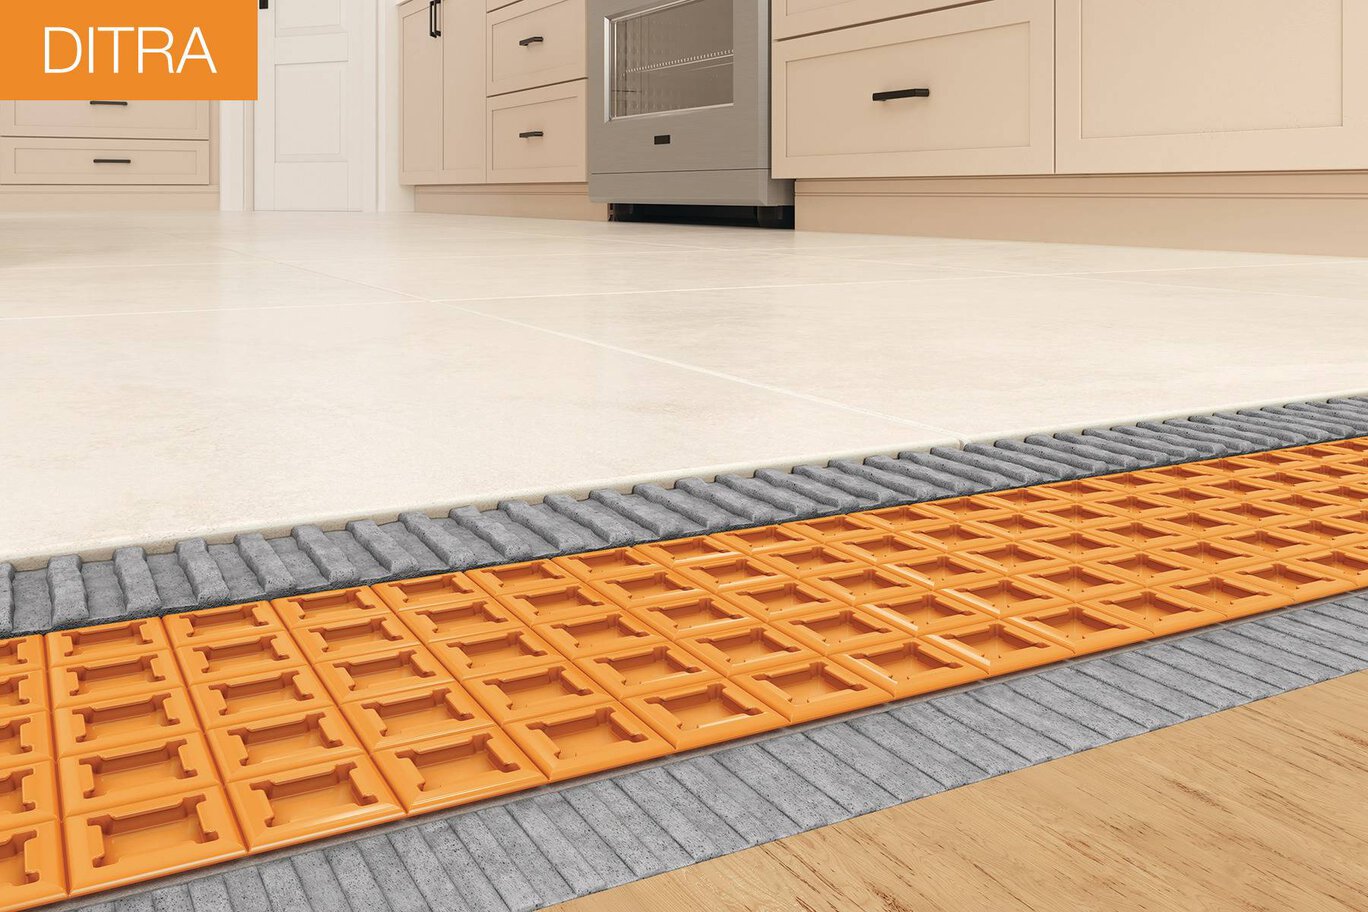
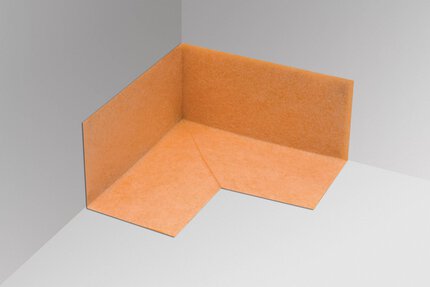
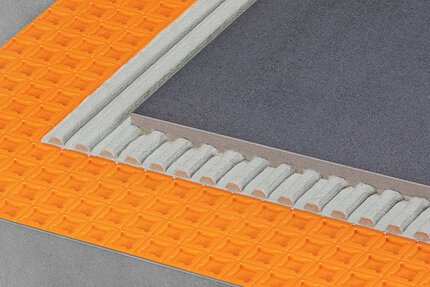
Trouvez ici les accessoires recommandés

Estimateur de membranes
Calculez tous les besoins en membranes pour votre projet.
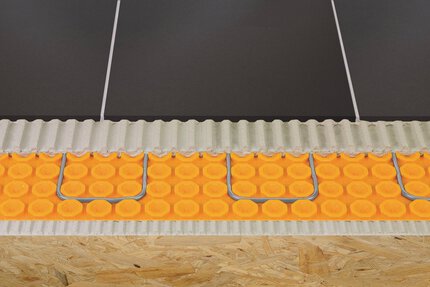
Schluter®-DITRA is a polyethylene membrane with a grid structure of square cavities, each cut back in a dovetail configuration, and an anchoring fleece laminated to the underside. The anchoring fleece is embedded in thin-set mortar to provide a mechanical bond to the substrate. Tile is installed over DITRA using the thin-bed method in such a way that the mortar becomes mechanically anchored in the square, cutback cavities of the matting. Designed specifically for ceramic tile and dimension stone installations, DITRA serves as an uncoupling layer, waterproofing membrane, and vapor management layer that accommodates moisture from beneath the tile covering. Further, DITRA performs all these functions while still providing adequate support/load distribution for the tile covering. The combination of these four essential functions allows for the successful installation of tile over a wide range of substrates, including plywood/ OSB, concrete, gypsum, heated floors, etc. DITRA is 1/8" (3.5 mm) thick, which minimizes tile assembly thickness and reduces transitions to lower surface coverings (e.g., carpet, engineered wood, and vinyl). DITRA allows for ceramic tile application over single-layer plywood or OSB subfloors on joists spaced up to 19.2" (488 mm) o.c.
Uncoupling
Tile has been successfully installed for thousands of years by incorporating an uncoupling layer, or forgiving shear interface, within the tile assembly. DITRA provides uncoupling through its open rib structure, which allows for in-plane movement that effectively neutralizes the differential movement stresses between the substrate and the tile, thus eliminating the major cause of cracking and delaminating of the tiled surface
Waterproofing
DITRA provides reliable waterproofing in interior applications. Its polyethylene composition protects the substrate from moisture penetration, which is particularly important in today’s building environment where most substrates are moisture-sensitive.
Vapor management
The distinguishing feature of DITRA is the existence of free space created by the configured channels on the underside of the matting. The free space provides a route for excess moisture and vapor to escape from the substrate that could otherwise cause damage to the tile layer above. Thus, DITRA effectively manages moisture beneath the tile covering.
Support/load distribution
When placed on a solid foundation, columns or pillars can support tremendous loads. The same physical principle applies to DITRA installations. Column-like mortar structures are formed in the cutback cavities of the matting. Loads are transferred from the tile covering through these column-like mortar structures to the substrate. Since the matting is virtually incompressible within the tile assembly, the advantages of uncoupling are achieved without sacrificing point load distribution capabilities. The ability of DITRA installations to support and distribute heavy loads while preserving the integrity of the tiled surface has been verified through extensive laboratory and field testing, including applications exposed to vehicular traffic.
Note: DITRA and DITRA-XL are for interior use only, dry or wet areas.
DITRA and DITRA-XL membranes do not require any special maintenance.
All substrates must be clean, even, and load bearing. Bond inhibiting surfaces must be removed prior to the application of DITRA. For complete installation guidelines and warranty criteria, please refer to the downloadable Schluter®-DITRA Installation Handbook or to the installation video online.
Note: Type, thickness, and format of the tile or stone surface covering must be suitable for the intended application. Minimum tile format is 2" x 2" (5 cm x 5 cm).
Applications with tile formats less than 2” x 2” (5 cm x 5 cm) require special considerations, please contact Schluter-Systems Technical Services Representatives at 800-472-4588 (USA) or 800-667-8746 (Canada) for more information regarding installation requirements and warranty eligibility.
1. Using a thin-set mortar that is suitable for the substrate, apply the thin-set mortar (mixed to a fairly fluid consistency, but still able to hold a notch).
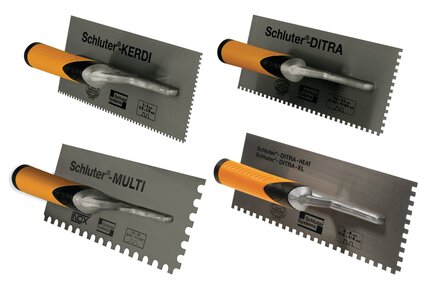
For DITRA use a 1/4" x 3/16" (6 mm x 5 mm) V-notched trowel, 5/16" x 5/16" (8 mm x 8 mm) V-notched trowel, or the DITRA trowel, which features a 11/64" x 11/64" (4.5 mm x 4.5 mm) square-notched design.
For DITRA-XL use a 1/4" x 1/4" (6 mm x 6 mm) square-notched trowel or the DITRA-XL trowel, which features a 1/4" x 1/4" (6 mm x 6 mm) square-notched design.
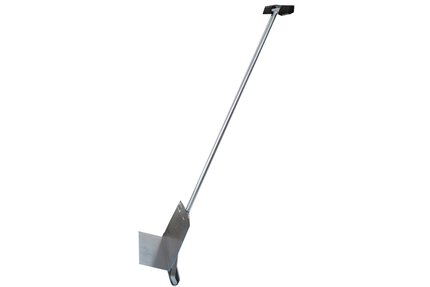
2. Apply DITRA or DITRA-XL to the floor, fleece side down. Solidly embed the matting into the mortar using a float, screed trowel, or DITRA-ROLLER*, making sure to observe the open time of the bonding mortar. If the mortar skins over prior to matting installation, remove and reapply.
*When using the DITRA-ROLLER, place a weight (e.g., bag(s) of mortar/grout or box of tile) not to exceed 75 lbs on the DITRA-ROLLER shelf. Slowly move the roller from one end of the matting to the other, slightly overlapping successive passes.
3. Lift up a corner of the matting to check coverage. Proper installation results in full contact between the fleece webbing and the thin-set mortar. Simply abut end and side sections of adjacent sheets. Note: Coverage may vary with mortar consistency, angle at which the trowel is held, substrate flatness, etc. If full coverage is not achieved, remove and reapply, making sure to verify proper mortar consistency and application.
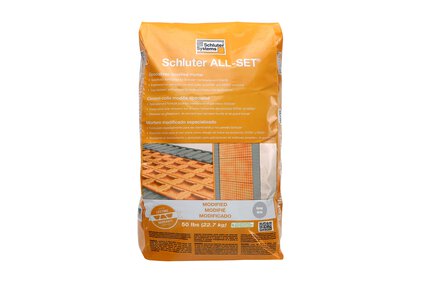
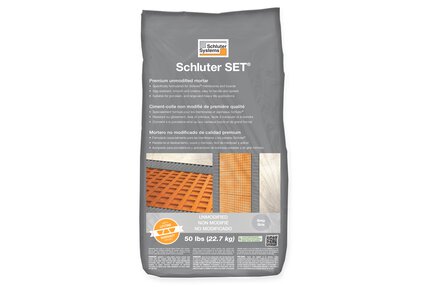
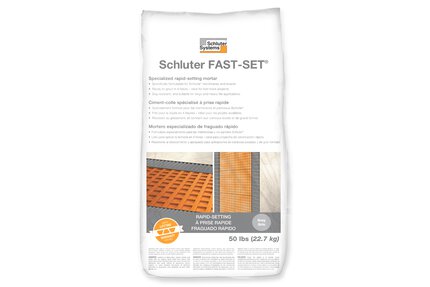
4. Tile can be installed over DITRA and DITRA-XL immediately; no need to wait for the mortar to cure. Fill the cut-back cavities with Schluter SET, Schluter ALL-SET, Schluter FAST-SET, or unmodified thin-set mortar and comb additional mortar over the matting using a trowel that is appropriate for the size of the tile. Solidly embed the tiles in the setting material. Periodically remove and check a tile to ensure that full coverage is being attained. Back-buttering is a useful way to help ensure proper coverage, particularly when installing large-format tiles (e.g., 12" x 12" (305 mm x 305 mm) and larger).
Note: To bond DITRA to the substrate, using the DITRA trowel: Use one 50 lb. (22.68 kg) bag of mortar per 150 ft2 (10.7 m2). To bond DITRA-XL to the substrate, using the DITRA-XL trowel: Use one 50 lb. (22.68 kg) bag of mortar per 100 ft2 (9.3 m2). To bond the tile to the DITRA, using a 1/4" x 3/8" (6 mm x 10 mm) square- or U-notched trowel: Use one 50 lb (22.68 kg) bag of mortar per 40 - 50 ft2 (3.7 - 4.6 m2). To bond the tile to the DITRA-XL, using a 1/4" x 3/8" (6 mm x 10 mm) square- or U-notched trowel: Use one 50 lb (22.68 kg) bag of mortar per 35 - 45 ft2 (3.3 - 4.2 m2).
Waterproofing
The following steps are required for waterproofing only:
1. At the joints, fill the cut-back cavities with Schluter SET, Schluter ALL-SET, Schluter FAST-SET, or unmodified thin-set mortar, approximately 8" (203 mm) wide, centered over the joint.
2. Comb additional Schluter SET, Schluter ALL-SET, Schluter FAST-SET, or unmodified thin-set mortar over the joint using a 1/4" x 3/16" (6 mm x 5 mm) V-notched trowel or the Schluter®-KERDI trowel, which features a 1/8" x 1/8" (3 mm x 3 mm) square-notched design.
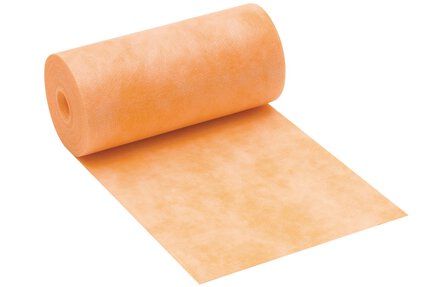
3. Using the flat side of the trowel, firmly press the 5" (127 mm)-wide Schluter®-KERDI-BAND into the mortar to ensure 100% coverage and to remove excess mortar and air pockets.
4. At all wall junctions, apply KERDI-BAND as described in steps 1-3, ensuring a minimum of 2" overlap on to DITRA/DITRA-XL.
Notes: KERDI-BAND must overlap DITRA and DITRA-XL at seams and at floor/wall transitions by a minimum of 2" (50 mm) in order to maintain waterproof integrity. In some applications the vertical section of the floor/wall transition will not accept a bond to Schluter SET, Schluter ALL-SET, Schluter FAST-SET, or unmodified thin-set mortar. Connections to such elements can be achieved using Schluter®-KERDI-FIX or suitable trowel-applied waterproofing materials, such as those that require atmospheric moisture to cure (e.g., urethane sealant).
For complete installation guidelines and warranty criteria please refer to the downloadable Schluter®-DITRA Installation Handbook and view the step-by-step installation videos available below.
Articles
FAQ
Can Schluter®-DITRA be used as a sound control membrane?
DITRA is not intended to be barrier sound control system. DITRA does, however, provide a degree of sound attenuation similar...
Voir plusCan Schluter®-DITRA and Schluter®-DITRA-XL be installed over vinyl flooring?
Yes, Schluter®-DITRA or DITRA-XL can be installed over vinyl. Some limitations include the following: 1- Cushioned vinyl is...
Voir plusCan mosaic tile be used with Schluter®-DITRA or Schluter®-DITRA-XL?
The minimum required tile format for use with DITRA is 2" x 2" (50 mm x 50 mm). Please call Schluter®-Systems...
Voir plusIs it required to waterproof Schluter®-DITRA and Schluter®-DITRA-XL?
Waterproofing the floor is not required, but can be beneficial in some cases. Today’s construction methods, which include the use of lightweight...
Voir plusCan Schluter®-DITRA or Schluter®-DITRA-XL be installed over hardwood flooring?
We don't recommend or warranty DITRA or DITRA-XL installation over existing hardwood flooring as it is very unstable and difficult to bond...
Voir plusCan I use self-leveling compounds over Schluter®-DITRA or Schluter®-DITRA-XL?
DITRA and DITRA-XL were designed and tested for thin-bed ceramic tile and natural stone applications...
Voir plusIf I use a self-leveler on my plywood subfloor, which type of thin-set mortar do I used to install Schluter®-DITRA or DITRA-XL?
We recommend Schluter SET™ , ALL-SET™ , FAST-SET™, or unmodified thin-set mortar on a floor that has been leveled with a self-leveling product.
Voir plusHow much thin-set mortar will be used with Schluter®-DITRA or Schluter®-DITRA-XL?
The estimated thin-set mortar coverage for each membrane is shown below. Coverage may vary with mortar consistency, angle...
Voir plusWhat size notched trowel should I use to install Schluter-DITRA and Schluter®-DITRA-XL?
What is the proper thin-set mortar consistency for installing Schluter-DITRA and Schluter®-DITRA-XL?
Using a thin-set mortar that is suitable for the substrate, apply the thin-set mortar (mixed to a fairly fluid consistency, but still able to hold a notch)...
Voir plusHow long do I have to wait before I can install tile on the Schluter®-DITRA membrane?
Once DITRA has been installed on the substrate, tile can be installed right away. No need to wait for the mortar to cure...
Voir plusWhat type of thin-set mortar should I use when setting tile over Schluter®-DITRA and Schluter®-DITRA-XL?
Schluter-Systems requires the use of Schluter SET™ , ALL-SET™ , FAST-SET™, or an unmodified thin-set mortar meeting the requirements of ANSI A118.1 to install ...
Voir plusWhy should I use Schluter®-DITRA in my tile installation?
Ceramic and stone tiles are durable, easy to maintain, and hygienic, representing the ideal surface coverings...
Voir plusI’m planning to install my tile using Schluter®-DITRA. Where do I begin?
The first thing to do is plan out the installation according to the Schluter-DITRA Installation Handbook...
Voir plusWhat type of thin-set mortar should I use when installing Schluter-DITRA?
The type of thin-set mortar used to install DITRA depends on the substrate material. For example, to set DITRA over plywood...
Voir plusCan I use a premixed thin-set mortar to install Schluter-DITRA and tile?
No. Schluter-Systems does not recommend the use of premixed thin-set mortars (mastics/adhesives) in any DITRA installation.
Voir plusHow do I know if the thin-set mortar is modified or unmodified?
In general, unmodified thin-set mortar is a blend of Portland cement, sand, and water retention agents that is mixed with...
Voir plusDo I need to provide movement joints when I use Schluter-DITRA in my tile installation?
Yes. DITRA does not eliminate the need for movement joints. Movement joints are essential in any tile installation to prevent...
Voir plusCan I install glass tile over Schluter®-DITRA?
I tried to snap chalk lines on Schluter-DITRA before setting my tile, but the chalk rubs off the plastic easily while I am working. What can I do?
One option is to apply hair spray over the chalk lines. You don’t have to worry about the hair spray acting as a bond breaker because...
Voir plusI need to remove and reinstall a tile on Schluter-DITRA. How can I do this safely?
If you are in the process of setting the tile and the thin-set mortar is still fresh, simply run your margin trowel under the surface...
Voir plusWhat is the difference between Schluter®-DITRA and Schluter®-DITRA-XL?
Schluter uncoupling membranes provide the four essential functions for successful tile installation over a wide range of substrates...
Voir plusCan I install electric floor warming systems on top of Schluter®-DITRA and Schluter®-DITRA-XL?
Schluter®-Systems does not recommend the installation of floor warming systems over DITRA or DITRA-XL...
Voir plusHow do I receive a lifetime warranty?
Can I install a tile format smaller than 2”x2” over an uncoupling membrane?
Applications with tile formats less than 2” x 2” (50 mm x 50 mm) require special considerations, please...
Voir plusDessins CAO
Specify our products using the

Schluter®-DITRA Evaluations and Listings
Schluter®-DITRA was evaluated by ICC-ES - ESR-2467 Schluter®-DITRA is listed by cUPC® Schluter®-DITRA is listed by ICC-ES - PMG-1204Schluter®-DITRA-XL Evaluations and Listings
Schluter®-DITRA-XL was evaluated by ICC-ES - ESR-2467 Schluter®-DITRA-XL is listed by cUPC® Schluter®-DITRA-XL is listed by ICC-ES - PMG-1204
Regarder et apprendre
À propos du produit

How to install the Schluter®-DITRA Uncoupling and Waterproofing Membrane

Schluter®-DITRA: Four Essential Functions

Schluter®-DITRA The original. Now even better

Installation Tips for Schluter®-DITRA
Trouvez des didacticiels existants et des vidéos de documentation de projet pour apprendre comment tirer le meilleur parti de nos produits - pour plus de plaisir dans votre vie, commencez maintenant!
Regardez plus de vidéos / listes de lecture