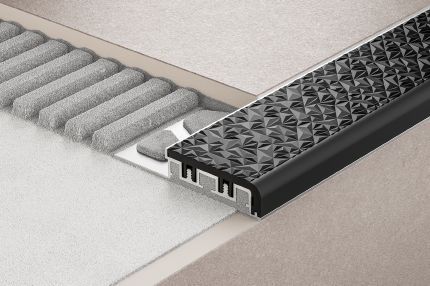
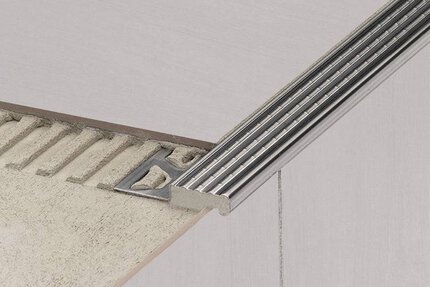
Schluter®-TREP-SE-S-B
Profilé pour nez de marche à surface antidérapante de caoutchouc thermopl.

- Prévient l’effritement des rebords des carreaux d’escaliers
- Comporte une surface d’usure antidérapante
- Est muni d’une ailette d’ancrage perforée de trous en forme de trapèze en acier inoxydable (-SE) ou en aluminium (-S et -B), avec surface d’usure antidérapante en caoutchouc thermoplastique
- Idéal pour les bureaux, les centres commerciaux et d’autres lieux publics
- Présente une surface antidérapante de couleur qu’on peut remplacer en cas de dommage ou d’usure (diverses couleurs offertes)
- Conçu pour les zones exposées à une circulation piétonnière importante
- Capuchons d’extrémité offerts
- Offert en acier inoxydable (-SE) ou en aluminium (-S et -B)

Find recommended accessories here

Estimateur de profilés
Découvrez ce dont vous avez besoin pour protéger les carreaux et faciliter les transitions.
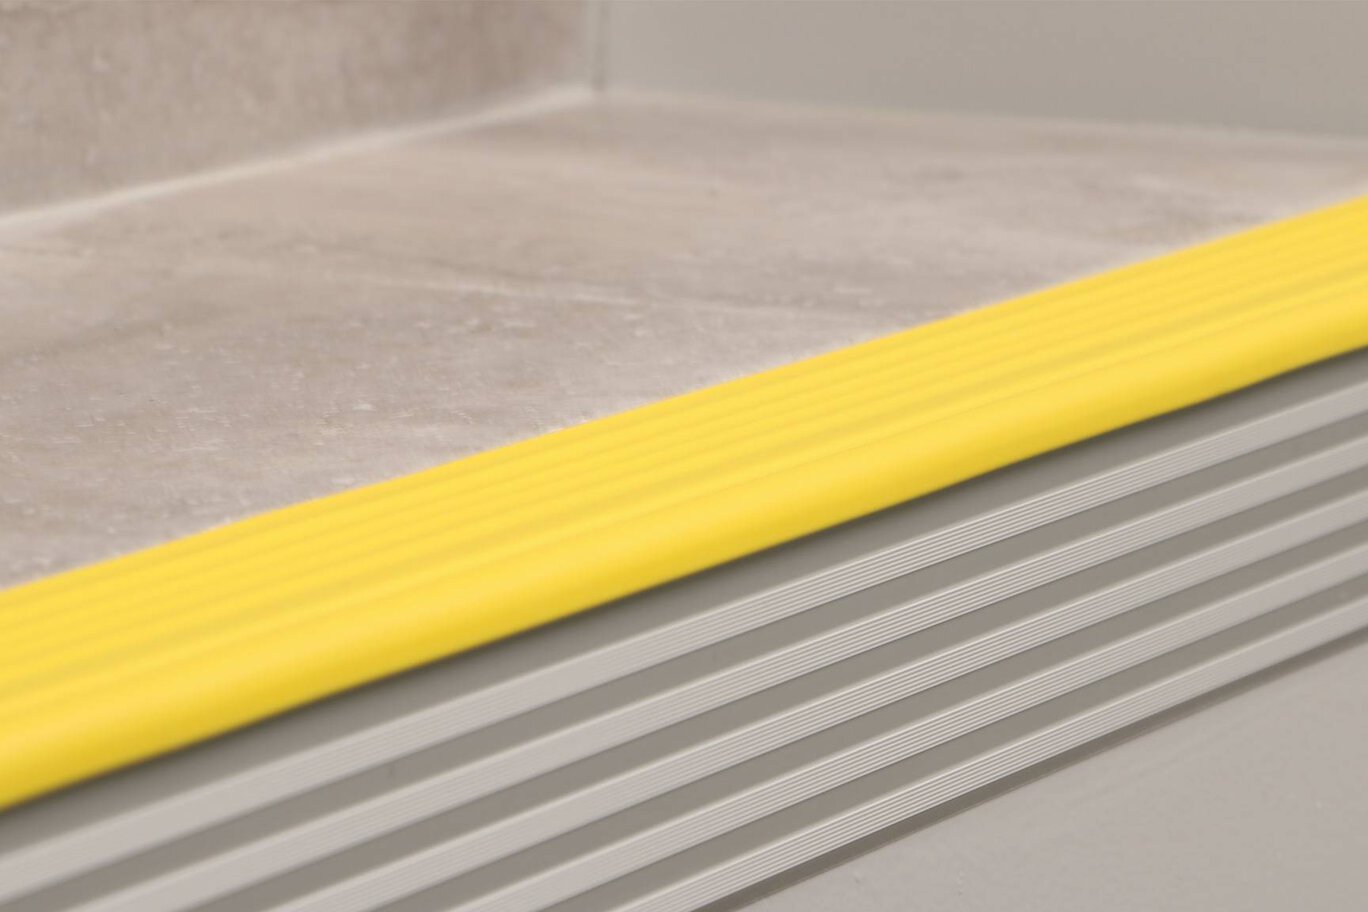
Schluter®-TREP-SE, Schluter®-TREP-S and Schluter®-TREP-B are designed to protect tiled stair edges and provide an easily visible, slipresistant wear surface for durable, safe, and visually appealing stair-nosing design. They are suitable for use in areas subjected to heavy foot-traffic, such as offices or public buildings.
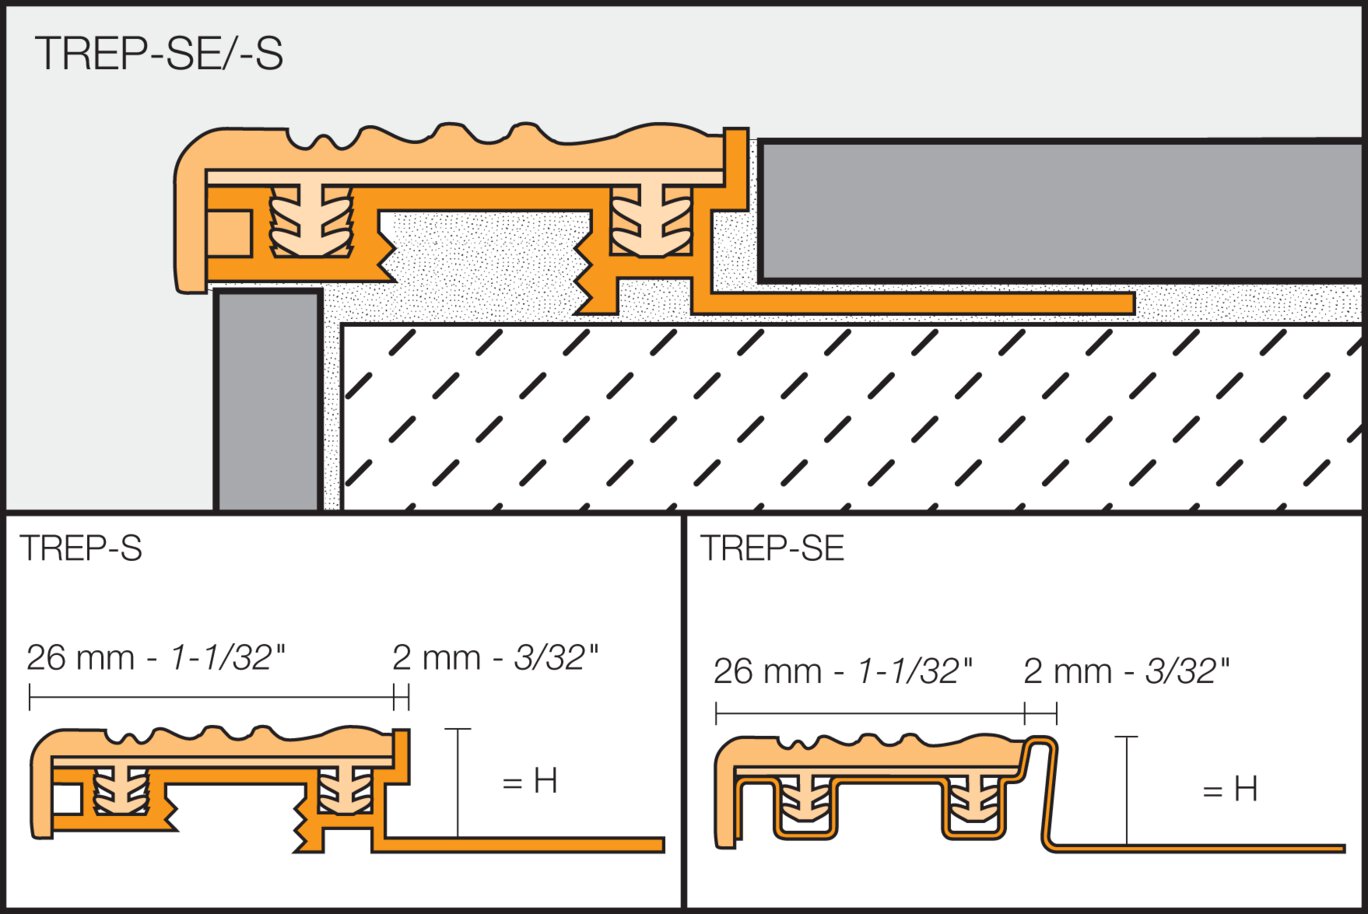
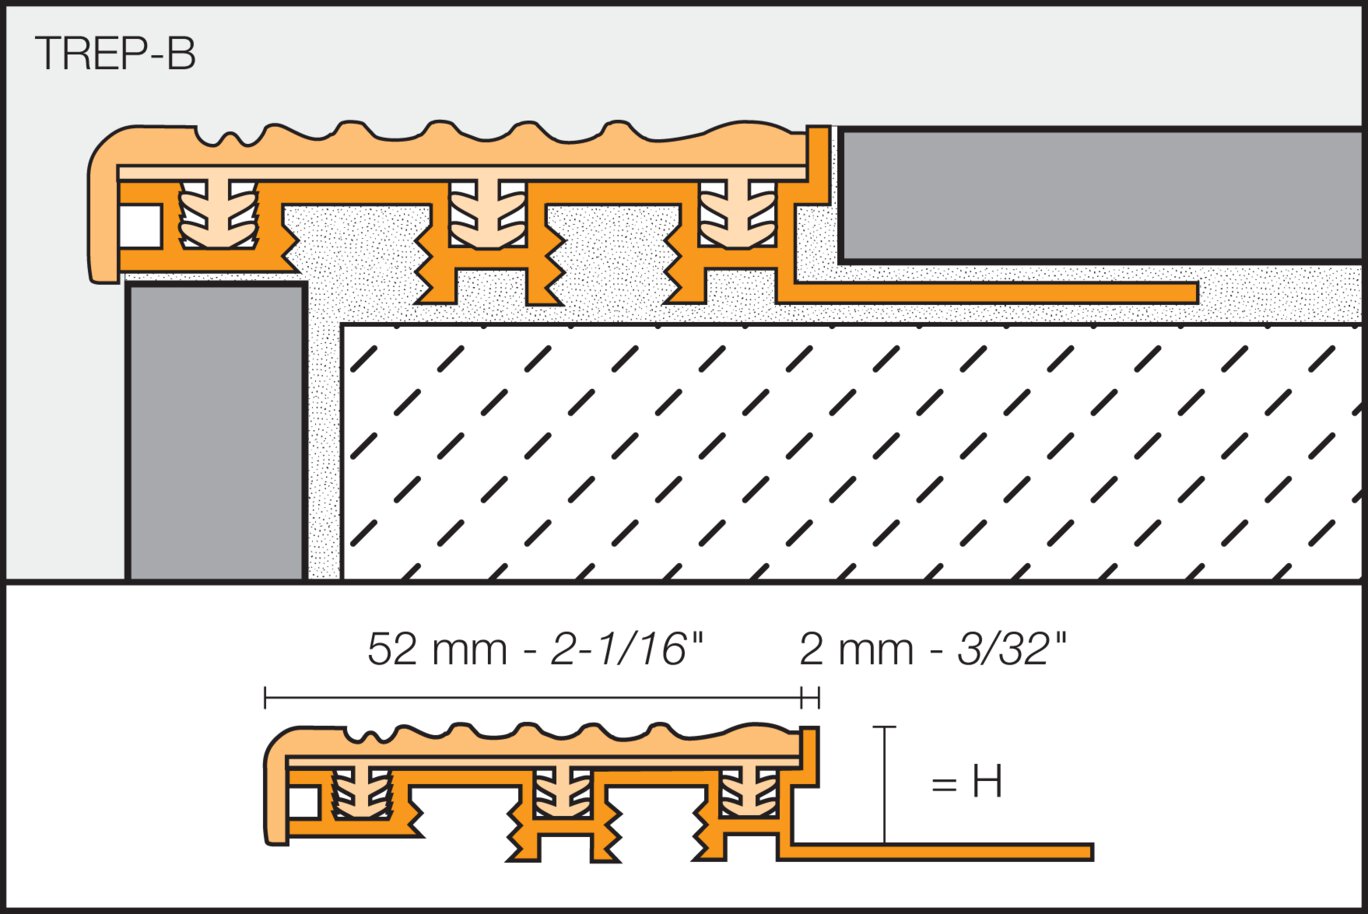
The profiles feature a trapezoid-perforated anchoring leg made of stainless steel (TREP-SE) or aluminum (TREP-S and TREP-B), which is secured in the mortar bond coat beneath the tile and supports a slip-resistant thermoplastic rubber wear surface. The tread surface of TREP-SE/-S/-B is available in a variety of colors and can be replaced in case of damage or wear.
TREP-B features a 2-1/8" (52 mm)-wide wear surface, allowing the designer to easily produce stairs with the first and last steps marked by a 2" (50 mm)- wide strip in a contrasting color to increase visibility and safety.
The leading edges of TREP-S, TREP-SE and TREP-B have a 5/16" (8 mm) radius. Matching end caps are available.
The Schluter®-TREP-SE and Schluter® TREP-S and Schluter® TREP-B stair nosing profiles require no special maintenance or care and is resistant to mold and fungi. Clean profiles periodically using neutral cleaning agents. The treads of TREP-SE, TREP-S. and TREP-B can be replaced in case of damage or wear.
The treads of TREP-SE, TREP-S, and TREP-B can be replaced in case of damage or wear.
1. Select profile according to the tile thickness and format.
2. Install riser tile flush with the stair tread surface.
3. Using a notched trowel, apply thin-set mortar along edge area above riser.
4. Fill the cavity on the underside of the profile with thin-set mortar.
5. Press the trapezoid-perforated anchoring leg of the profile into the thin-set mortar, making sure the front edge of the support section is aligned flush with the riser tile. Full coverage must be obtained at the edge area to ensure support of the tile.
6. Étendez encore du ciment-colle par-dessus l’ailette d’ancrage et le dessus de la marche pour assurer une couverture et un support complets des rebords de carreaux.
7. Enfoncez solidement les carreaux de façon à ce que la surface des carreaux arrive à l'égalité du dessus du profilé.
8. Laissez un joint d’à peu près 1/16" à 1/8" (1.5 à 3 mm) entre les carreaux et le profilé.
9. Remplissez complètement le joint de coulis ou de mortier.
FAQ
Comment couper les profilés?
Les profilés Schluter™ sont offerts dans une variété de matériaux, c’est pourquoi la technique de coupe varie. Voici les meilleures façons de procéder selon...
Read moreCAD drawings

Watch & Learn
About the product

Comment installer un profilé pour nez de marches d'escalier : Schluter®-TREP S/SE/B/TP

Introduction aux profilés de Schluter®

Astuces pour choisir la bonne taille de profilé pour votre carrelage.

Comment couper les profilés Schluter®-Systems
Find some existing tutorials and project documentation videos to learn how-to get the best out of our products - for more fun in your life, start now!
Watch more videos / playlists