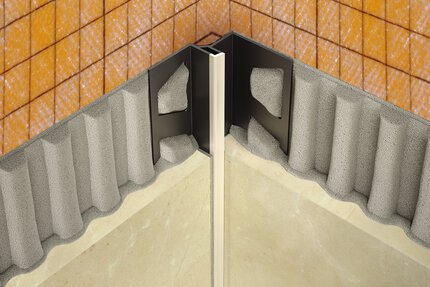
Schluter®-DILEX-KSA
Profilé pour joint de périmètre muni de ruban autoadhésif

- Conçu pour permettre les mouvements et réduire les contraintes mécaniques dans de grandes aires carrelées
- Évite d’avoir à utiliser du calfeutrant
- Prévient le craquelage et le décollage des carreaux
- Idéal pour des cadres de porte et de fenêtre
- Doté d’un ruban autoadhésif qui sert à le coller aux éléments fixes
- Offert en acier inoxydable 316 L (1.4404 = V4A); communiquez avec le Service à la clientèle pour connaître les prix et la disponibilité

Find recommended accessories here

Estimateur de profilés
Découvrez ce dont vous avez besoin pour protéger les carreaux et faciliter les transitions.
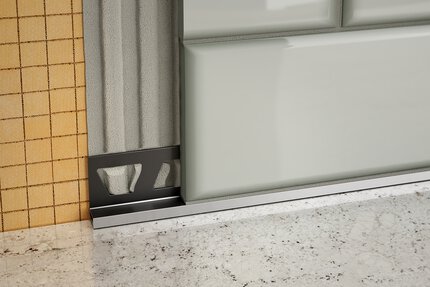
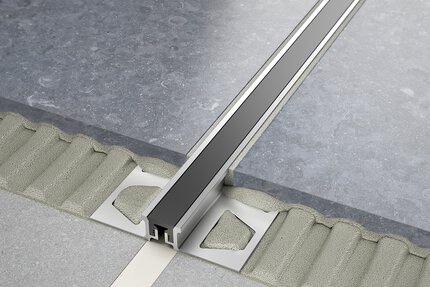
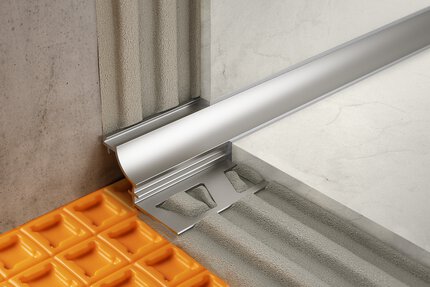
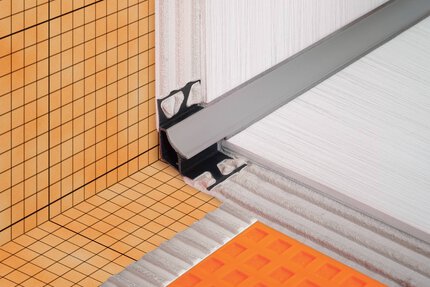
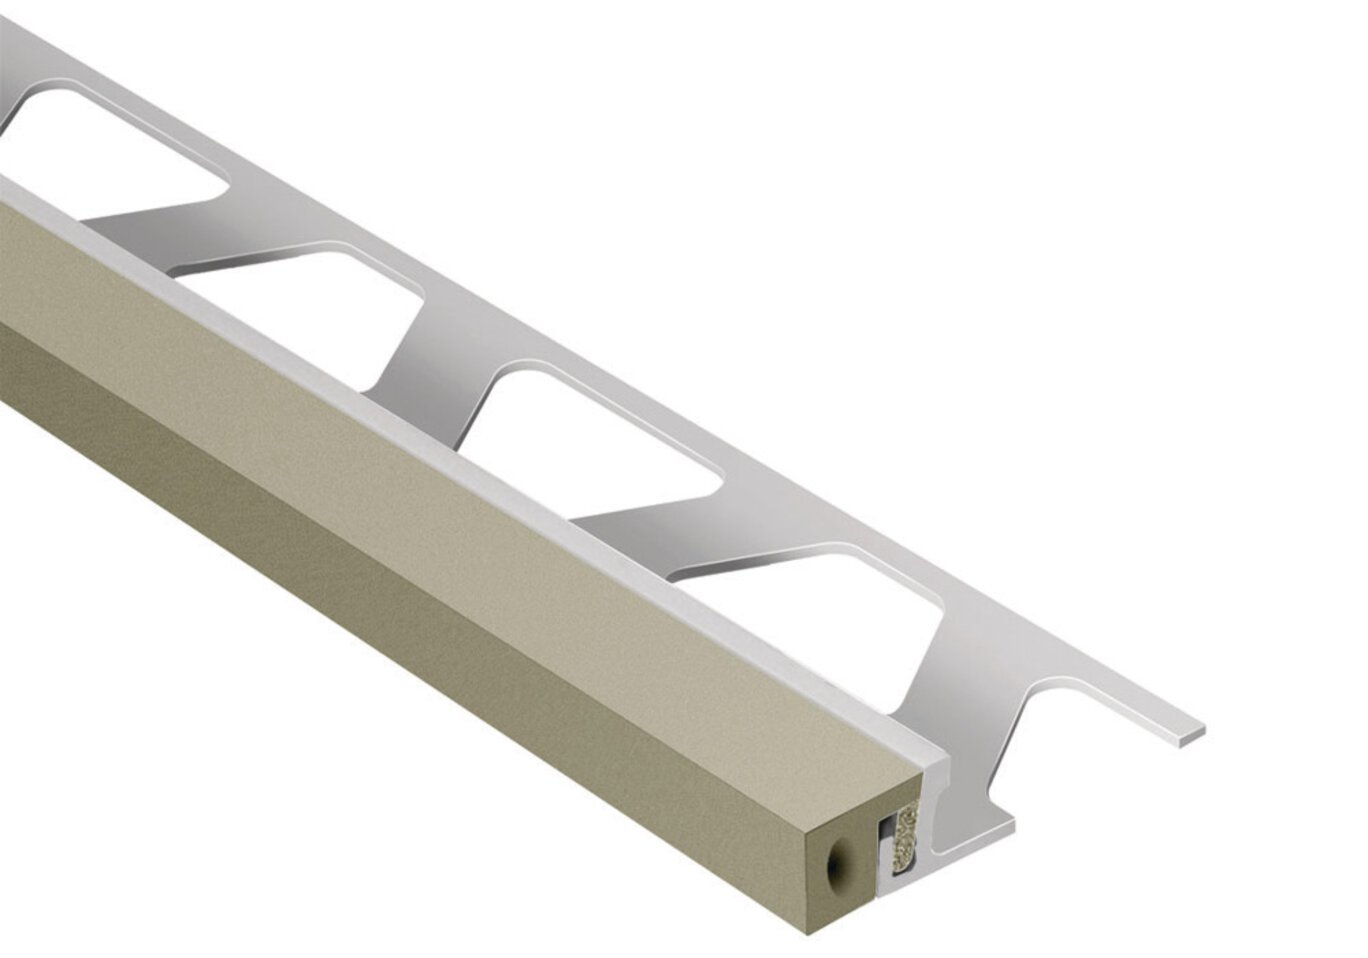
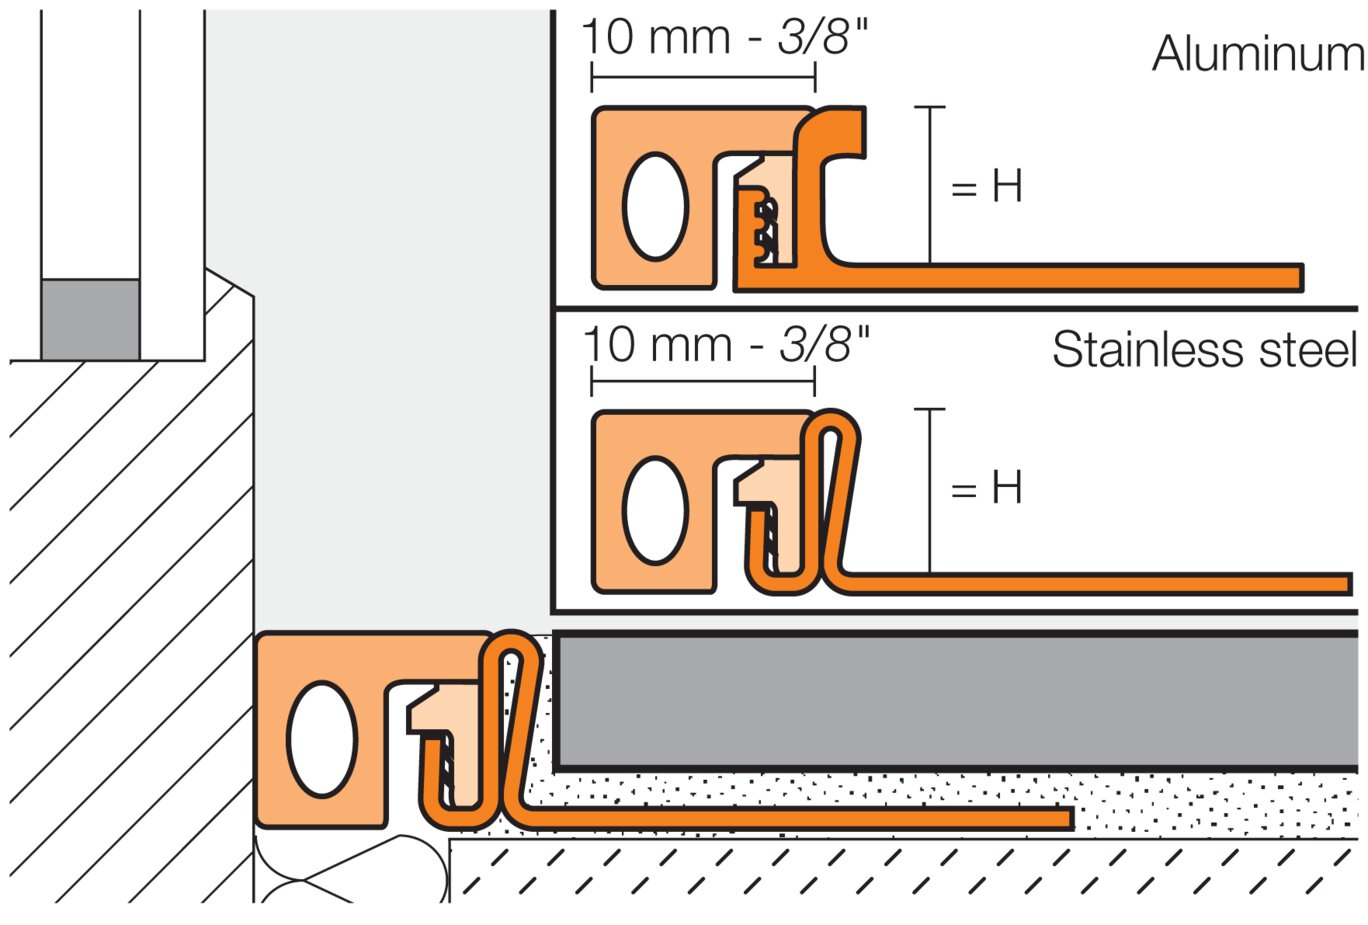
Schluter®-DILEX-KSA features a trapezoid-perforated anchoring leg, made of stainless steel or aluminum, which is secured in the mortar bond coat and provides edge protection for adjacent tiles, and a self-adhesive backing strip which can be bonded to fixed building elements (e.g., door and window frames, bathtubs and shower trays, countertops, etc.). The profile isolates the tile covering from the structure and accommodates movement via the 3/8" (10 mm)-wide, soft thermoplastic rubber movement zone, which also forms the visible surface. The thermoplastic rubber movement zone can be replaced if damaged. DILEX-KSA uses the same anchoring leg as DILEX-KSN to allow for the same appearance throughout an installation. DILEX-KSA also prevents sound bridges, making it ideal for transitions in sound-rated floors.
DILEX-KSA no requiere mantenimiento ni cuidados especiales y es resistente al moho y a los hongos. Limpie el perfil con un producto de limpieza doméstico común. Las superficies en acero inoxidable expuestas al ambiente o a sustancias agresivas deben limpiarse periódicamente con un producto de limpieza suave. La limpieza regular mantiene la apariencia del acero inoxidable y reduce el riesgo de corrosión. Ningún producto de limpieza debe contener ácido hidroclorhídrico, fluorhídrico ni cloruros. Las superficies de acero inoxidable adquieren brillo cuando se tratan con un producto pulidor de cromo.
La película oxidativa en el latón macizo expuesto o aluminio puede quitarse con un producto pulidor de cromo convencional, pero volverá a formarse.
La pieza inserta de caucho flexible en DILEX-KSA es reemplazable.
1. Select profile according to tile thickness and format.
2. Using a notched trowel, apply thin-set mortar over the area where the profile is to be placed.
3. Remove film from self-adhesive backing strip on DILEX-KSA.
4. Press the perforated anchoring leg of the profile into the mortar and adjust it securely against the existing building elements.
5. Trowel additional thin-set mortar over the perforated anchoring leg to ensure full coverage and support of the tile edges.
6. Solidly embed the tiles and align flush with the top of the profile.
7. A joint of approx. 1/16" - 1/8" (1.5 - 3 mm) should be left between the tile and the profile.
8. Fill the joint completely with grout or setting material.
FAQ
How do I cut profiles?
Schluter™ profiles are available in a variety of different materials , so methods for cutting vary. Below are best practices for cutting according...
Read moreCAD drawings
Specify our products using the


Watch & Learn
About the product

How to install a movement joint in tile: Schluter®-DILEX-KSA
Introduction to Schluter® Profiles

Tips on How to Choose Your Profile Size in Relation to Your Tile

Tips on Cutting Profiles
Find some existing tutorials and project documentation videos to learn how-to get the best out of our products - for more fun in your life, start now!
Watch more videos / playlists