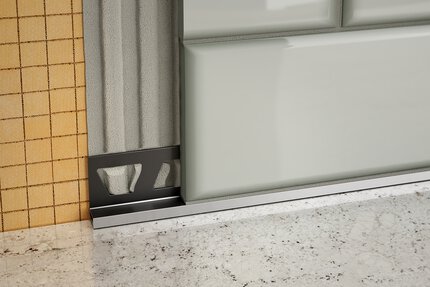
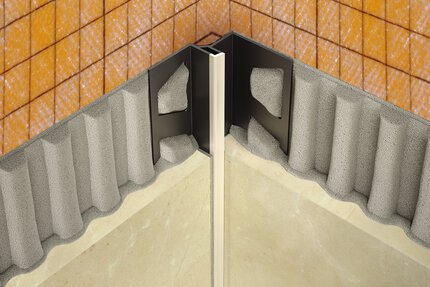
Schluter®-DILEX-EZ
Profilé décoratif pour joint de mouvement aux murs et au sol

- Conçu pour permettre les mouvements et réduire les contraintes mécaniques dans de grandes aires carrelées
- Évite d’avoir à utiliser du calfeutrant
- Prévient le craquelage et le décollage des carreaux
- Souple et adapté aux formes courbes
- Adapté aux applications résidentielles et commerciales à usage modéré
- Parois latérales faites de PVC rigide
- Zones de mouvement faites de PVC souple
Find recommended accessories here

Estimateur de profilés
Découvrez ce dont vous avez besoin pour protéger les carreaux et faciliter les transitions.
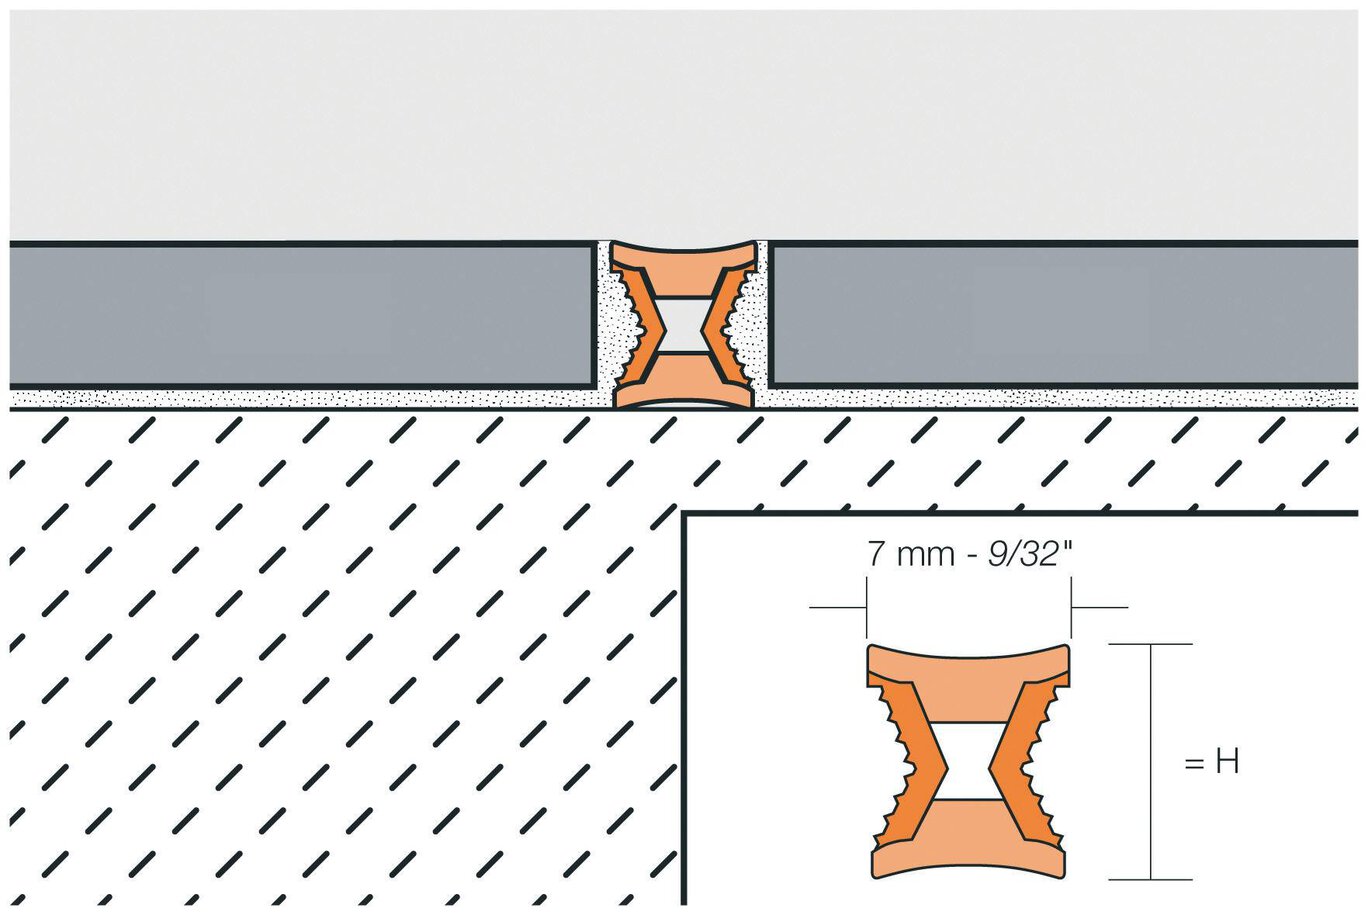
Schluter®-DILEX-EZ 6 + 9 feature rigid PVC side walls, which are connected on top and bottom by soft PVC movement zones that form the visible surfaces. These profiles separate individual fields in the tile covering and accommodate movement through the soft PVC movement zones. Each profile features two usable surfaces in different colors for increased design options. One surface of the profile features the PVC movement zone in a solid color, while the other surface features a brass or chrome inlay embedded in the PVC movement zone. DILEX-EZ 6 and 9 are flexible and can be used to form curves. The height, “H”, of DILEX-EZ 6 is 1/4" (6 mm); the height, “H”, of DILEX-EZ 9 is 11/32" (9 mm).
DILEX-EZ profiles require no special maintenance or care and are resistant to mold and fungi. Clean profile using common household cleaning agents.
1. Select DILEX-EZ 6 or DILEX-EZ 9 according to tile thickness. For tile thicknesses greater than 11/32" (9 mm), DILEX-EZ 9 must be backbuttered with thin-set mortar.
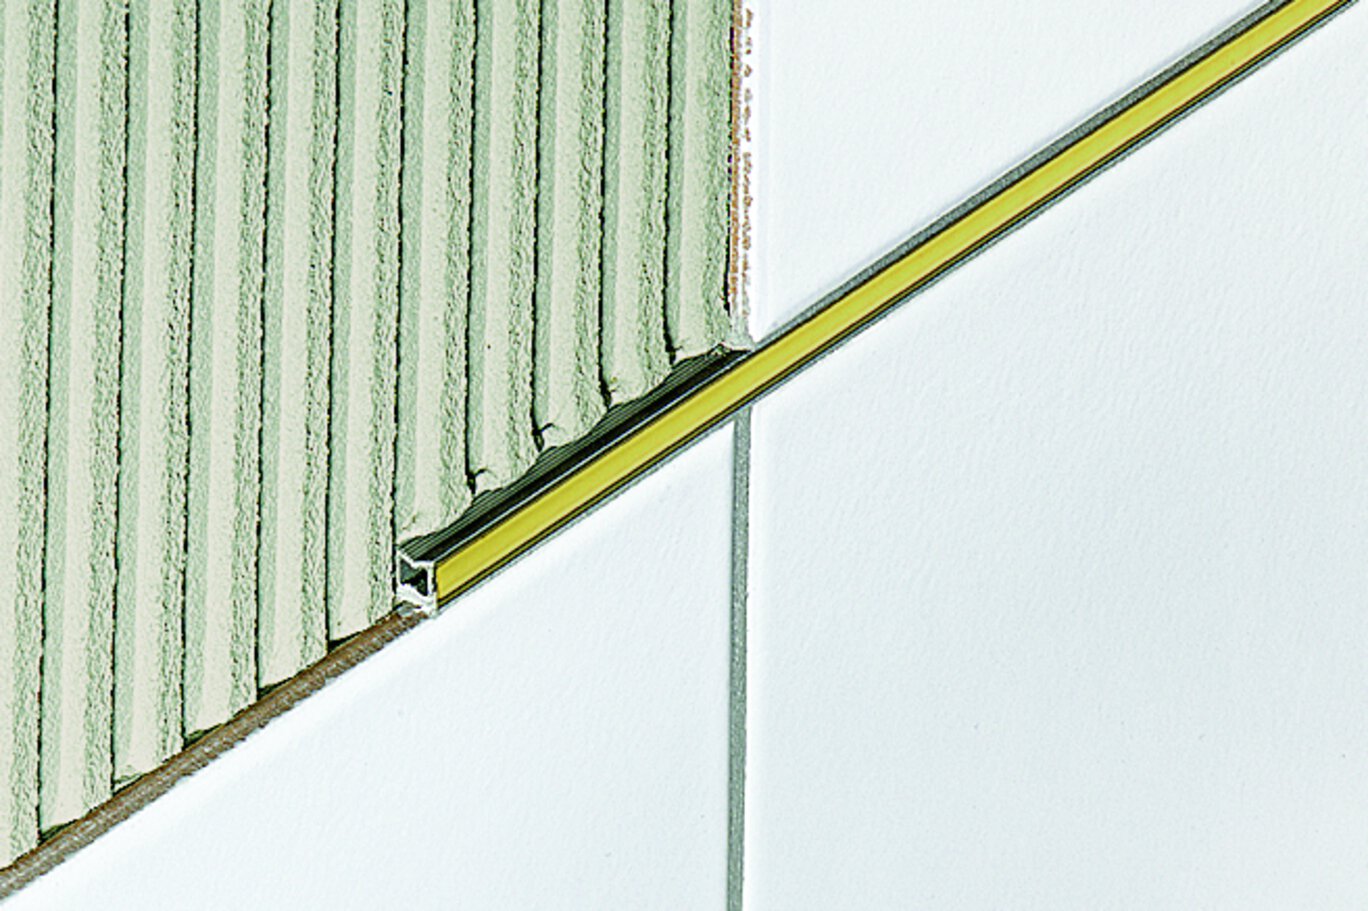
2. Set tiles up to the point where DILEX-EZ is to be installed. Apply thin-set mortar to tile edges. The profile must align directly with movement joints in the substrate below. Press the profile against the tile edge and flush with the tile surface so that the ribbed, hourglass-shaped section is completely embedded in the mortar.
3. For the next row of tiles, apply thin-set mortar to the side wall of the DILEX-EZ profile already in place; then press the tiles against the profile so that they are flush with the profile surface.
4. DILEX-EZ may be installed with or without a small joint to the adjacent tile.
CAD drawings
Specify our products using the


Watch & Learn
About the product

Introduction to Schluter® Profiles

Tips on How to Choose Your Profile Size in Relation to Your Tile

Tips on Cutting Profiles
Find some existing tutorials and project documentation videos to learn how-to get the best out of our products - for more fun in your life, start now!
Watch more videos / playlists