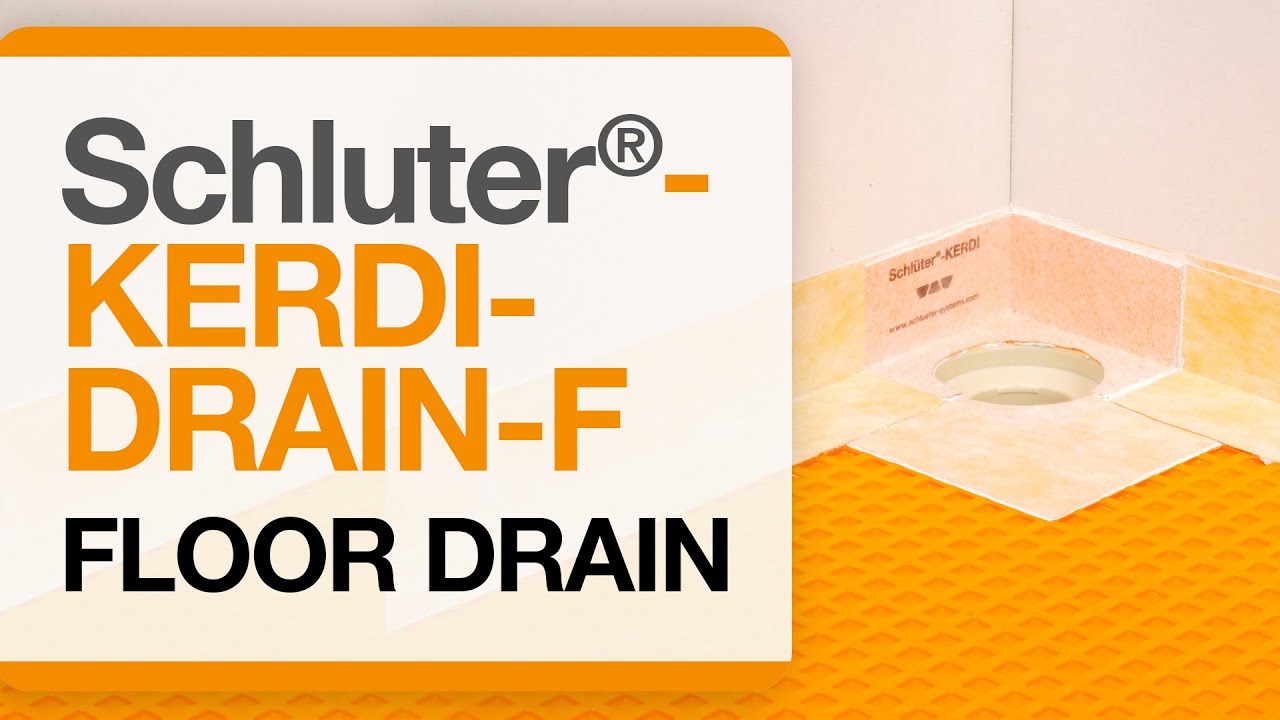
Schluter®-KERDI-DRAIN-F
Floor drain

- For tiled floors in conjunction with DITRA or DITRA-HEAT membranes
- Integrated KERDI collar for a secure, waterproof connection
- Narrow bonding flange allows for placement against walls and in corners
- Polypropylene version includes both an ABS and a PVC coupling (2” outlet)
- Also available in stainless steel, with 2” no-hub or threaded outlet
- Wide range of grate designs and finishes available (sold separately)


Find recommended accessories here
Shower System Estimator
Calculate all you need for your shower project.
Schluter®-KERDI-DRAIN-F is a floor drain specifically designed to allow connections to Schluter®-DITRA, DITRA-XL, DITRA-HEAT, and DITRA-HEAT-DUO uncoupling membranes. KERDI-DRAIN-F consists of a drain body and adjustable grate assembly that accommodates a wide range of tile thicknesses. The drain body is available in polypropylene or stainless steel, each with a laminated Schluter®-KERDI collar that ensures a simple connection to the uncoupling membrane on the floor and at wall transitions.
The polypropylene drain features a 2" (50 mm) NPT outlet and is supplied with PVC and ABS couplings for simple attachment to the pipe using an appropriate solvent cement. The stainless steel drains are available with standard 2" (50 mm) no-hub and threaded outlets. The no-hub outlets are attached to the pipe using an appropriate mechanical (e.g., flexible or no-hub) coupling. The threaded outlets are attached to the pipe using thread sealing tape or compound. The simple connection to standard drain outlets makes KERDI-DRAIN-F suitable for new construction and renovation/remodeling projects.
The KERDI-DRAIN-F grate assembly consists of a frame, which can be seamlessly adjusted to the thickness of the ceramic tile or stone covering via the vertical height adjustment collar and grates that are placed within the frame. The 4" (100 mm) standard grate assembly frame features an approximately 1/8" (3 mm) wide reveal after installation, and grate/frame combinations are available in stainless steel in CLASSIC design or anodized aluminum in CONTOUR design, both available in a variety of finishes. The 4" (100 mm) KERDI-DRAIN-STYLE grate assembly frame features a minimal reveal after installation. It is made of brushed stainless steel and can be combined with one of three grate design options: FLORAL, CURVE, or PURE. Various metallic and color-coated finishes are available. Please note that the 4" (100 mm) TILE grate and the 6" (150 mm) square and round grates are not compatible with KERDI-DRAIN-F.
KERDI-DRAIN-F requires no special maintenance and is resistant to mold and fungi. The grate may be removed to clean the drain housing and the drain pipes. Clean the grates and profiles using pH neutral cleaners. Avoid the use of strong acids (e.g., hydrochloric, hydrofluoric) and bases/alkaline cleaners (e.g., bleach, ammonia, chlorides). Do not use abrasive cleaning agents and tools. Even stainless steel requires periodic cleaning, which will maintain a neat appearance and reduce the risk of corrosion. Stainless steel surfaces develop a sheen when treated with a chrome-polishing agent.
Following the instructions below will help ensure the polypropylene bonding flange is flush with the surface of the surrounding DITRA uncoupling membrane. Adjustments to the drain elevation may be required when using the thinner stainless steel bonding flange or thicker DITRA-HEAT, DITRA-XL, or DITRAHEAT-DUO uncoupling membrane.
Preparation
After locating the correct position, cut a 4" (100 mm) diameter hole in the substrate for the drain outlet and coupling to the waste line using the template provided.
Note: Fill in box-outs in concrete floors with dry-pack mortar or concrete. A pipe coupling or similar can be used as a form around the waste line. Select form to accommodate the drain outlet and coupling (when applicable). Limit the diameter of the hole to 4-1/4" (108 mm) maximum to ensure proper support of the tile assembly. A larger hole can lead to lack of support and damage (e.g., cracked grout).
Drain installation
When there is access to plumbing from below:
1. If utilizing the polypropylene drain body, connect the included ABS or PVC coupling (select according to waste line material) to the drain outlet using thread sealing tape or compound.
2. Apply thin-set mortar up to the hole in the substrate using the same notched trowel as will be used for the uncoupling membrane installation.
3. Solidly embed the bonding flange in the mortar and check for level.
4. Install the construction cover to protect the attached KERDI collar and prevent debris from falling into the drain.
When there is no access to plumbing from below:
1. If utilizing the polypropylene drain body, connect the included ABS or PVC coupling (select according to waste line material) to the drain outlet using thread sealing tape or compound.
2. Place the drain body on the subfloor to measure and cut a section of pipe to connect the drain to the odor trap.
3. Apply thin-set mortar up to the hole in the substrate using the same notched trowel as will be used for the uncoupling membrane installation.
4. Prepare the odor trap, cut section of pipe, and drain with cleaner, primer and ABS or PVC cement per the solvent cement manufacturer's instructions.
5. Connect the drain to the odor trap and solidly embed in the mortar; check for level.
6. Install the construction cover to protect the attached KERDI collar and prevent debris from falling into the drain.
Notes:
• Use a no-hub coupling for stainless steel drains with no-hub outlets and thread sealing tape or compound for stainless steel drains with threaded outlets.
• Schluter Systems recommends the use of a trap primer in low use drain applications to prevent the trap from drying out and the potential for odors from sewer gas escaping the waste line.
• Schluter Systems strongly recommends a leak test be performed on the connection between the drain and waste line prior to continuing with the remainder of the installation whenever possible. Refer to local plumbing and/or building codes for any specific requirements in your area.
DITRA or DITRA-HEAT Installation
Please see the DITRA or DITRA-HEAT Installation Handbook for installation details and instructions.
1. Install membrane up to the outer edge of the bonding flange (template provided).
2. Fill the membrane with a Schluter® thin-set mortar or unmodified thin-set mortar around the drain, approximately 3" (76 mm) wide.
3. Comb additional mortar using a 1/4" x 3/16" (6 mm x 5 mm) V-notched trowel or the Schluter®-KERDI trowel, which features a 1/8" x 1/8" (3 mm x 3 mm) square-notched design.
4. Solidly embed the attached KERDI collar into the mortar with the flat side of the trowel to ensure full coverage and remove air pockets.
Grate Assembly
1. Snap the grate frame into the vertical height adjustment collar.
2. Butter the underside of the grate frame with thin-set mortar to ensure full support.
3. Place the grate assembly into the flange and install the surrounding tiles.
4. Press the grate flush with the tile surface. Remove all excess setting material immediately.
Notes:
• Protect the visible surface of the grate from contact with setting and grouting materials. In particular, anodized aluminum is sensitive to alkaline materials.
• For acid-resistant coverings, use an epoxy adhesive to set and grout the tile.
FAQ
Can I install Schluter®-KERDI-DRAIN-F in a shower application?
It is not recommended. The KERDI-DRAIN-F is designed for floor applications and to be used with Schluter uncoupling membranes...
Read more

Product Evaluations and Listings
Schluter®-KERDI-DRAIN-F is listed by UPC®
Schluter®-KERDI-DRAIN-F is listed by CSA®
Schluter®-KERDI-DRAIN-F is listed by ICC-ES - PMG-1204

Watch & Learn
About the product
How to install the Schluter®-KERDI-DRAIN-F floor drain
Find some existing tutorials and project documentation videos to learn how-to get the best out of our products - for more fun in your life, start now!
Watch more videos / playlists


