Schluter®-KERDI-LINE
Linear drain
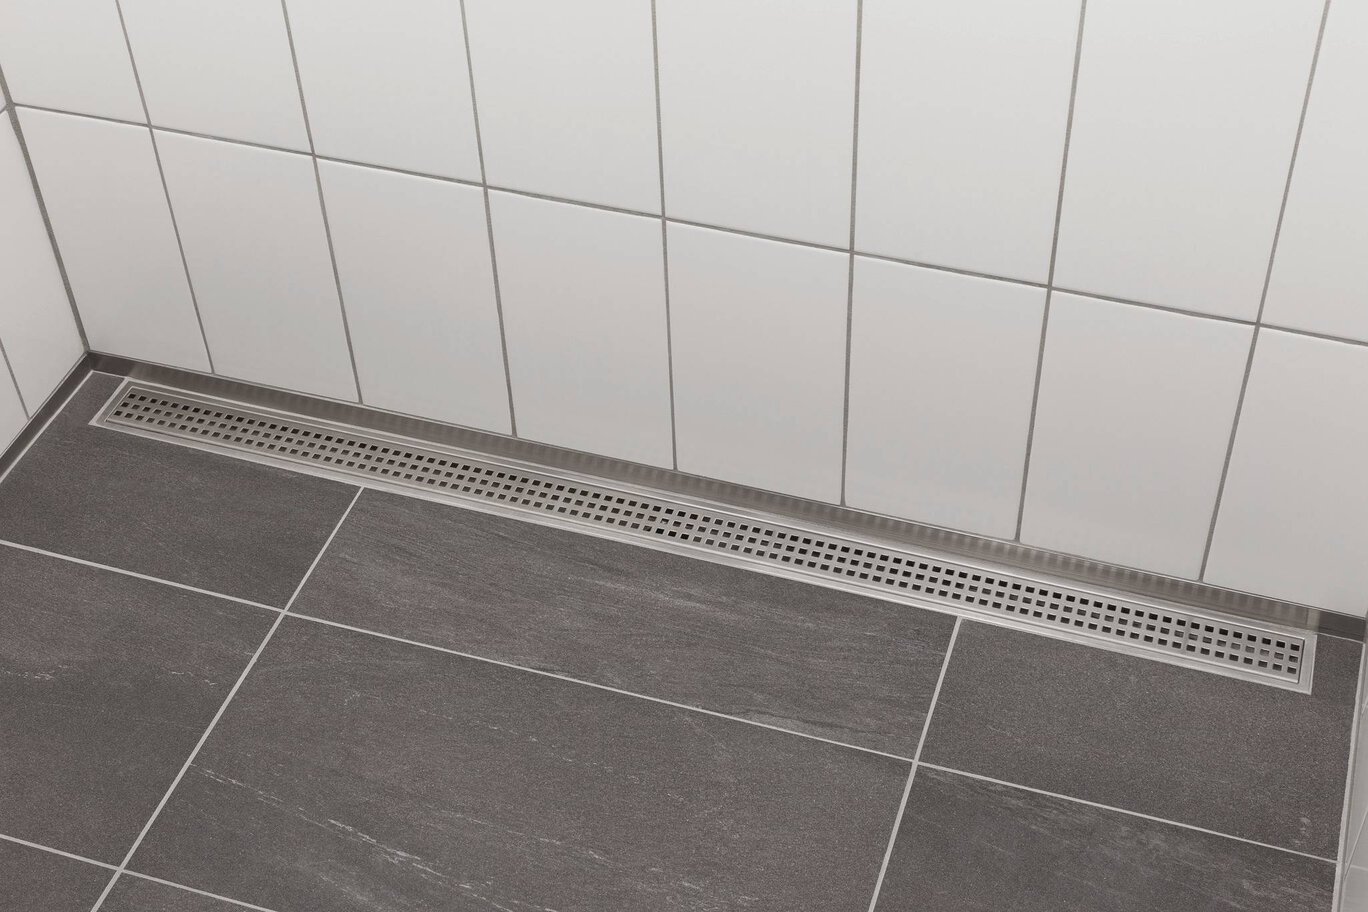
- Create curbless, open-concept spaces
- Floors can be sloped on a single plane to KERDI-LINE, enabling the use of large-format tiles
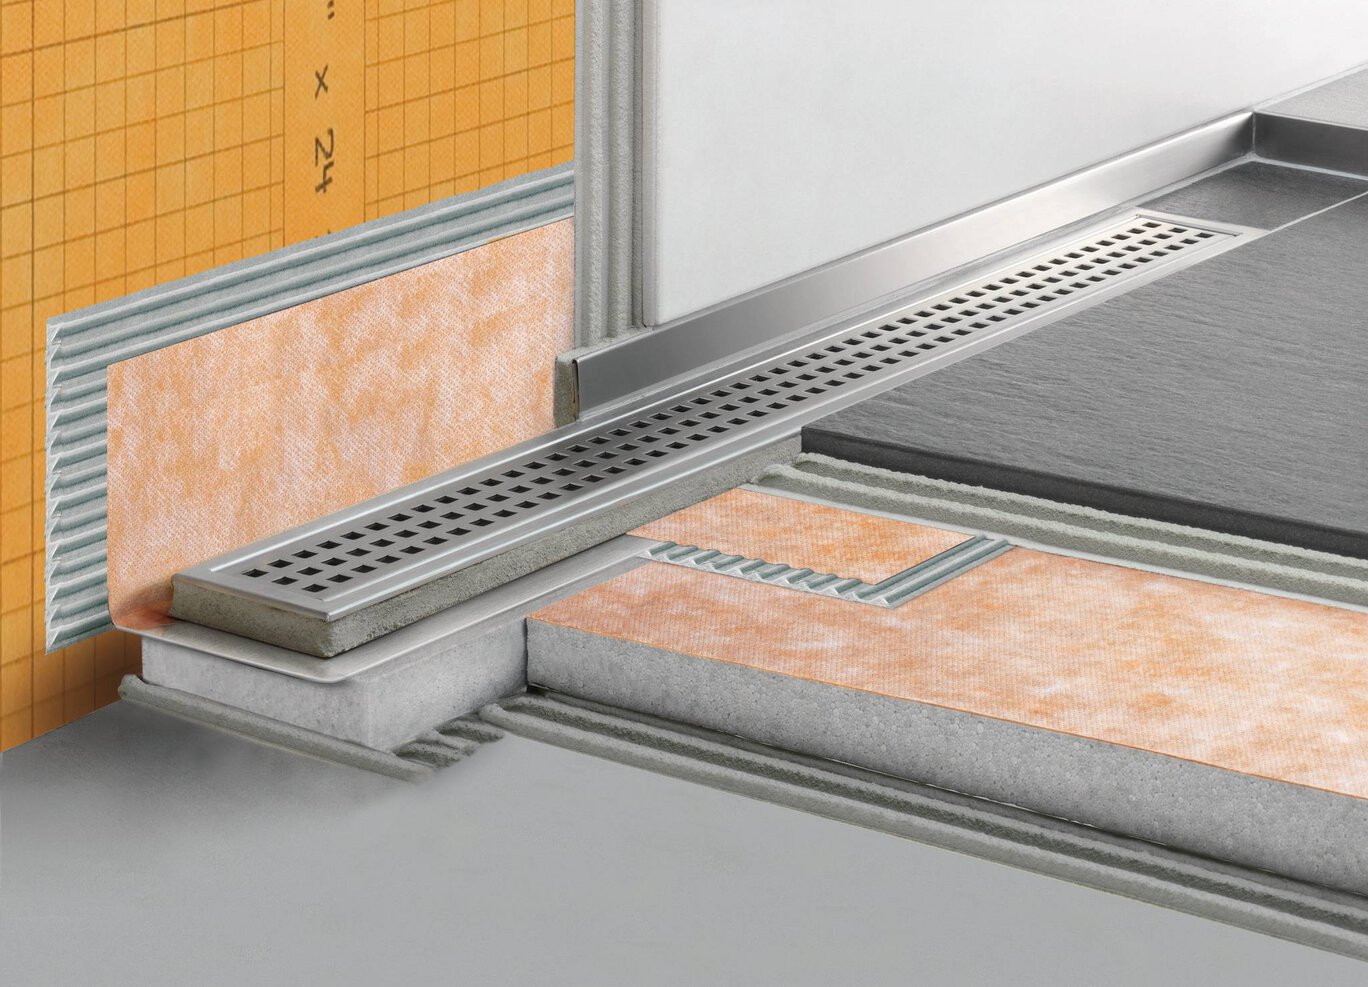
- Channel body is made of formed stainless steel and features a KERDI collar to create a secure waterproof connection
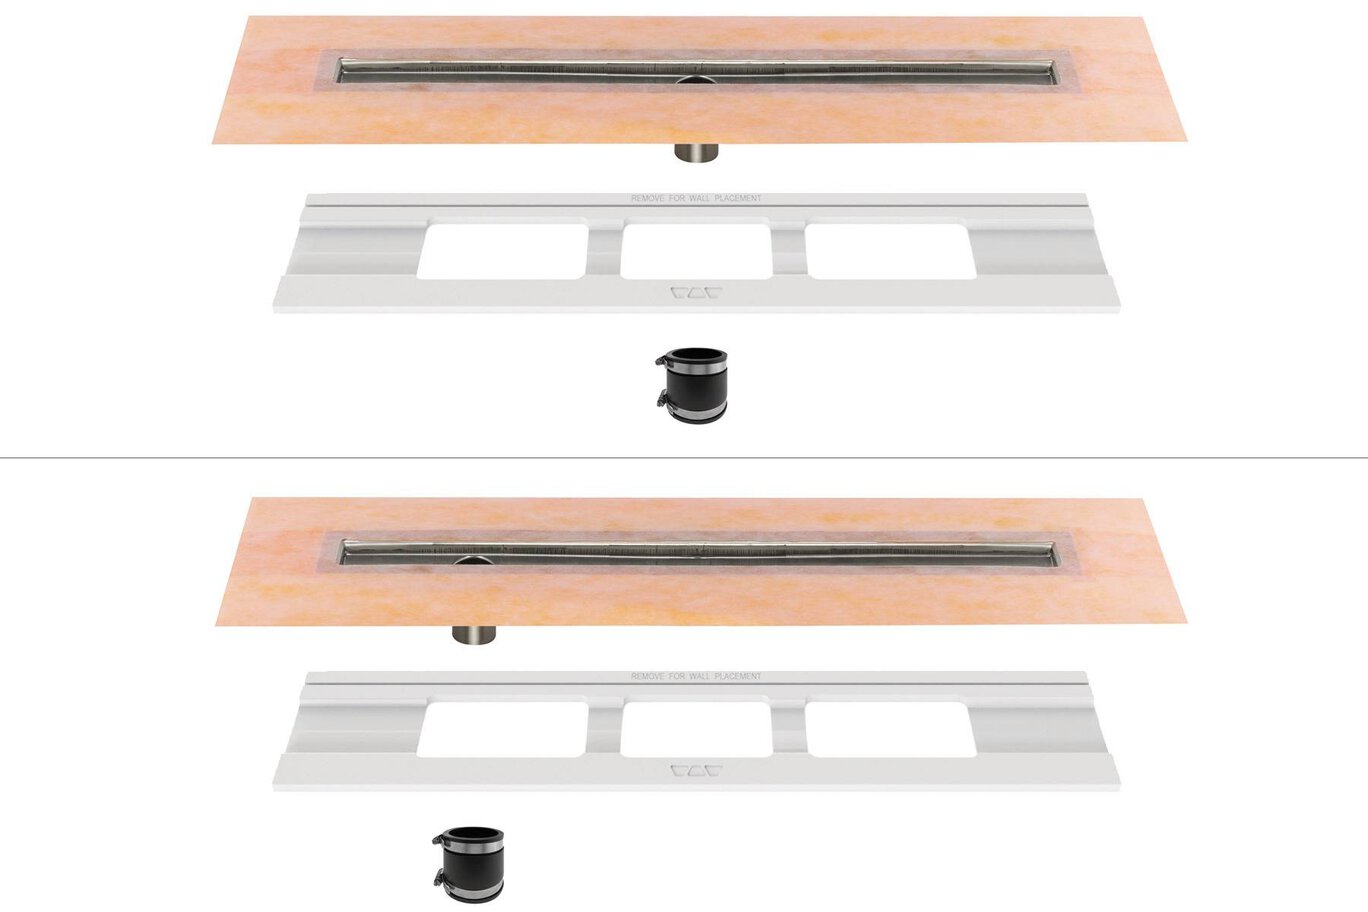
- Off-set and center outlets available
- Accommodates all common thicknesses of ceramic tiles and stone coverings
- Available in lengths ranging from 20” (50 cm) to 72” (180 cm)
- Grate assemblies sold separately and available in six designs
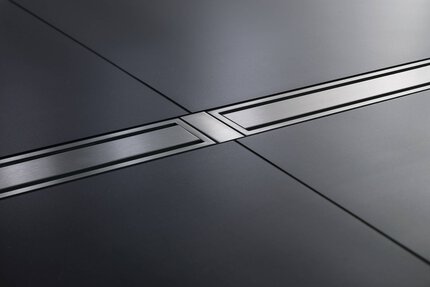
- SOLID and SQUARE grates can be used with the KERDI-LINE-FC to create a seamless look in applications where multiple drains are installed end-to-end
- 9 TRENDLINE colors now available for the SOLID and SQUARE grate designs
Find recommended accessories here
Shower System Estimator
Calculate all you need for your shower project.
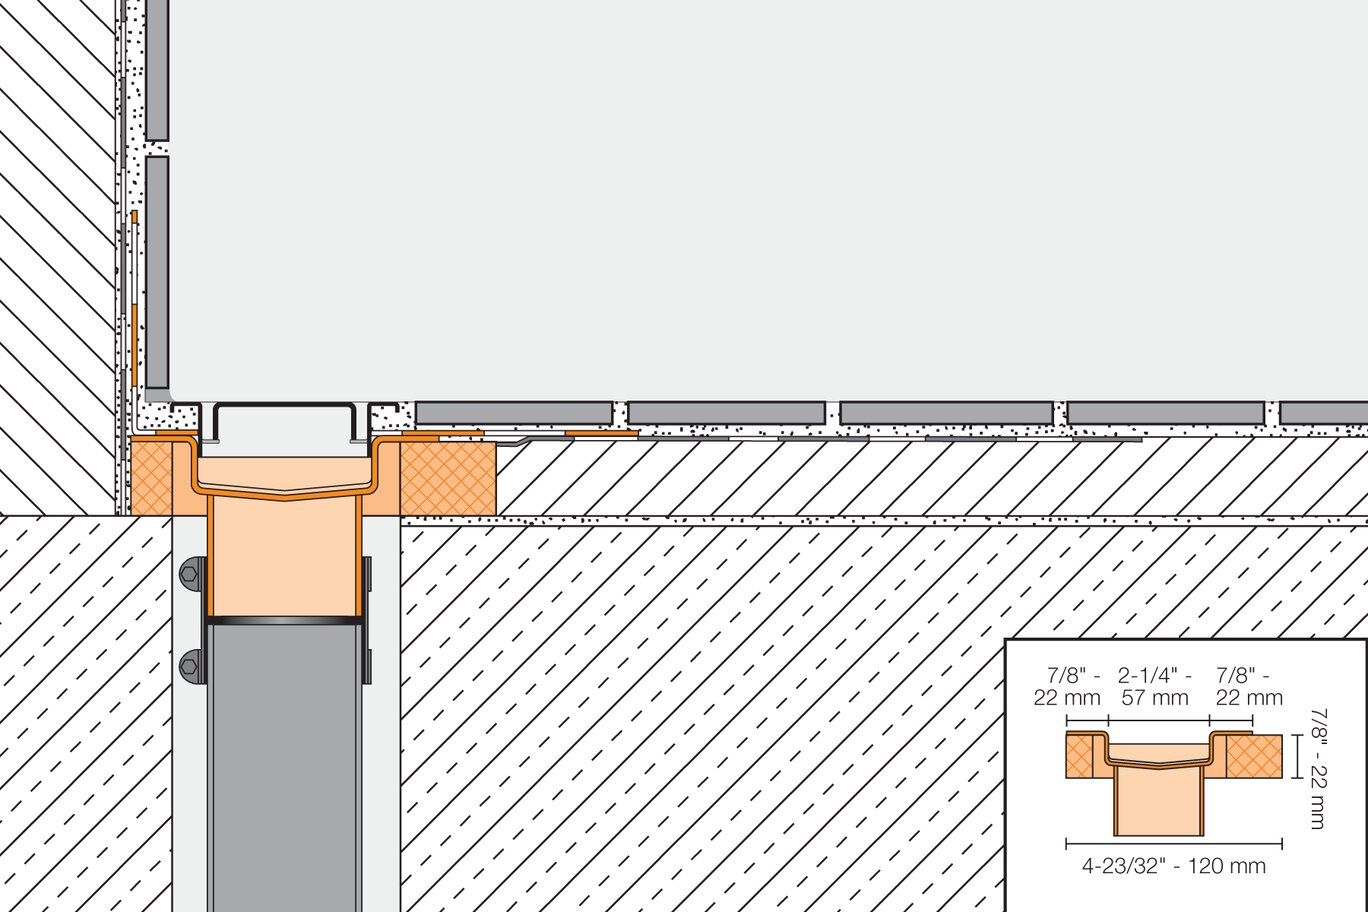
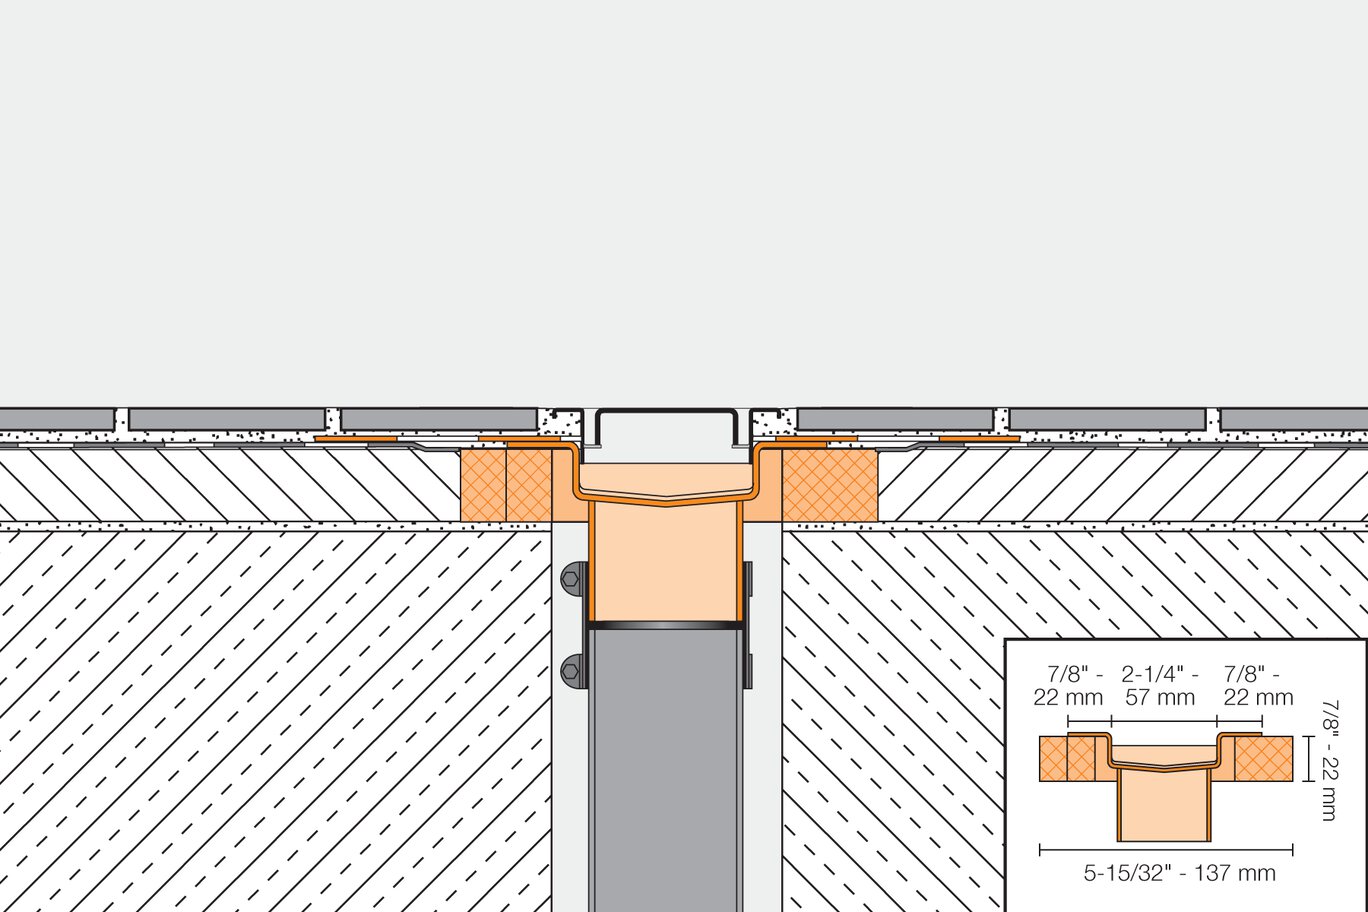
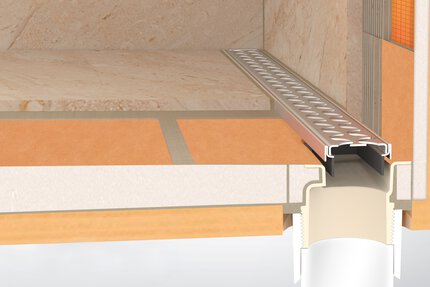
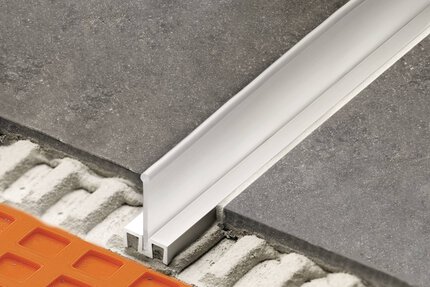
Schluter®-KERDI-LINE is a low profile linear shower drain specifically designed for bonded waterproofing assemblies. KERDI-LINE can be installed adjacent to walls or at intermediate locations. The floor can be sloped on a single plane to KERDI-LINE, which enables the use of large-format tiles and creates interesting design opportunities.
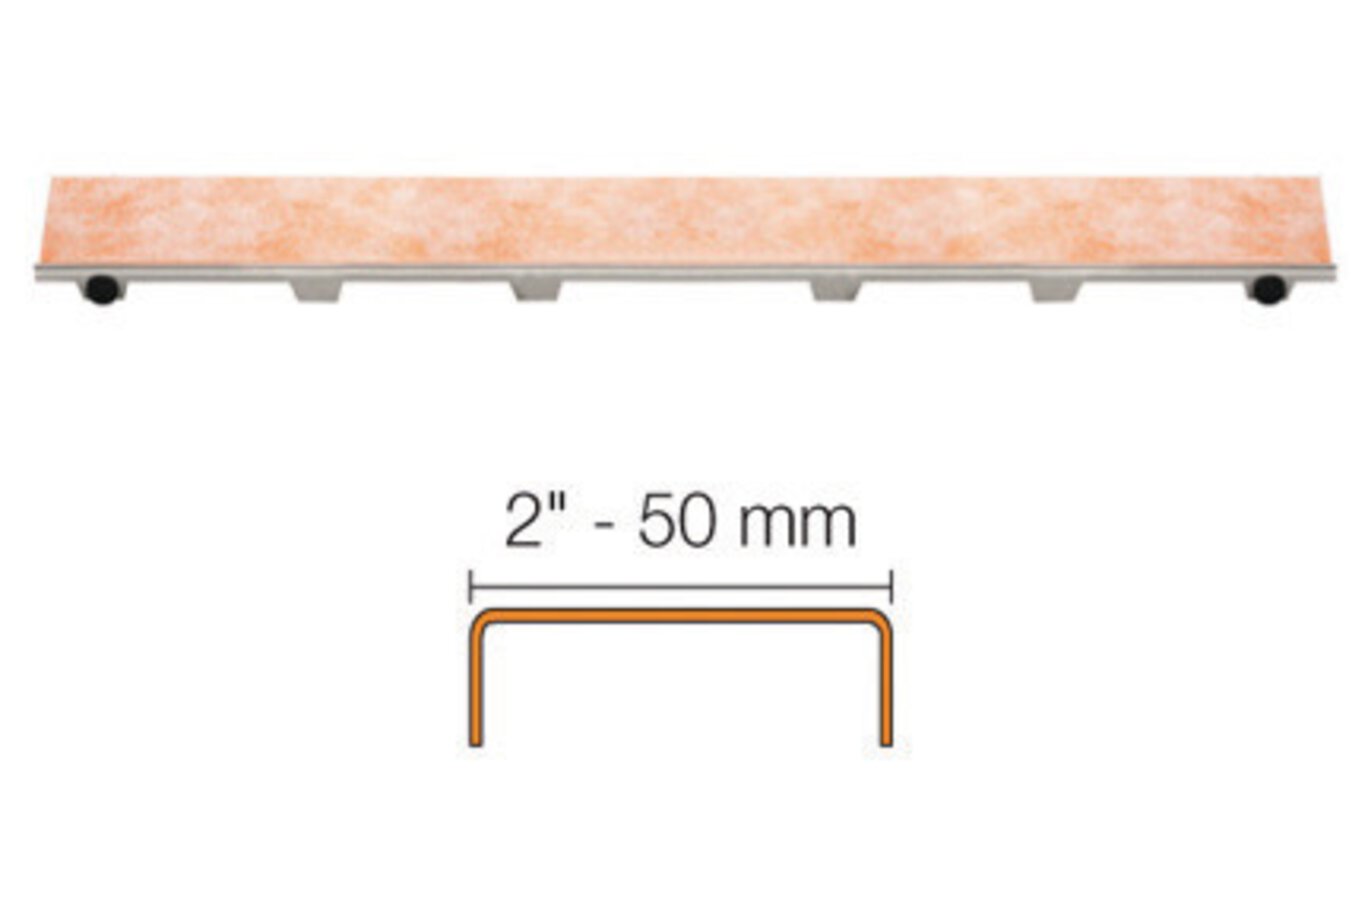
KERDI-LINE consists of a formed stainless steel channel body and grate assembly or covering support to which tile is applied. The channel body features a standard 2" (50 mm) no-hub outlet and is attached to the pipe using an appropriate mechanical (e.g., flexible or no-hub) coupling. The simple connection to standard drain outlets makes KERDI-LINE suitable for new construction and renovation. KERDI-LINE is available with both center and off-set outlets. The off-set outlet is located 8" (20.3 cm) from the edge of the channel body and provides flexibility when obstacles (e.g., floor joists) are encountered during installation. KERDI-LINE includes a corresponding polystyrene foam channel support to set the drain elevation to the corresponding KERDI-SHOWER-LT/-LTS shower trays. The perimeter of the channel body consists of a bonding flange laminated with a collar made of KERDI. It ensures a simple and secure connection to the bonded waterproofing assembly, both in the floor area and on adjacent walls. KERDI-LINE is available in channel lengths from 20" to 72" (50 cm to 180 cm) in 4" (10 cm) increments. The bonding flange extends approximately 1" (2.5 cm) beyond the channel on all sides.
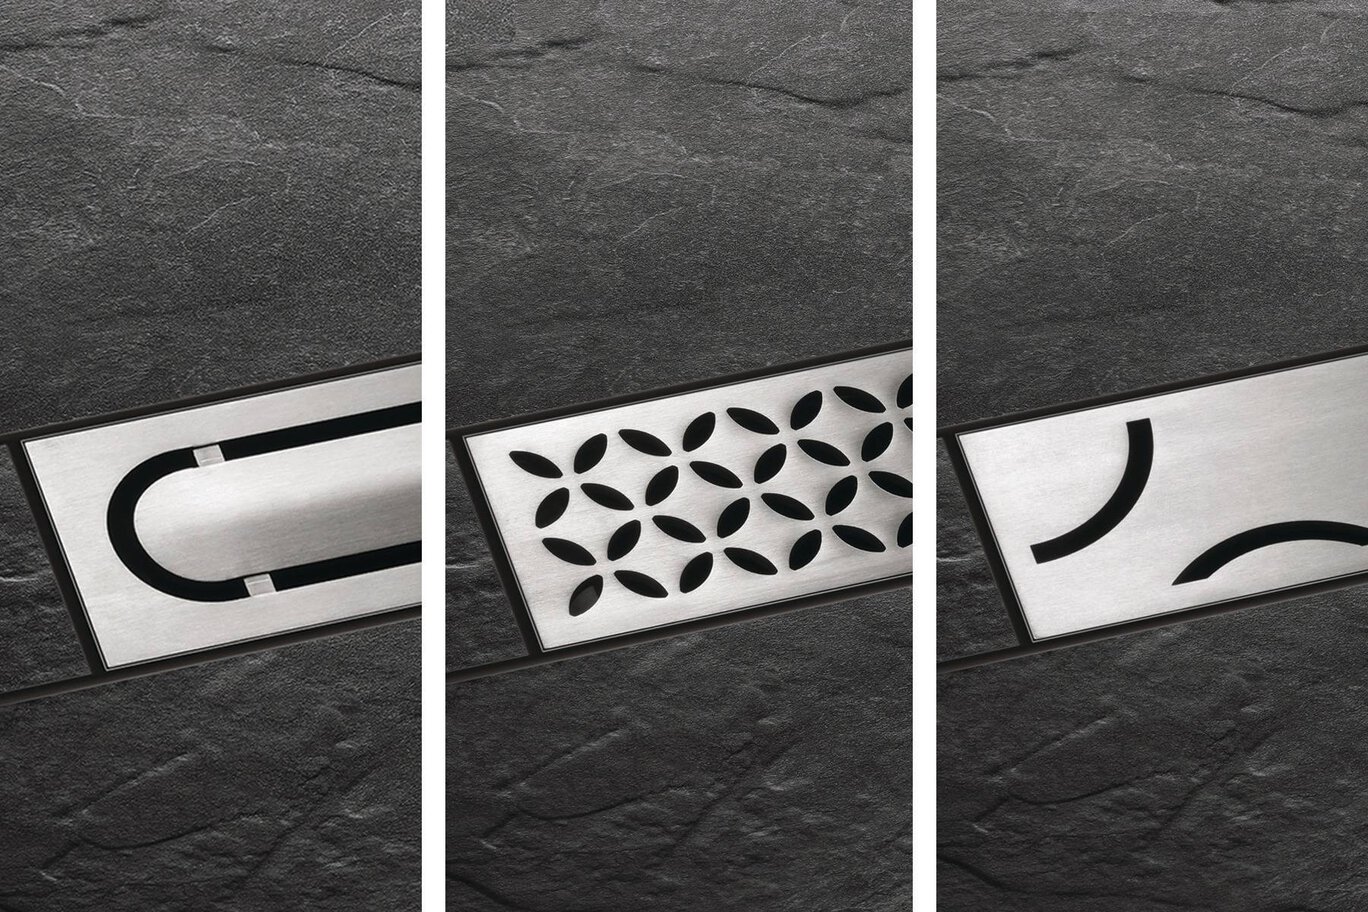
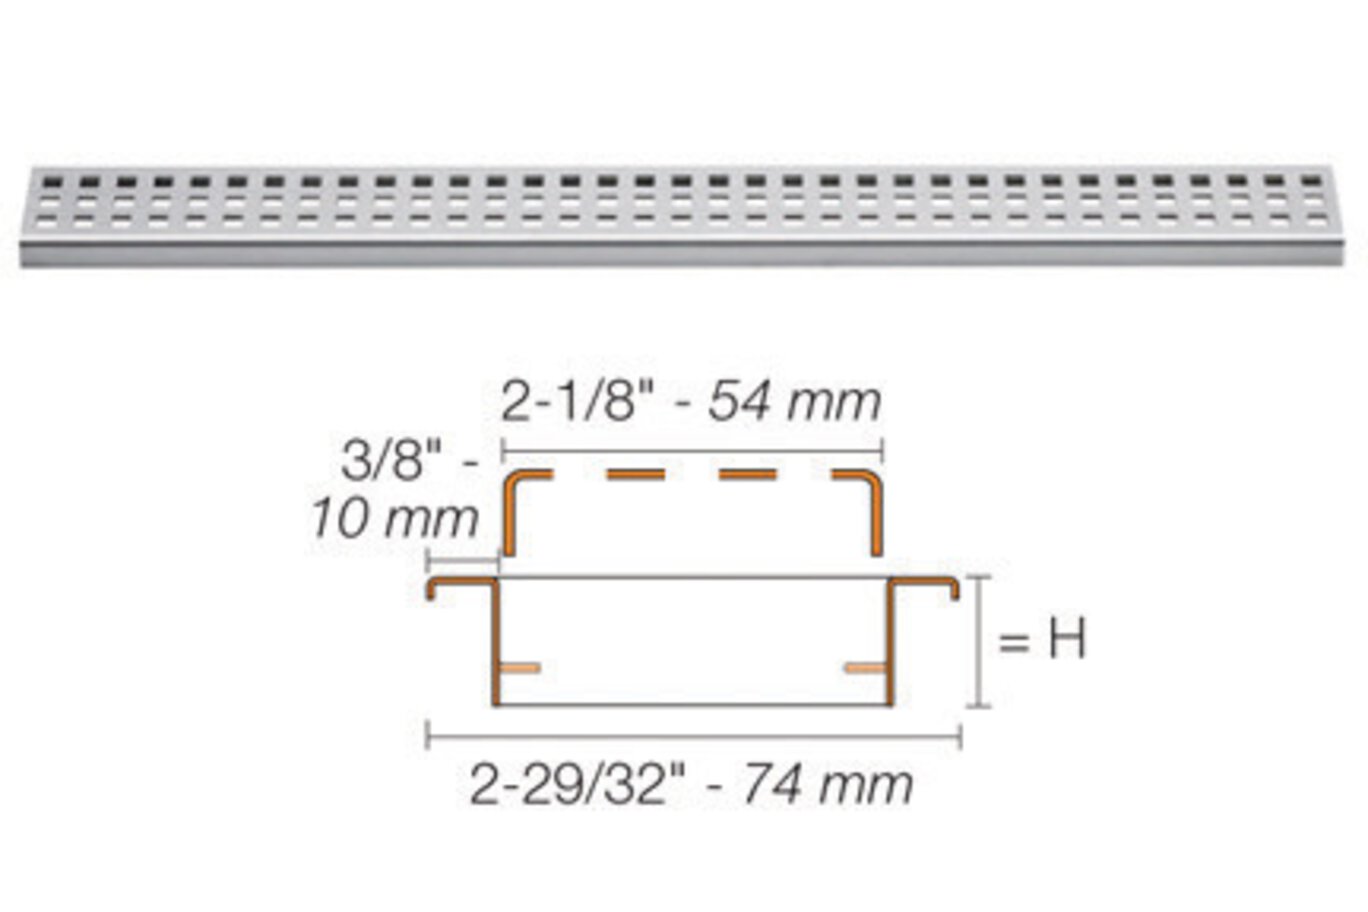
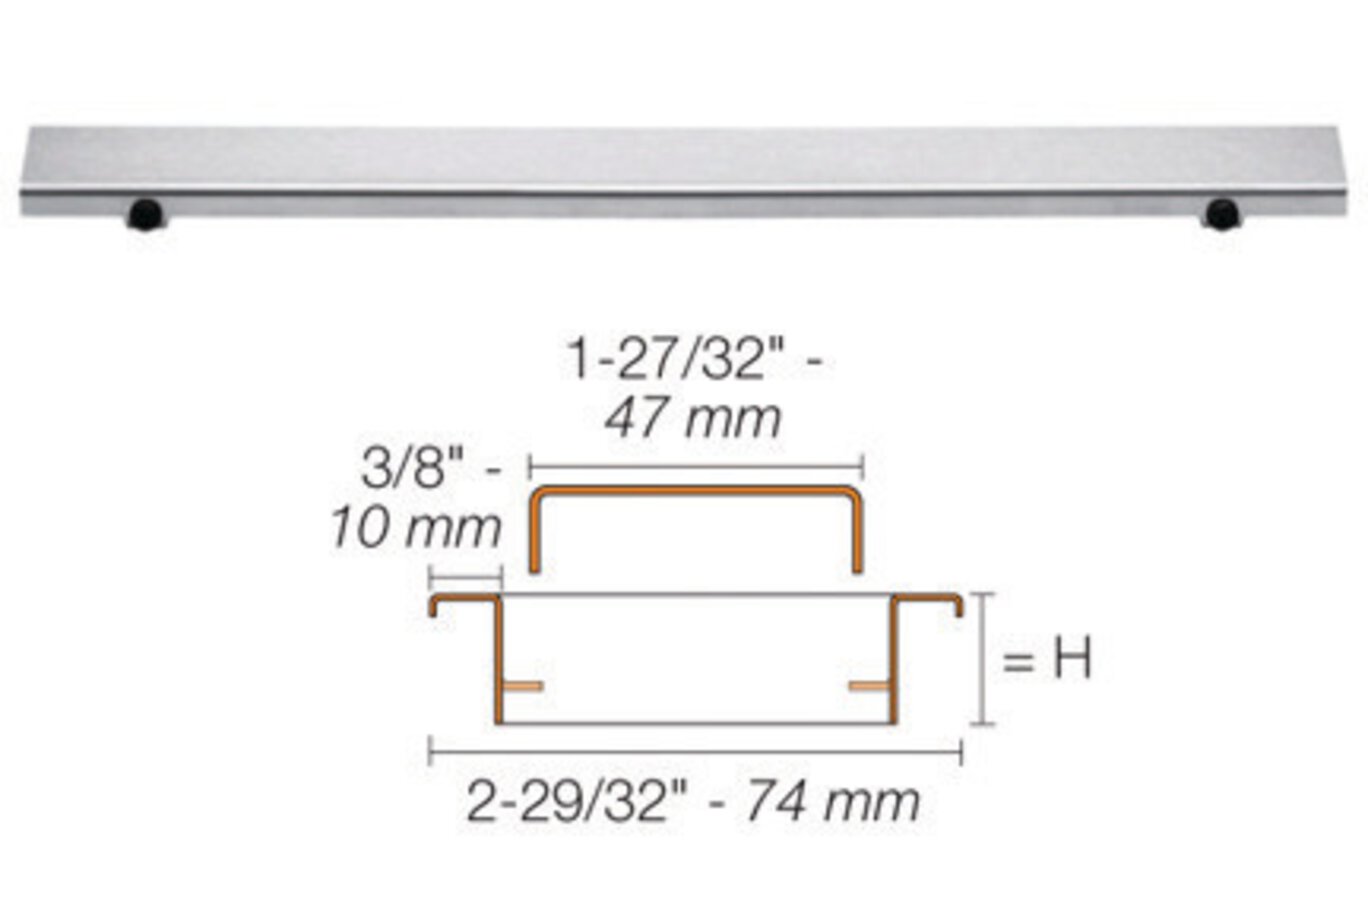
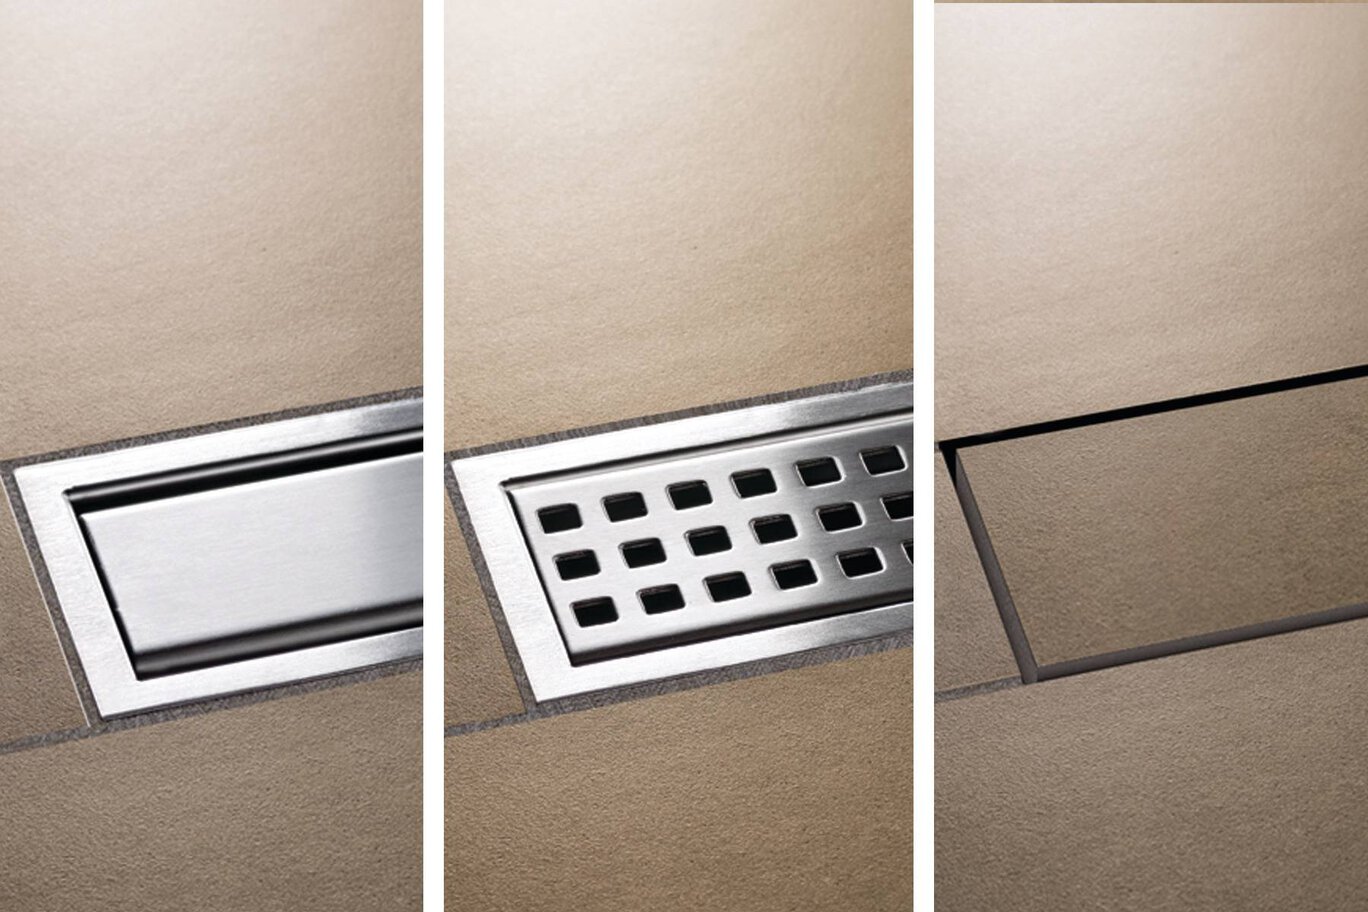
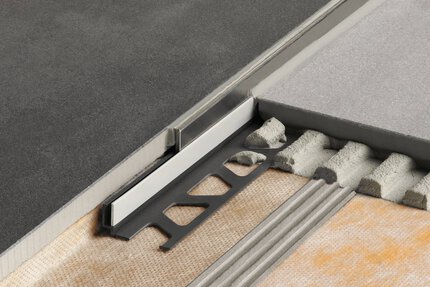
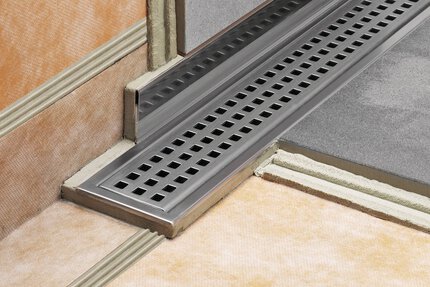
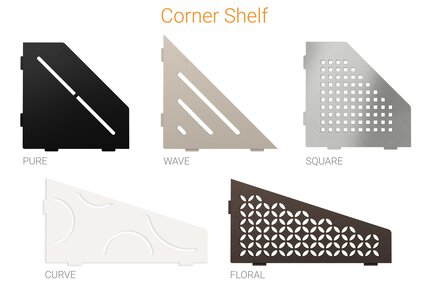
The KERDI-LINE grate assembly consists of a stainless steel frame that can be seamlessly adjusted to the thickness of the ceramic tile or stone covering – 1/8" to 1" (3 mm to 25 mm) for standard grate assemblies and 1/4" to 23/32" (6 mm to 18 mm) for KERDI-LINE-STYLE grate assemblies – and stainless steel grates that are placed within the frame. The standard grate assembly frame features a 3/8" (10 mm) wide reveal after installation and can be combined with one of two grate options: SOLID (A) or SQUARE (B). Each standard assembly is available in a brushed, chrome, or textured color-coated finish. The SQUARE (B) option is also available with a locking mechanism (brushed stainless steel, 3/4" – 19 mm frame only) for applications where tamper resistance is desired or required (e.g., healthcare and education facilities, etc.). The KERDI-LINE-STYLE grate assembly frame features a minimal reveal after installation and can be combined with one of three grate options: FLORAL (E), CURVE (F), or PURE (G). Each STYLE assembly is available in a brushed finish. The TILE grate (D) consists of a frameless, tileable covering support that is placed flush with the top of the channel body and can therefore accommodate any thickness tile covering. If KERDI-LINE is placed at shower entrance, it is recommended that grate assembly A or the TILE grate is chosen and that the drainage openings span the maximum width of the entrance to limit potential overflow; secondary drainage (e.g., KERDI-DRAIN-F) may be required in the drying area.
KERDI-LINE requires no special maintenance and is resistant to mold and fungi. The grate may be removed to clean the drain housing and the drain pipes.
Clean the grates and profiles using common household cleaning agents. Stainless steel exposed to the environment or aggressive substances should be cleaned periodically using a mild household cleaner. Regular cleaning maintains the neat appearance of stainless steel and reduces the risk of corrosion. All cleaning agents must be free of hydrochloric acid, hydrofluoric acid, and chlorides. Stainless steel surfaces develop a sheen when treated with a chrome-polishing agent. Do not use abrasive or alkaline cleaning agents.
The installation instructions below represent the use of Schluter®-KERDI-LINE in floor applications. Installation instructions for the use of KERDI-LINE in shower applications can be found in the Schluter®-Shower System Installation Handbook.
Preparation
When installing KERDI-LINE against a wall, be sure to factor in wall board thickness before cutting the hole in the substrate.
1. Any leveling of the floor must be done prior to the installation of the channel body. For installation adjacent to the wall, the channel body must be aligned in accordance with the thickness of the wall covering. For intermediate installation, use the supplied filling strip with peel-and-stick adhesive layer to make the channel support symmetrical.
2. KERDI-LINE can be installed in conjunction with the provided channel support as described below or set in loose mortar. KERDI-LINE is connected to the waste line with the appropriate mechanical no-hub coupling in accordance with the coupling manufacturer’s instructions.
Channel body installation
Access to plumbing from below
When there is access to the plumbing from below and the waste line can be connected after installing KERDI-LINE, the channel body may be set without making a connection to the waste line simultaneously.
1. Apply Schluter SET®, Schluter ALL-SET®, Schluter FAST-SET®, or unmodified thin-set mortar to the substrate where the drain is to be placed with a notched trowel and solidly embed the channel support in the mortar.
2. Apply Schluter SET®, Schluter ALL-SET®, Schluter FAST-SET®, or unmodified thin-set mortar to the top of the channel support with a notched trowel and press the channel body firmly into the mortar, ensuring full support of the bonding flange. Check to make sure the KERDI-LINE is level. No access to plumbing from below When there is no access to the plumbing from below, the channel body must be set and connected to the waste line simultaneously.
No Plumbing Access
When there is no access to the plumbing from below, the channel body must be set and connected to the waste line simultaneously.
1. Begin the drain installation by dry fitting the components. Measure and cut a section of pipe to connect the coupling to the odor trap below the floor, using the channel support as a spacer.
2. Apply Schluter SET®, Schluter ALL-SET®, Schluter FAST-SET®, or unmodified thin-set mortar to the top of the channel support with a notched trowel and press the channel support firmly onto the underside of the channel body. Attach the mechanical coupling to the drain outlet and the cut section of the pipe per the coupling manufacturer’s instructions.
3. Apply Schluter SET®, Schluter ALL-SET®, Schluter FAST-SET®, or unmodified thin-set mortar to the substrate where the drain is to be placed with a notched trowel. Prepare the cut section of pipe and odor trap with cleaner, primer and ABS or PVC cement per the solvent cement manufacturer’s instructions.
4. Solidly embed the channel support and KERDI-LINE into the mortar on the floor and connect the cut section of pipe to the odor trap. Check to make sure the KERDI-LINE is level.
5. The screed is then placed flush with the top of the bonding flange of the KERDI-LINE. Slope the mortar bed using the bonding flange and mortar screeds as guides. Note: KERDI-FIX or other adhesives that are compatible with EPS foam can be used to install the channel support and channel body as an alternative to thin-set mortar. Apply a generous bead of KERDI-FIX to the top and bottom of the channel support. The use of KERDI-FIX limits the ability to level KERDI-LINE. Note: Schluter®-Systems strongly recommends a leak test be performed on the connection between the drain and waste line prior to continuing on with the remainder of the installation whenever possible. Refer to local plumbing and/or building codes for any specific requirements in your area.
Connection to waterproofing membranes
The KERDI or DITRA waterproofing membranes can be installed as soon as the mortar bed can be walked upon.
1. KERDI, DITRA, OR DITRA-XL is installed up to the outer edge of the KERDI-LINE bonding flange using Schluter SET®, Schluter ALL-SET®, Schluter FAST-SET®, or unmodified thin-set mortar.
a. KERDI: Apply Schluter SET®, Schluter ALL-SET®, Schluter FAST-SET®, or unmodified thin-set mortar to the mortar bed surrounding KERDI-LINE with a 1/4" x 3/16" (6 x 5 mm) V-notched trowel or the KERDI-TROWEL, which features a 1/8" x 1/8" (3 x 3 mm) square-notched design. Embed KERDI in the bond coat with the flat side of the trowel to ensure full coverage and remove air pockets
b. DITRA: Apply Schluter SET®, Schluter ALL-SET®, Schluter FAST-SET®, or unmodified thin-set mortar to the mortar bed surrounding KERDI-LINE with a 1/4" x 3/16" (6 x 5 mm) V-notched trowel or the DITRA-TROWEL, which features an 11/64" x 11/64" (4.5 x 4.5 mm) square-notched design. Solidly embed the matting into the bond coat using a float, screed trowel, or DITRA-ROLLER.
2. Apply Schluter SET®, Schluter ALL-SET®, Schluter FAST-SET®, or unmodified thin-set mortar to the membrane surrounding KERDILINE with a 1/4" x 3/16" (6 x 5 mm) V-notched trowel or the KERDI-TROWEL, which features a 1/8" x 1/8" (3 x 3 mm) square-notched design. Embed the KERDI collar in the bond coat to ensure full coverage and remove air pockets.
Grate assembly
Grate
1. Apply Schluter SET®, Schluter ALL-SET®, Schluter FAST-SET®, or unmodified thin-set mortar to the underside of the grate frame and place it in the channel body ensuring full coverage and support of the frame. Insert the foam spacers in the grate frame to reinforce it during the remainder of the installation. Note: The tape on the grate frame does not need to be removed. It is intended to help keep setting material out of the channel body during installation.
2. Slide the plastic height adjustment spacers with threaded bolts onto the tabs along the inside of the grate frame to adjust the elevation of the frame. The spacers may be adjusted simply by turning the bolts by hand. The elevation should be set such that the frame will be flush with the surface of the tile covering.
3. Apply Schluter SET®, Schluter ALL-SET®, Schluter FAST-SET®, or unmodified thin-set mortar to the substrate and install the tiles, ensuring full coverage. Once the tile covering is set and grouted, remove the spacers from the grate frame and insert the grate.
Note: Protect the visible surfaces of the grate frame and grate from contact with setting and grouting materials. Setting and grouting materials must be removed immediately.
Data sheets
FAQ
How far from the wall is the KERDI-LINE linear drain installed?
It is installed directly against the wall, so that the channel body support is in contact with the wall. The drain...
Read moreCan I use another manufacturer’s drain with your Schluter®-Shower System?
The Schluter®-KERDI-DRAIN, Schluter®-KERDI-LINE, Schluter®-KERDI-LINE-VARIO drains are specifically designed to integrate with the Schluter®-Shower System...
Read moreWhy should I use the Schluter®-Shower System?
The Schluter®-Shower System is an integrated family of products that together form a fully bonded, watertight assembly for tiled showers...
Read moreCan the KERDI-DRAIN-STYLE and KERDI-LINE-STYLE grates fit into the original KERDI-DRAIN and KERDI-LINE frames?
No they cannot.
CAD drawings
Product Evaluations and Listings
Schluter®-KERDI was evaluated by ICC-ES - ESR-2467 Schluter®-DITRA was evaluated by ICC-ES - ESR-2467 Schluter®-KERDI is listed by cUPC® Schluter®-KERDI-DRAIN is listed by UPC® Schluter®-KERDI-DRAIN is listed by CSA® Schluter®-KERDI-LINE is listed by CSA® Schluter®-KERDI is listed by ICC-ES - PMG-1204 Schluter®-KERDI-LINE is listed by ICC-ES - PMG-1204 Schluter®-KERDI-DS is listed by ICC-ES - PMG-1204 Schluter®-KERDI-DRAIN is listed by ICC-ES - PMG-1204System Approvals
State of Kentucky State of Massachusetts
Watch & Learn
About the product

How to Install Schluter®-KERDI-LINE linear drain

How to install DITRA-HEAT electric floor warming in a shower

Schluter®-Systems-No Access Plumbing Demonstration with KERDI-LINE

Schluter®-KERDI-LINE Grate Assembly & SHOWERPROFILE-S/-R System Profiles

Schluter®-KERDI-LINE Tileable Covering Support

Mike Holmes on Schluter®-KERDI-LINE

How to Water Test a Curbless Shower

How to perform a Water Test with the Schluter®-Shower System

How to install the Schluter®-KERDI-LINE linear drain in a commercial application

How to Select Schluter®- KERDI-LINE

How to Clean your Schluter®-KERDI-LINE drain
Find some existing tutorials and project documentation videos to learn how-to get the best out of our products - for more fun in your life, start now!
Watch more videos / playlists
