Schluter®-SHELF-E
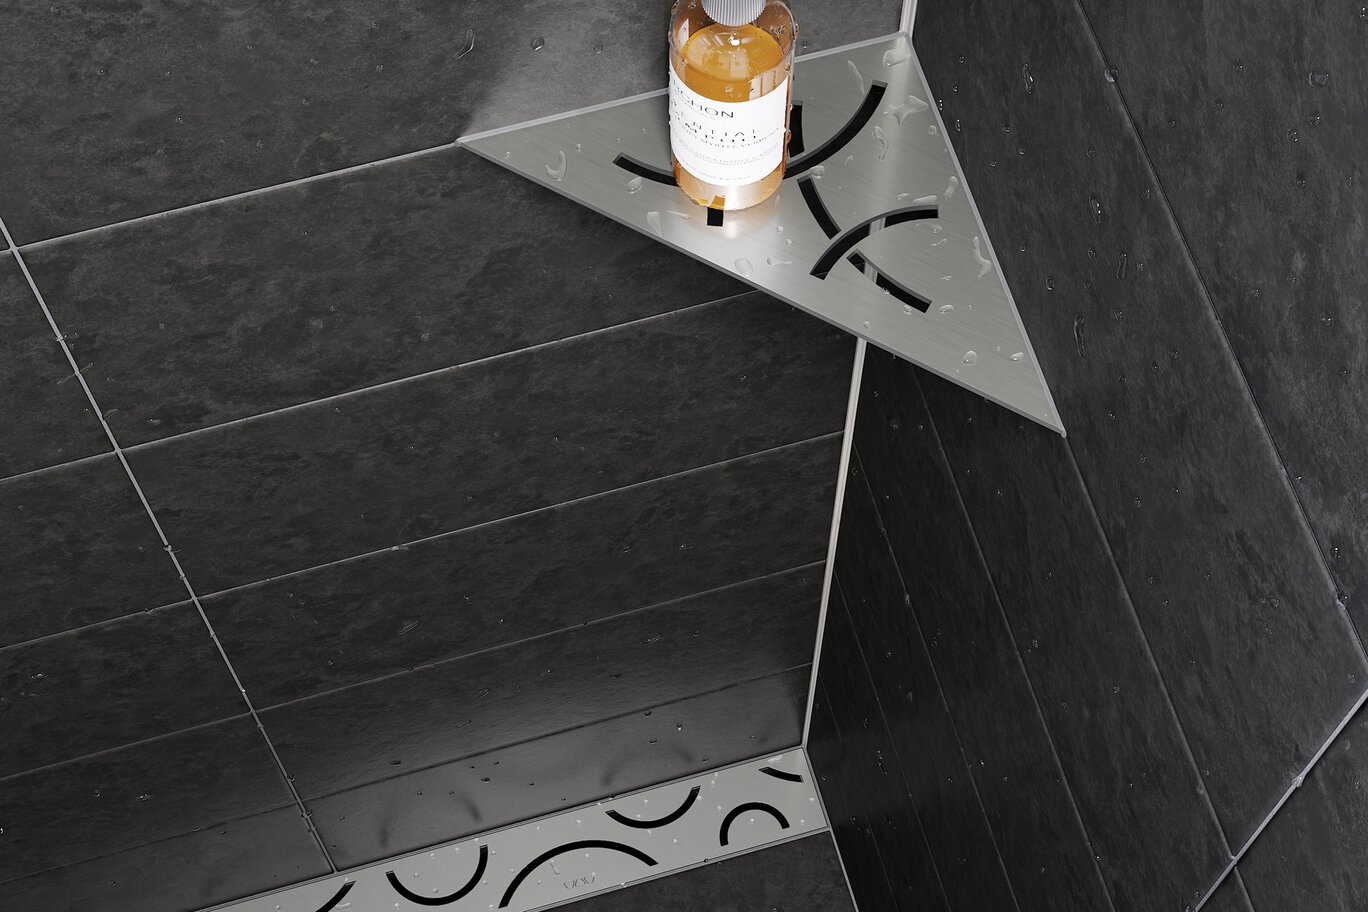
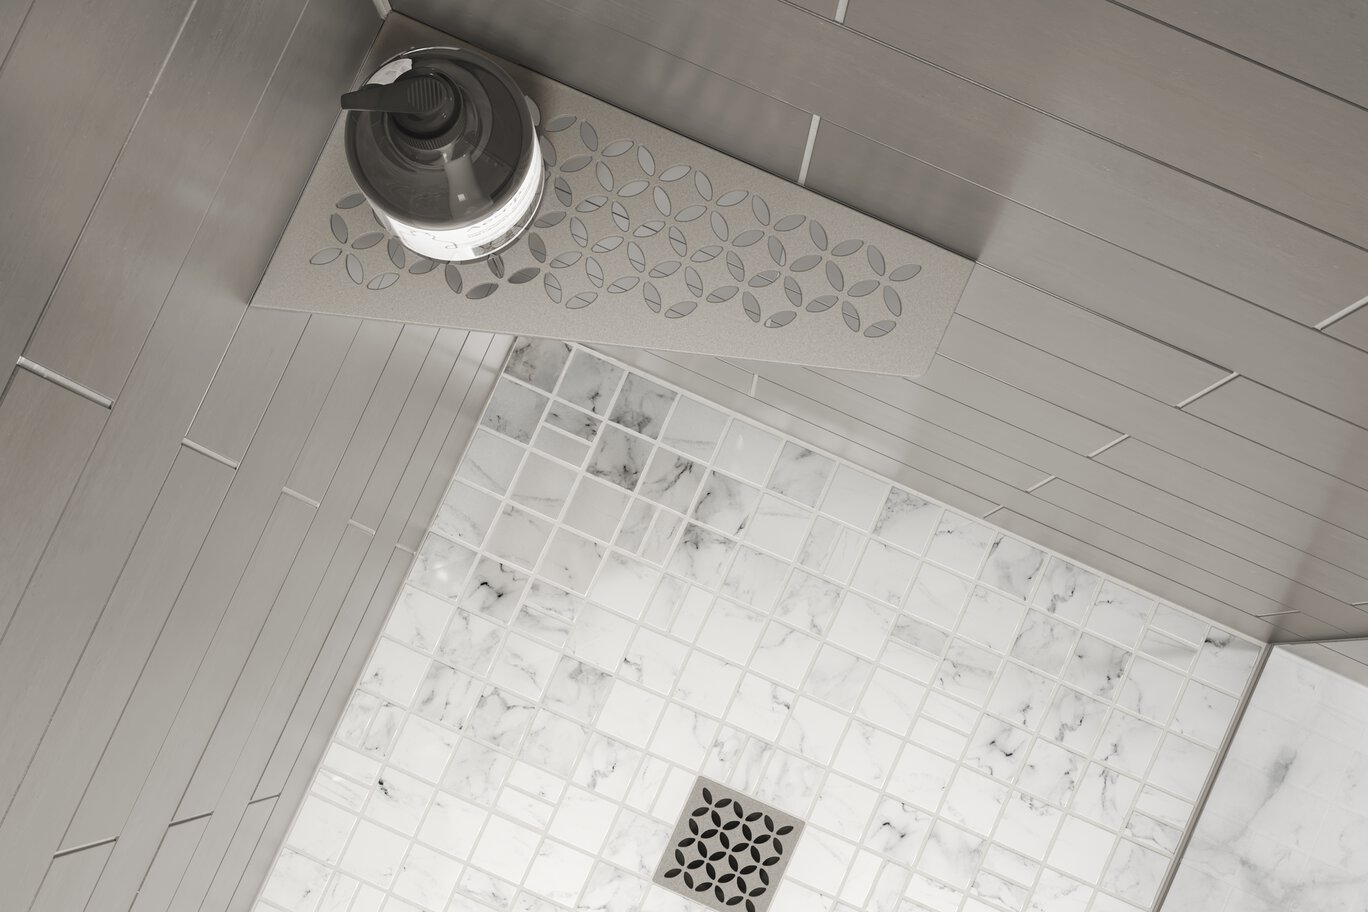
Corner shelf designed for tiled walls

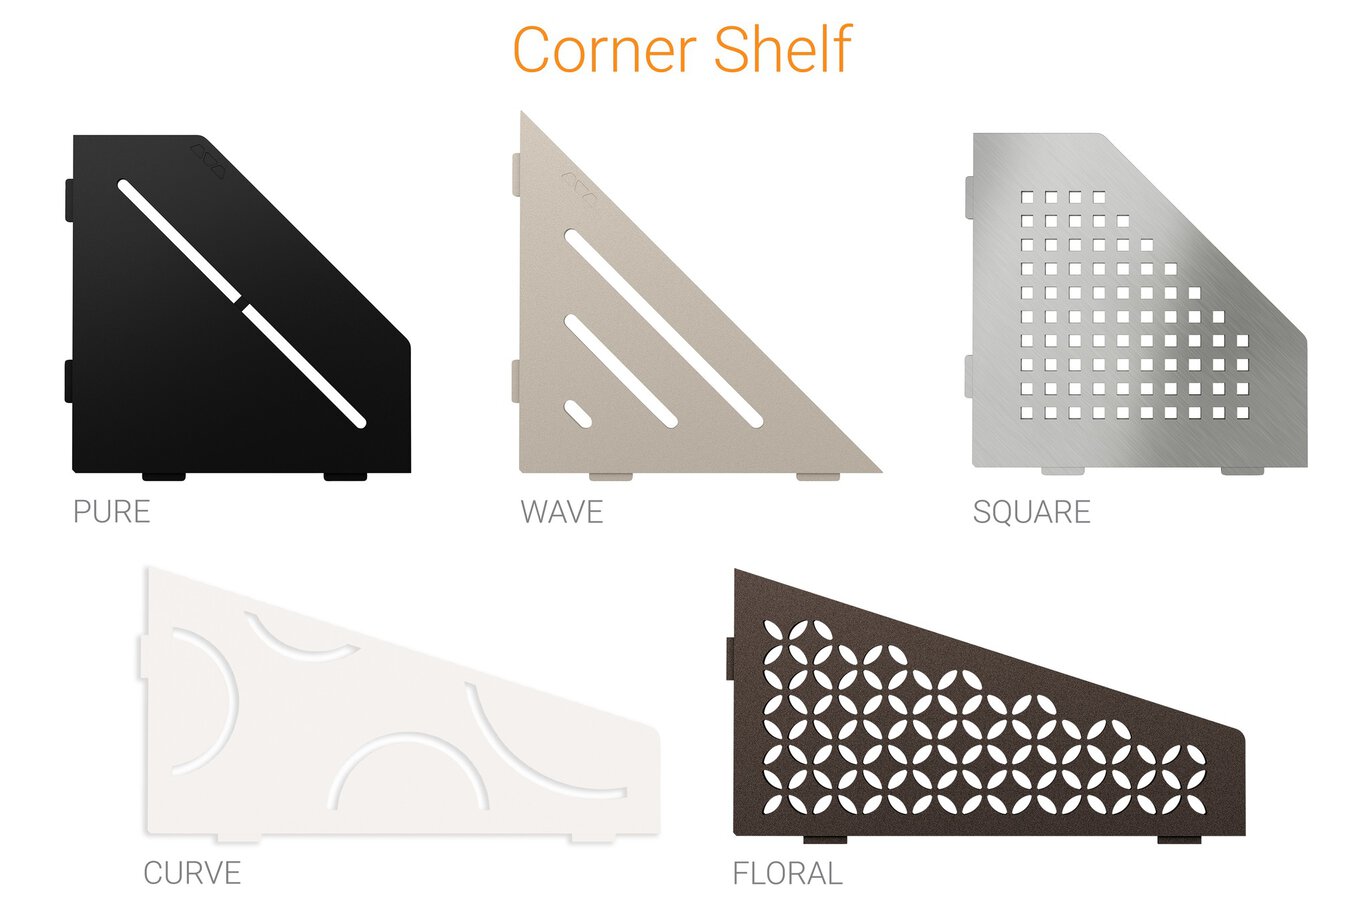
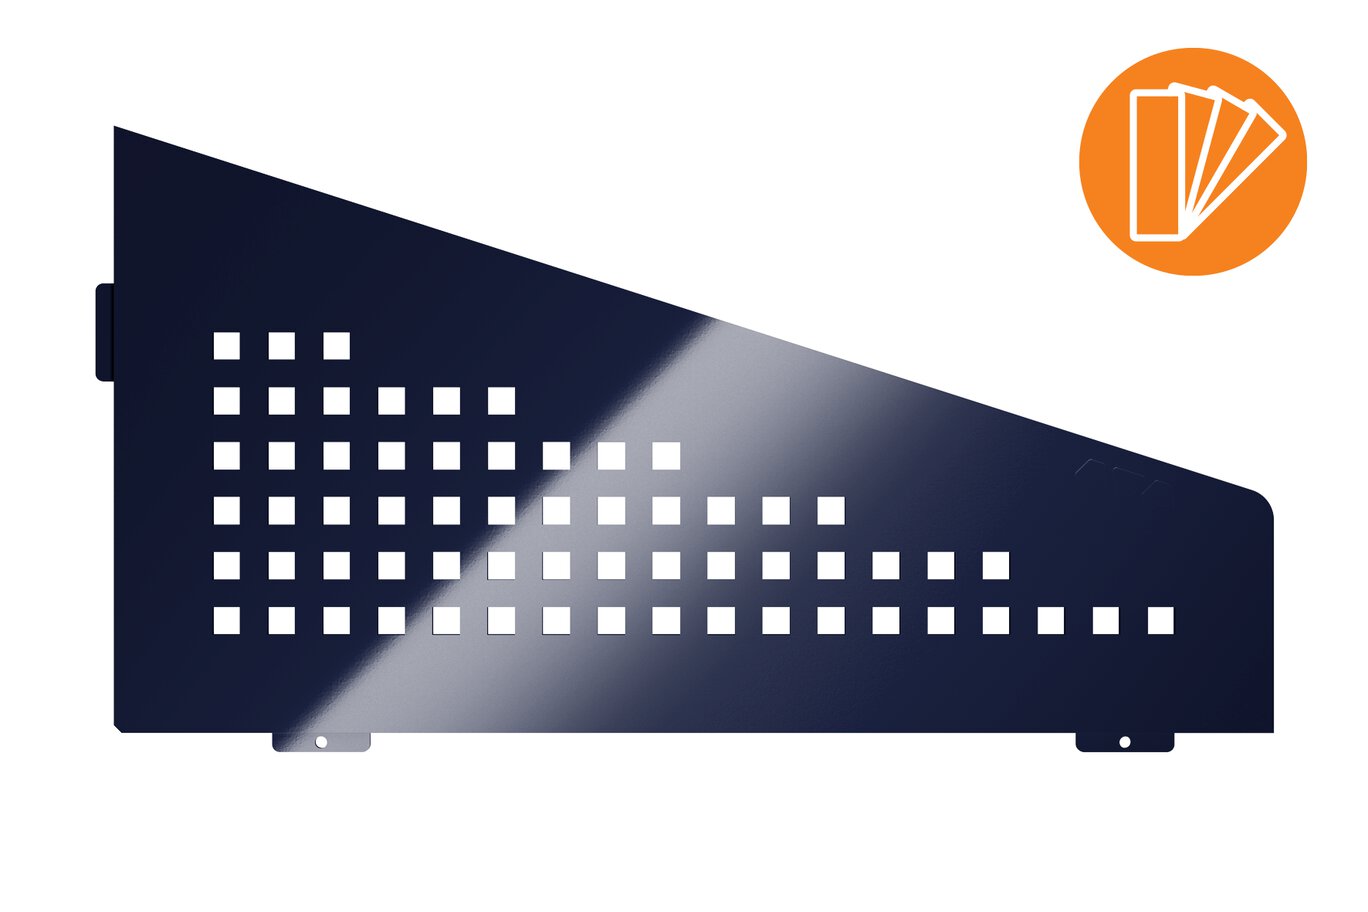
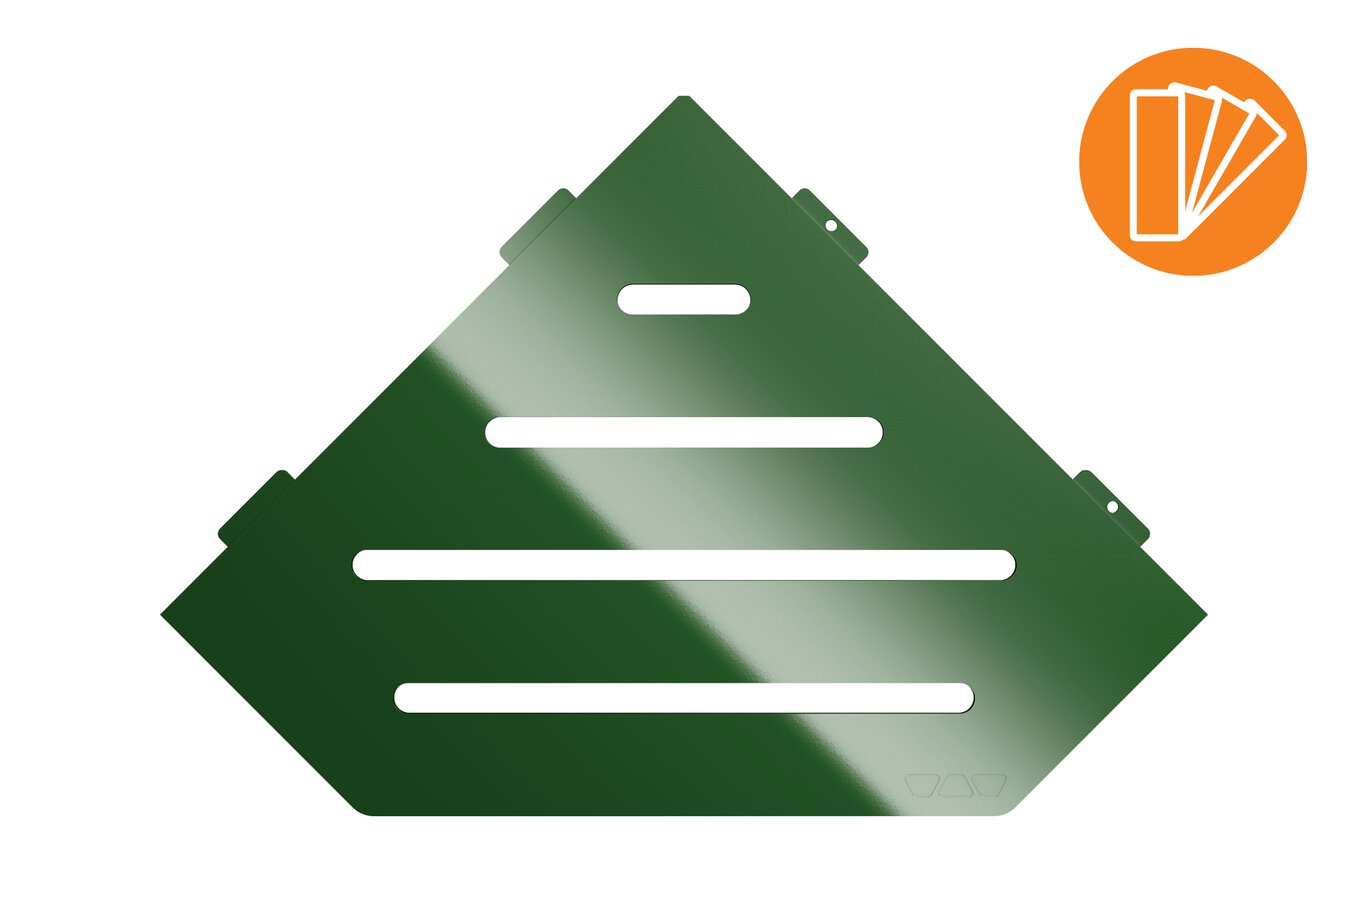
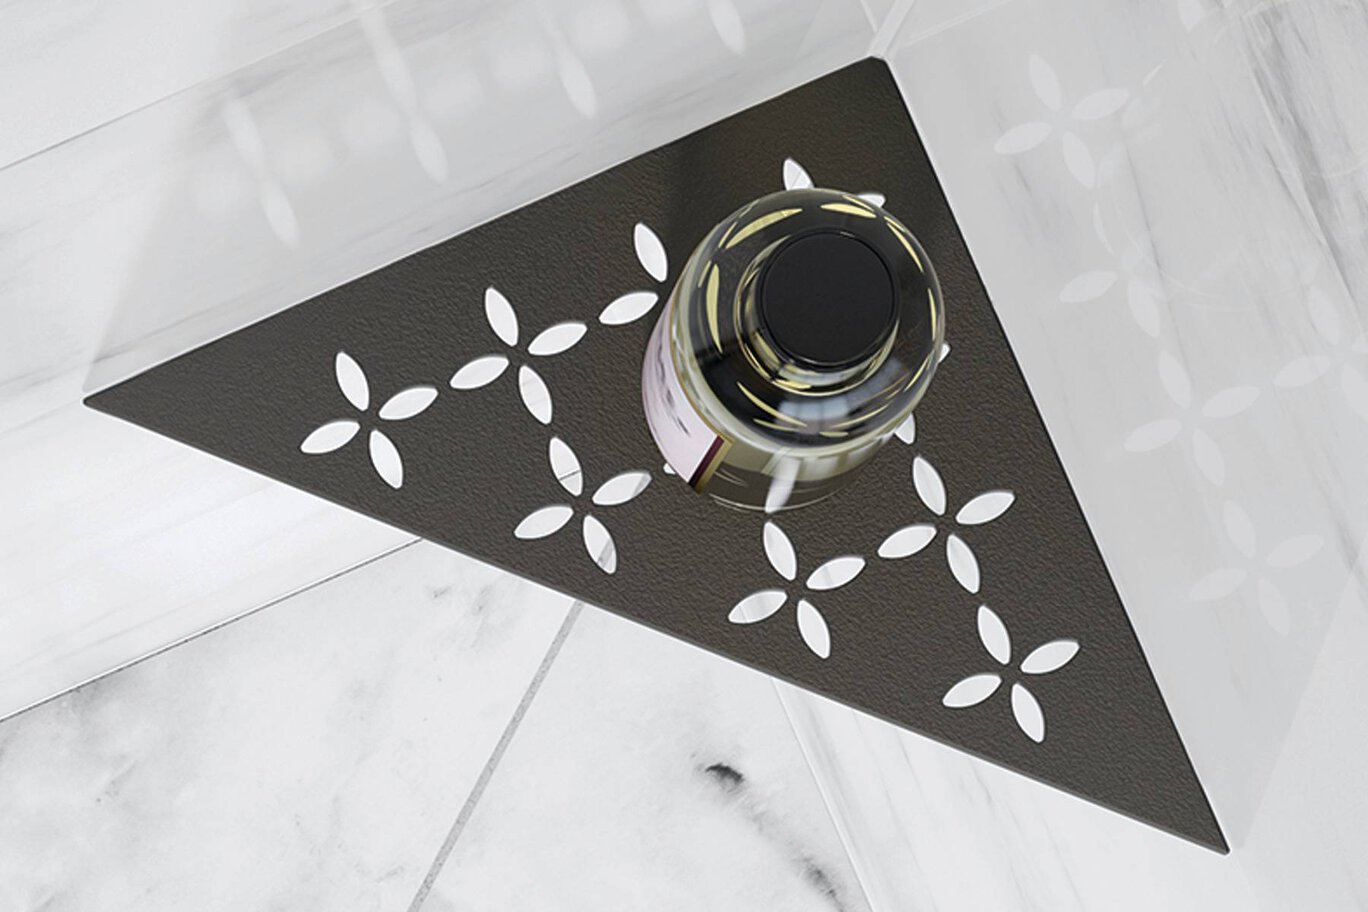
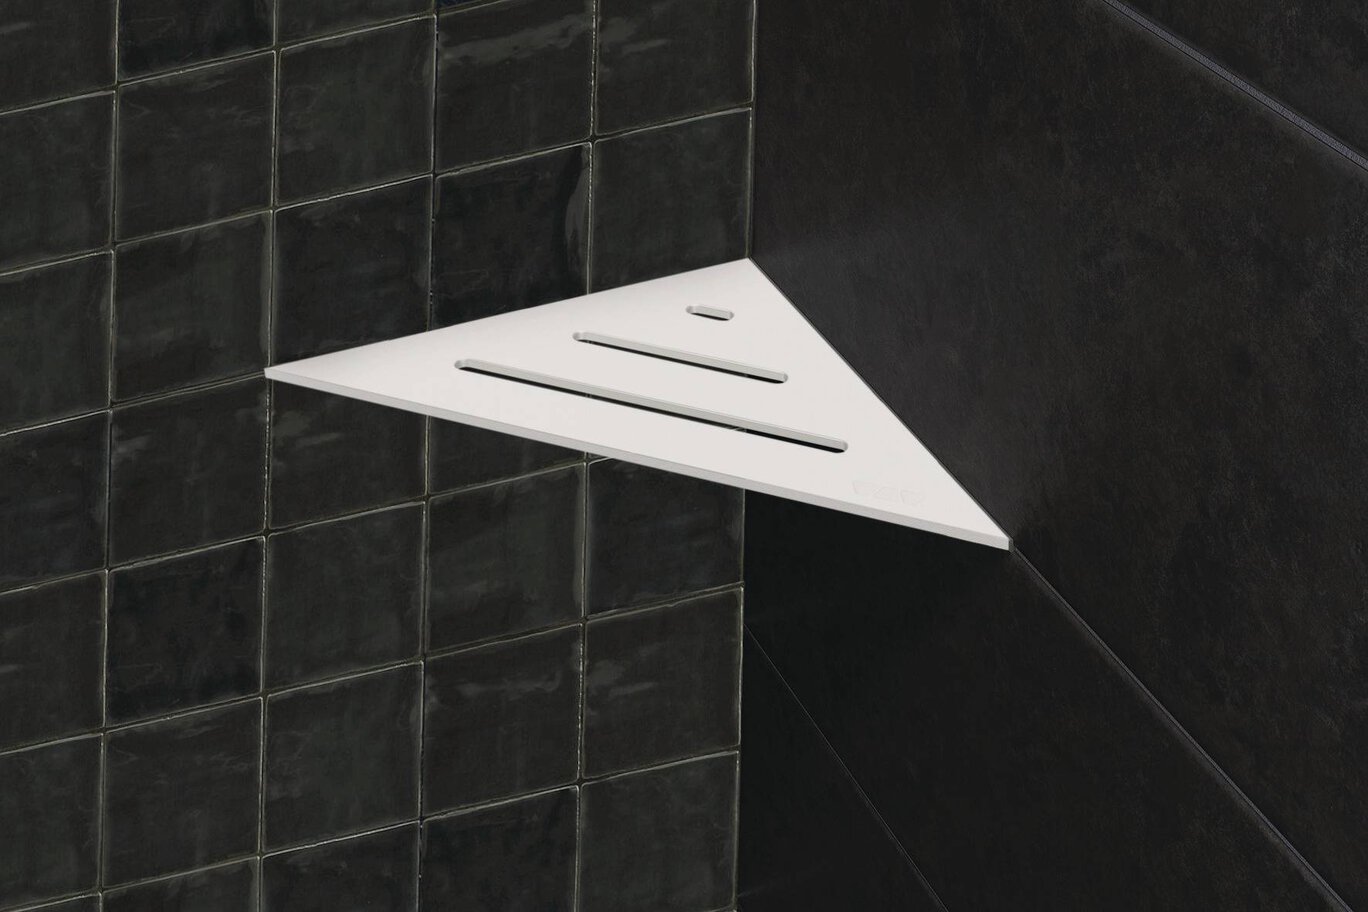
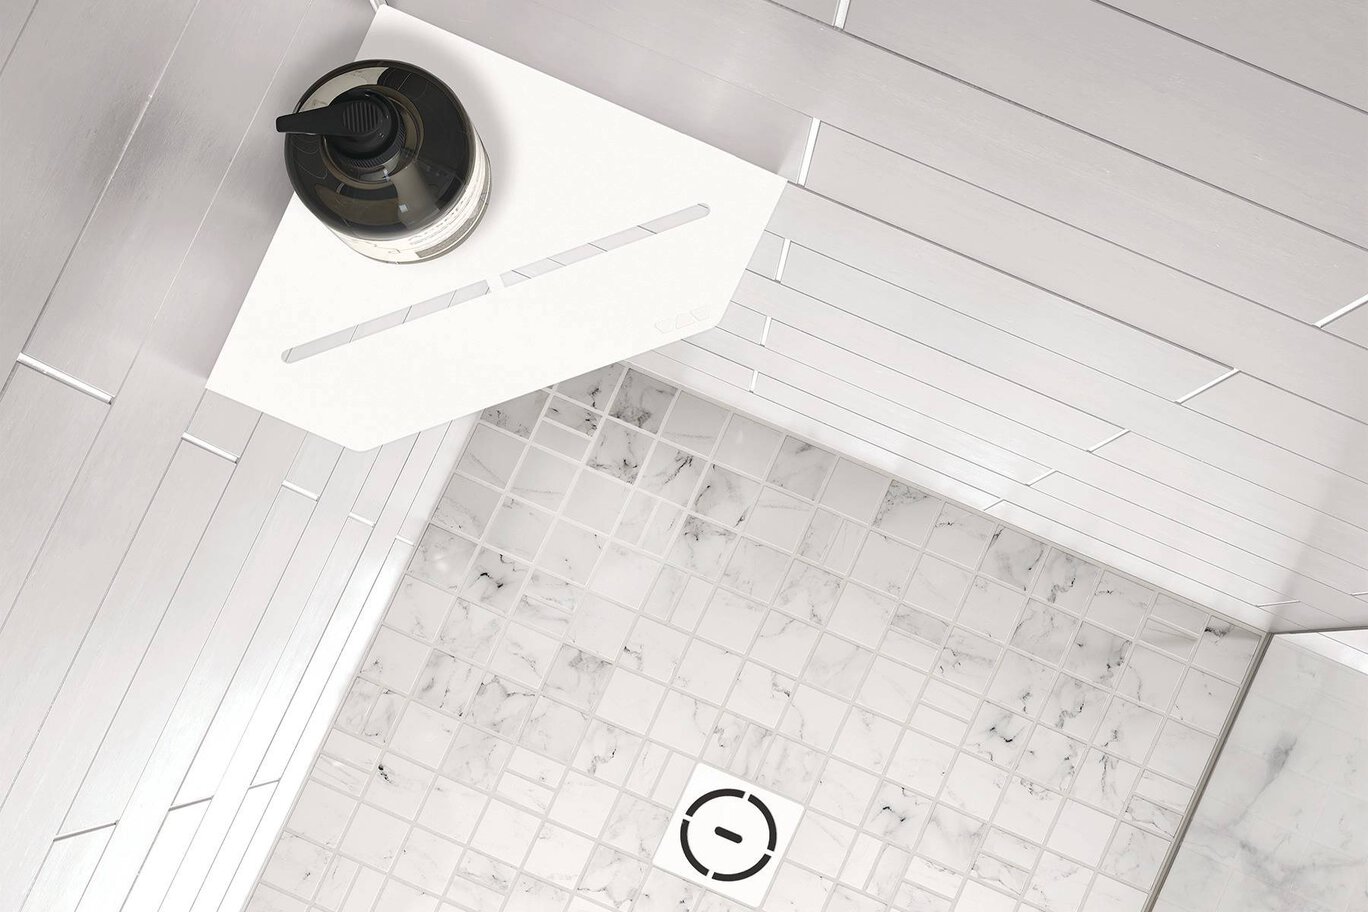
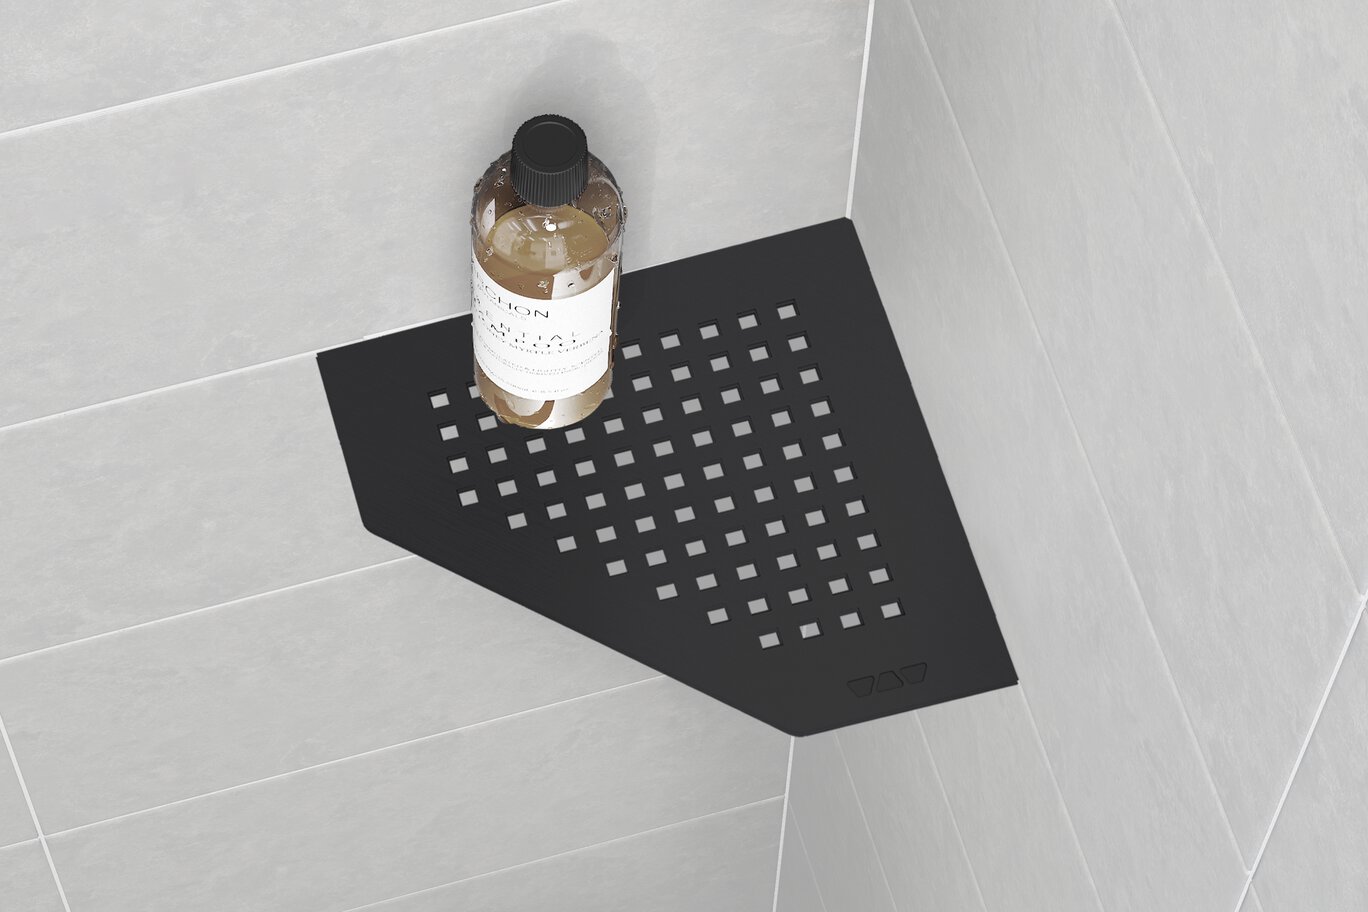
- Offered in 3 shapes: pentagonal, quadrilateral, and triangular
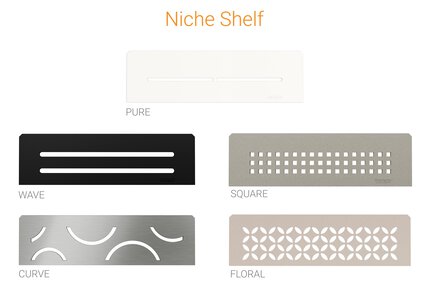
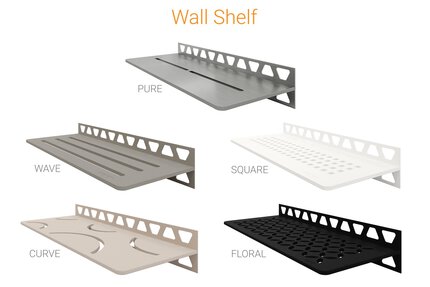
- Available in the following designs: FLORAL, CURVE, PURE, WAVE, and SQUARE
- All designs available in 9 TRENDLINE textured color-coated aluminum finishes, as well as brushed stainless steel
- Features 3/32” (2 mm) -thick anchoring tabs which integrate simply into the joint pattern without drilling
- Easy installation for both new and retrofit applications
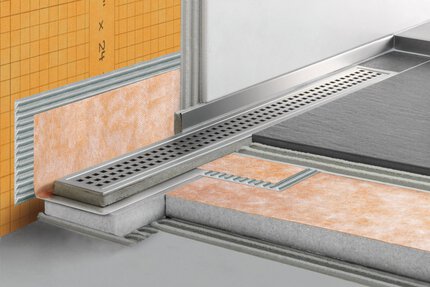
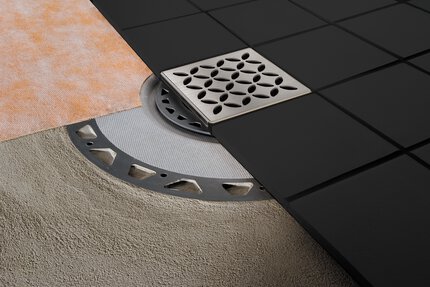
- Matching drain grates available


Find recommended accessories here

Shower System Estimator
Calculate all you need for your shower project.
Les étagères murales Schluter®-SHELF-E sont proposées en acier inoxydable brossé ou dans une gamme de finis d’aluminium coloré texturé, comprenant le gris pierre, l'étain, le crème, l'ivoire, le grège, le bronze, l'anthracite foncé, le noir mat et le blanc mat. Les étagères, d’une épaisseur de 5/32″ (4 mm), sont conçues pour s'agencer avec les drains KERDI-DRAIN et KERDI-LINE. Elles peuvent être posées dans des douches ou sur d’autres murs carrelés (ex. : dans les cuisines et salles de bain). L’étagère SHELF-E, conçue pour les coins, est offerte en trois formes. Elle est munie d’ailettes d’une épaisseur de 3/32″ (2 mm) permettant son installation à l’étape du carrelage ou ultérieurement.
Schluter®-SHELF-E requires no special maintenance or care and is resistant to mold and fungi. Clean shelves periodically using neutral cleaning agents. Avoid the use of strong acids (e.g., hydrochloric, hydrofluoric) and bases/alkaline cleaners (e.g., bleach, ammonia, chlorides). Do not use abrasive cleaning agents and tools. Even stainless steel requires periodic cleaning, which will maintain a neat appearance and reduce the risk of corrosion. Stainless steel surfaces develop a sheen when treated with a chrome-polishing agent.
Corner - installation in conjunction with tile
1. Install the wall tile with joints 3/32″ (2 mm) wide or greater and clean the setting material from the joint where the SHELF-E will be installed.
2. Mark the tiles 3/8″ (10 mm) from the outside corners of the SHELF-E.
3. Install the grout, making sure to leave the area from the marks to the inside corner open.
4. After the grout has set, fill the open joint with sealant that is suitable for the application (e.g., silicone.)
5. Insert the SHELF-E and provide temporary support as required.
6. Seal the joint between the SHELF-E and the wall tile on the top and bottom surfaces with sealant that is suitable for the application (e.g., silicone.)
7. Allow the sealant to cure prior to using the SHELF-E.
Corner - retrofit
1. Determine the grout joint where the SHELF-E will be installed.
2. Mark the tiles where the SHELF-E tabs will be inserted.
3. Remove the grout from these locations using a suitable means (grout removal hand tool, oscillating tool, angle grinder, etc.). Take care not to damage the waterproofing layer behind the tile covering.
4. Fill the gaps in the joint with sealant that is suitable for the application (e.g., silicone.)
5. Insert the SHELF-E and provide temporary support as required.
6. Seal the joint between the SHELF-E and the wall tile on the top and bottom surfaces with sealant that is suitable for the application (e.g., silicone.)
7. Allow the sealant to cure prior to using the SHELF-E.
FAQ
Can the corner SHELF be installed in applications where Schluter®-DILEX profiles are installed at inside wall corners as well?
In general, yes. Depending on the specific DILEX profile, some applications may require a little extra effort than others...
Read moreWhat is the maximum load rating for the different shelves? Can I use a SHELF as a foot support while I’m shaving my legs in the shower?
We have designed and tested the shelves to ensure that they are suitable for the intended use...
Read moreHow do I care for my SHELF?
How can I install the SHELF-E when the inside wall corner is not square?
Do I have to apply sealant at the shelf-to-wall transitions or can I use grout instead?
The use of sealant at these transitions is required for two purposes. First, the material actually seals...
Read moreWhat kind of sealant should I use?

Watch & Learn
About the product

How to Install Schluter®-SHELF-E: Retrofit

How to install Schluter®-SHELF-E: Installation with Tile
Introducing Schluter®-SHELF
Find some existing tutorials and project documentation videos to learn how-to get the best out of our products - for more fun in your life, start now!
Watch more videos / playlists