Schluter®-DILEX-AHKA
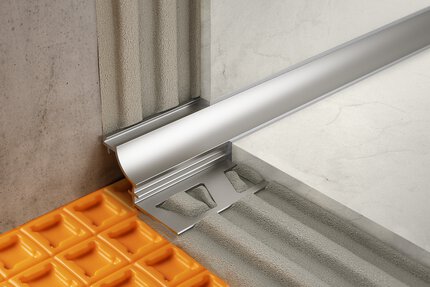
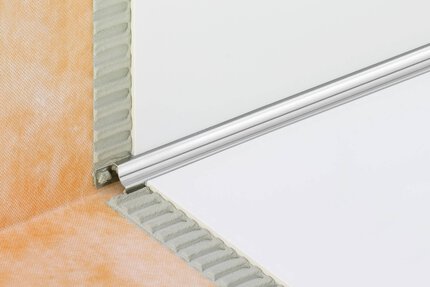
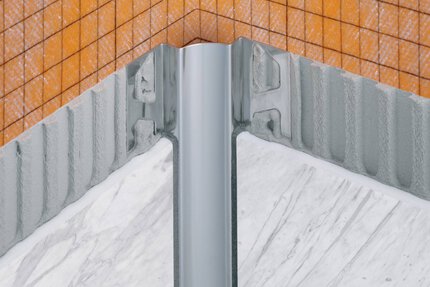
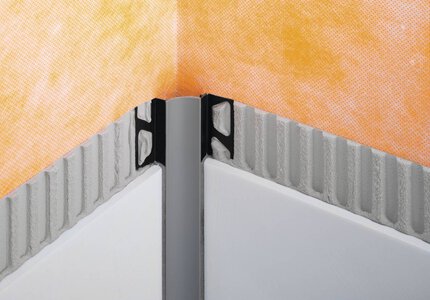
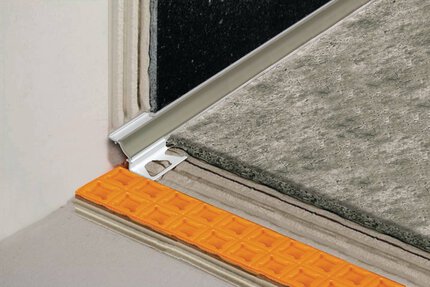
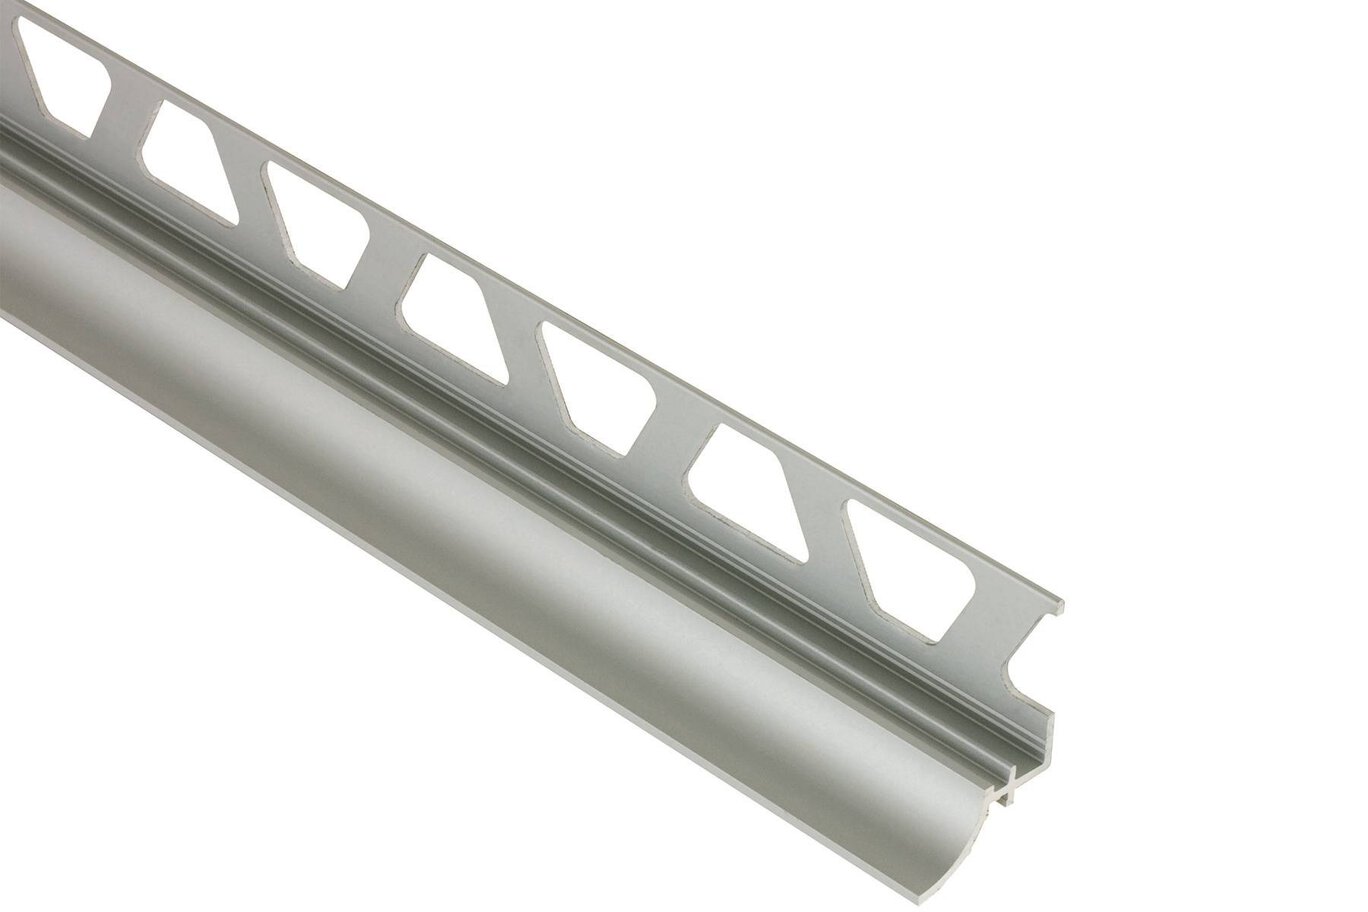
Cove-shaped profile for tile installations against existing surfaces

- Eliminates the need for caulking
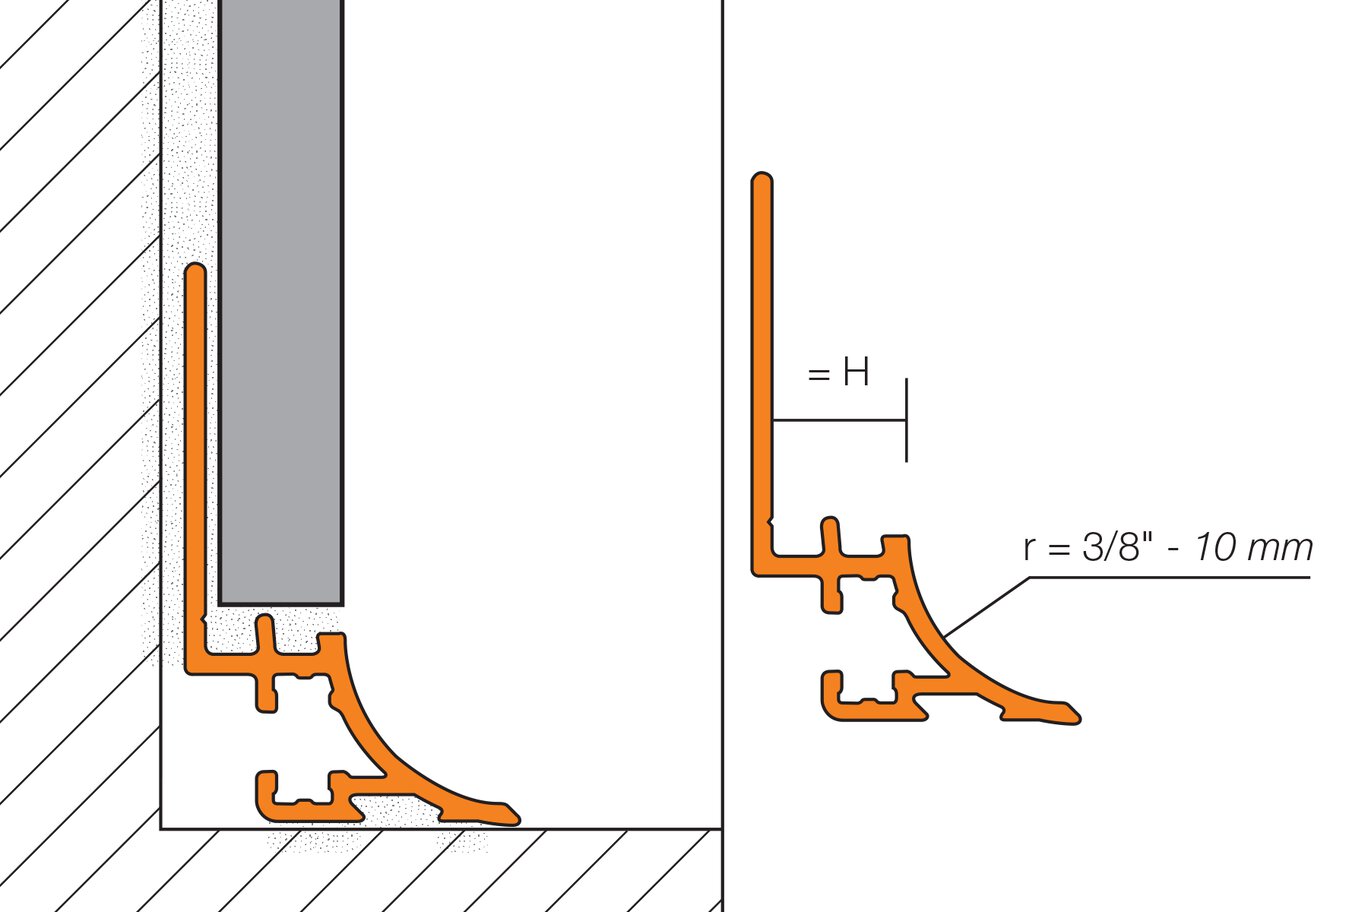
- Features a single trapezoid-perforated anchoring leg that is secured in the mortar bond coat and a dovetailed channel which is bonded to floor surfaces
- Features a 3/8"(10 mm)-wide radius to prevent water penetration and dirt accumulation, making cleaning simple
- Ideal for tiled environments with high sanitary requirements, such as commercial kitchens, bathrooms, and food processing plants
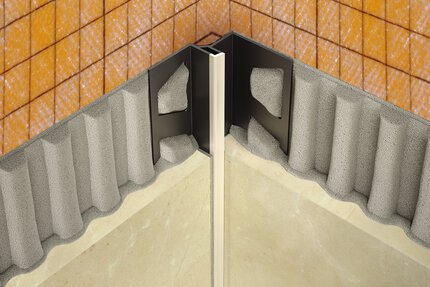
- 90° and 135° inside and outside corners, and end caps available
- Available in various finishes of anodized and color-coated aluminum



Find recommended accessories here

Profile Estimator
Discover what you need for tile protection and easy transitions.
Schluter DILEX-AHKA es un perfil de mediacaña de aluminio anodizado para transiciones entre paredes que se revestirán con baldosas y pisos previamente terminados. El perfil dispone de un ala de fijación simple perforada en forma trapezoidal que se fija en la capa de mortero adhesivo y un canal ranurado que puede pegarse a la superficie del piso con KERDI-FIX, resina epóxica, silicona, mortero de capa fina, etc. Una sección con forma de mediacaña con un radio de 3/8" (10 mm) forma la superficie visible y previene la acumulación de suciedad, facilitando la limpieza. DILEX-AHKA previene la entrada de agua y cumple con los requisitos de mantenimiento e higiene de cocinas comerciales, baños, plantas de procesamiento de alimentos y cualquier otra superficie revestida de baldosas donde se necesite un perfil de mediacaña para fines sanitarios. DILEX-AHKA se integra con los perfiles DILEX-AHK y RONDEC en las esquinas verticales interiores y exteriores de 90° de la pared, respectivamente. Para DILEX- AHKA hay disponibles esquinas interiores y exteriores de 90° y 135°, conectores y tapones terminales.
DILEX-AHKA requires no special maintenance or care and are resistant to mold and fungi. Clean profile using common household cleaning agents. In the case of anodized aluminum and color-coated aluminum do not use abrasive cleaning agents.
1. Select profile according to tile thickness and format.
2. Using a notched trowel, apply thin-set mortar over the area where the trapezoid-perforated anchoring legs will be placed.
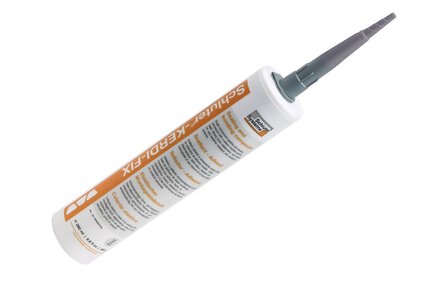
Note: If necessary, fill the dovetailed channel of DILEX-AHKA with KERDI-FIX, epoxy resin, silicone, thin-set mortar or similar to adhere the profile to the existing floor surface.
3. Press the perforated anchoring leg(s) of the profile into the mortar.
Note: Install inside and outside corners, connectors, and end caps prior to setting tile. The use of thin-set mortar or similar may be required to achieve a proper fit.
4. Trowel additional thin-set mortar where the tiles are to be installed.
5. Solidly embed the tiles, ensuring full coverage and support of the tile edges, and align flush with the top of the profile, leaving a joint of approximately 1/16" – 1/8" (1.5 - 3 mm) between the tile and the profile.
6. Fill the joints completely with grout or setting material.
FAQ
How do I cut profiles?
Schluter™ profiles are available in a variety of different materials , so methods for cutting vary. Below are best practices for cutting according...
Read moreCAD drawings
Specify our products using the


Watch & Learn
About the product

Introduction to Schluter® Profiles

Tips on How to Choose Your Profile Size in Relation to Your Tile

Tips on Cutting Profiles
Find some existing tutorials and project documentation videos to learn how-to get the best out of our products - for more fun in your life, start now!
Watch more videos / playlists