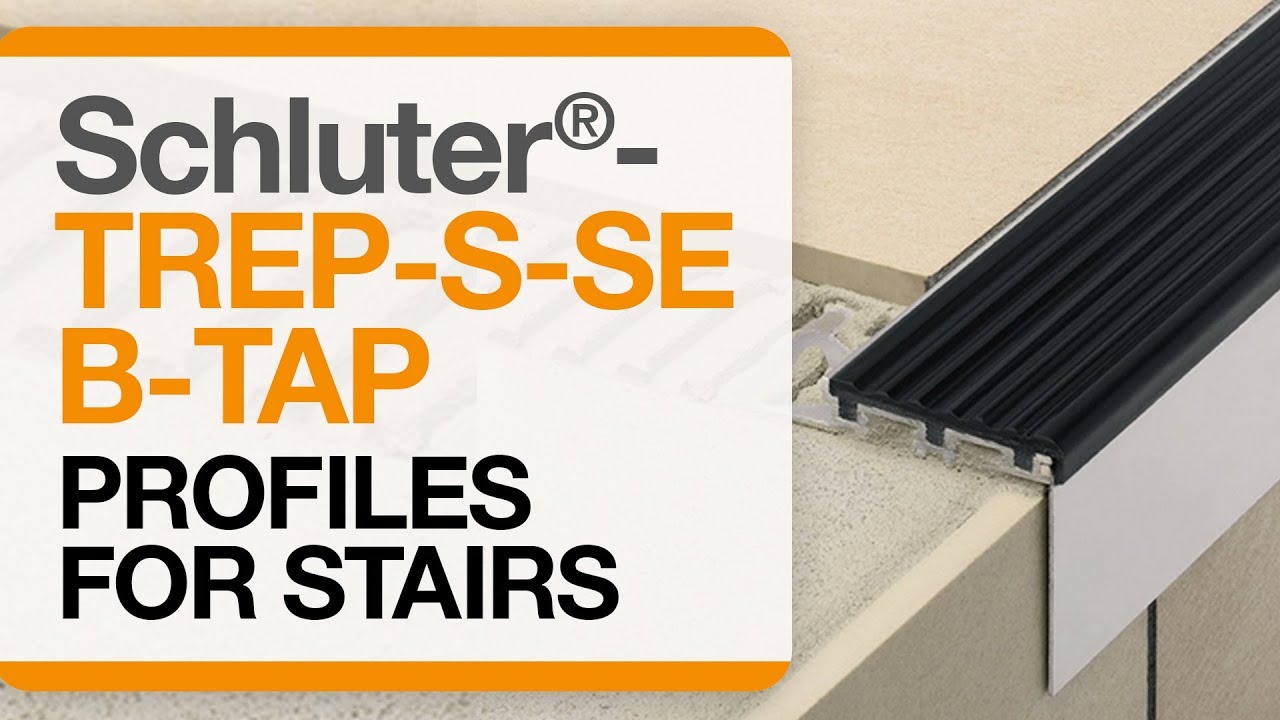
Schluter®-TREP-SE-S-B
Stair-nosing profile with slip-resistant, thermoplastic rubber wear surface

- Prevents tile edges on stairs from chipping
- Ensures a slip-resistant wear surface
- Features a trapezoid-perforated anchoring leg made of stainless steel (-SE) or aluminum (-S and –B) with a slip-resistant, thermoplastic rubber wear surface
- Ideal for offices, shopping malls, and other public areas
- Designed with a colored tread surface, which can be replaced in case of damage or wear (various colors available)
- Designed for areas exposed to heavy foot traffic
- End caps available
- Available in brushed stainless steel (-SE) or aluminum (-S or –B)


Find recommended accessories here

Profile Estimator
Discover what you need for tile protection and easy transitions.
Schluter®-TREP-SE, Schluter®-TREP-S and Schluter®-TREP-B are designed to protect tiled stair edges and provide an easily visible, slipresistant wear surface for durable, safe, and visually appealing stair-nosing design. They are suitable for use in areas subjected to heavy foot-traffic, such as offices or public buildings.
The profiles feature a trapezoid-perforated anchoring leg made of stainless steel (TREP-SE) or aluminum (TREP-S and TREP-B), which is secured in the mortar bond coat beneath the tile and supports a slip-resistant thermoplastic rubber wear surface. The tread surface of TREP-SE/-S/-B is available in a variety of colors and can be replaced in case of damage or wear.
TREP-B features a 2-1/8" (52 mm)-wide wear surface, allowing the designer to easily produce stairs with the first and last steps marked by a 2" (50 mm)- wide strip in a contrasting color to increase visibility and safety.
The leading edges of TREP-S, TREP-SE and TREP-B have a 5/16" (8 mm) radius. Matching end caps are available.
The Schluter®-TREP-SE and Schluter® TREP-S and Schluter® TREP-B stair nosing profiles require no special maintenance or care and is resistant to mold and fungi. Clean profiles periodically using neutral cleaning agents. The treads of TREP-SE, TREP-S. and TREP-B can be replaced in case of damage or wear.
The treads of TREP-SE, TREP-S, and TREP-B can be replaced in case of damage or wear.
1. Select profile according to the tile thickness and format.
2. Install riser tile flush with the stair tread surface.
3. Using a notched trowel, apply thin-set mortar along edge area above riser.
4. Fill the cavity on the underside of the profile with thin-set mortar.
5. Press the trapezoid-perforated anchoring leg of the profile into the thin-set mortar, making sure the front edge of the support section is aligned flush with the riser tile. Full coverage must be obtained at the edge area to ensure support of the tile.
6. Trowel additional thin-set mortar over the perforated anchoring leg and the stair tread surface to ensure full coverage and support of the tile edges.
7. Solidly embed the tiles so that the tiled surface is flush with the top of the profile.
8. A joint of approx. 1/16" - 1/8" (1.5 - 3 mm) should be left between the tile and the profile.
9. Fill the joint completely with grout or setting material.
FAQ
How do I cut profiles?
Schluter™ profiles are available in a variety of different materials , so methods for cutting vary. Below are best practices for cutting according...
Read moreCAD drawings
Specify our products using the


Watch & Learn
About the product
How to install tile edge trim on stairs: Schluter®-TREP-S/-SE/-B/-TAP profiles
Introduction to Schluter® Profiles

Tips on How to Choose Your Profile Size in Relation to Your Tile

Tips on Cutting Profiles
Find some existing tutorials and project documentation videos to learn how-to get the best out of our products - for more fun in your life, start now!
Watch more videos / playlists


