Schluter®-KERDI-DS
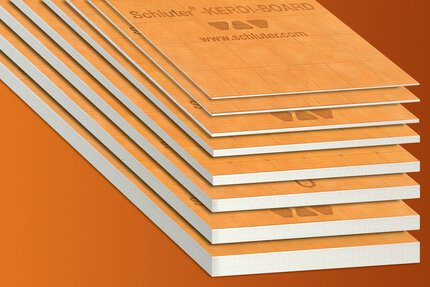
Bonded waterproofing and vapor-retardant membrane
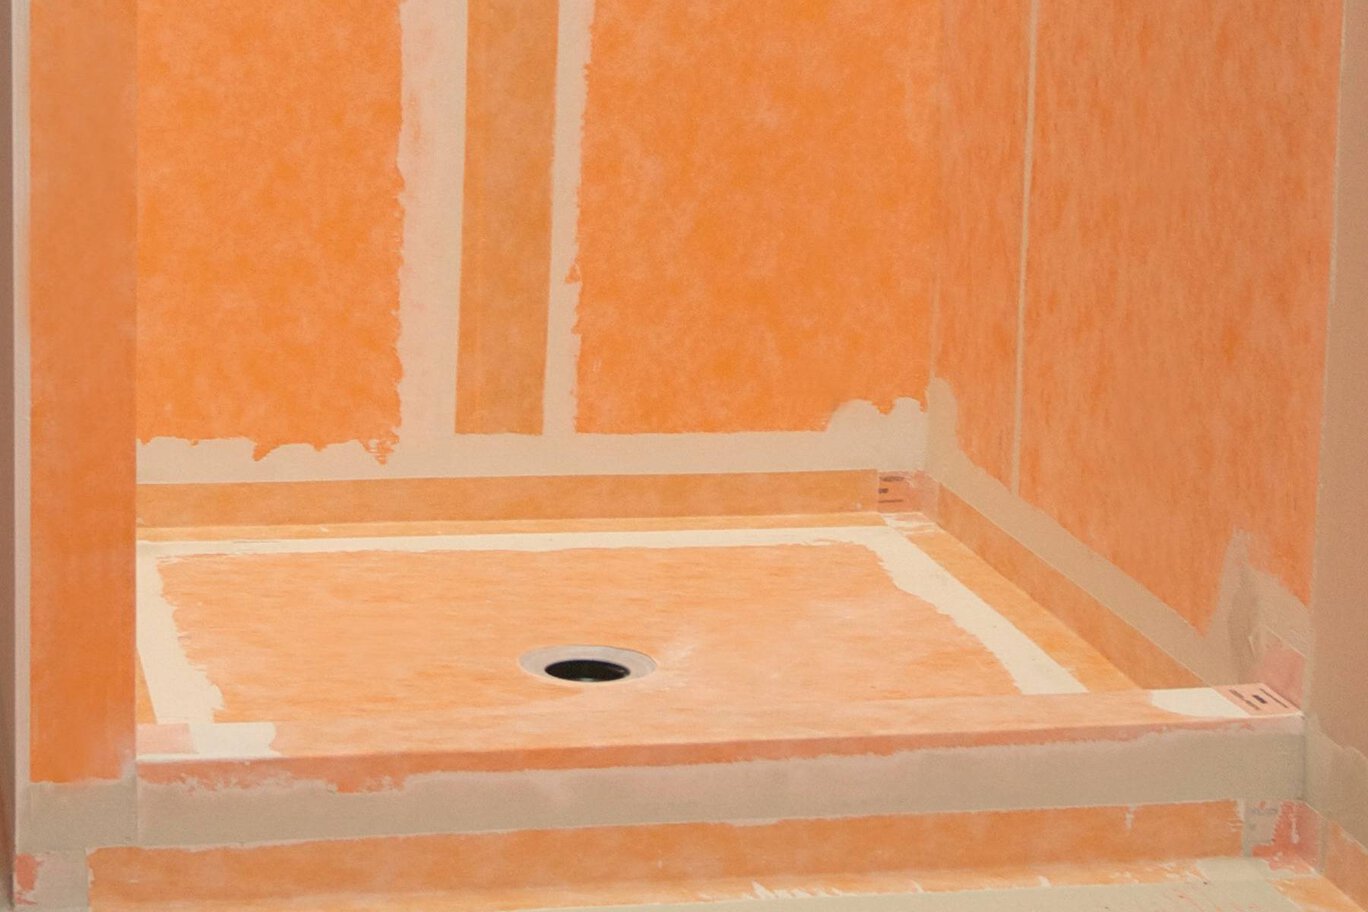
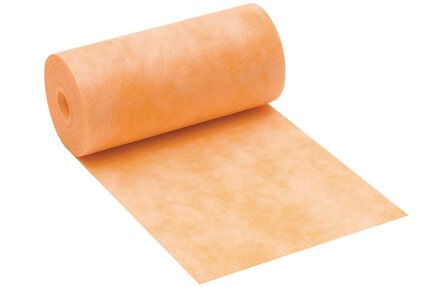
- Sheet-applied polyethylene waterproofing membrane and vapor retarder
- Eliminates water damage which can lead to mold and mildew
- Features a high-density polyethylene (HPDE) core with non-woven polypropylene on both sides
- Features an anchoring fleece on both sides to anchor the membrane in thin-set mortar
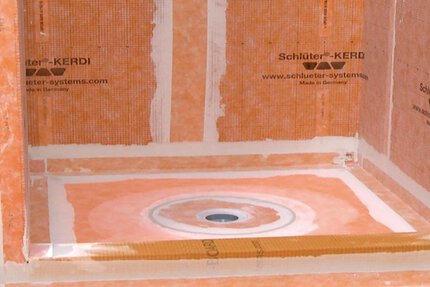
- Ideal for waterproofing in conjunction with tiled surfaces on walls and floors
- KERDI-DS is 20-mil thick, and includes additives to produce a water vapor permeance of 0.19 perms
- Listed by cUPC® and evaluated by ICC-ES
Find recommended accessories here
Shower System Estimator
Calculate all you need for your shower project.
Membrane Estimator
Calculate all your membrane requirements for your project.
Schluter®-KERDI-DS is a bonded waterproof membrane and vapor retarder with very low water vapor permeance for use in continuous use steam rooms and similar applications.
KERDI-DS has been evaluated according to the “Standard Method for the Testing and Evaluation of Volatile Organic Chemical Emissions from Indoor Sources Using Environmental Chambers, Version 1.1” for California Specification 01350 and found to comply with the VOC requirements. California Specification 01350 is referenced by various green building standards and rating systems.
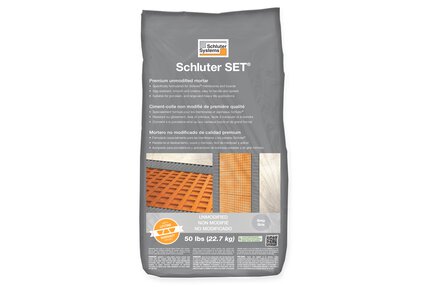
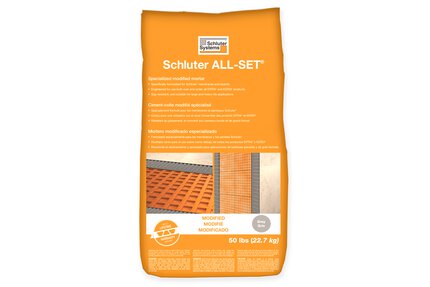
1. The substrate must be clean, even, and load bearing. The thin-set mortar used for bonding KERDI-DS must be appropriate for the substrate, and it must penetrate and engage the fleece. Generally, an Schluter-SET, Schluter-ALL-SET, Schluter-FAST-SET, or unmodified thin-set mortar is used. Cut KERDI-DS to size prior to application.
2. Apply thin-set mortar to the substrate using a 1/4" x 3/16" (6 x 5 mm) V-notched trowel or the KERDI-TROWEL, which features a 1/8" x 1/8" (3 x 3 mm) square-notched design (Note the open time of the mortar). Press KERDI-DS fully into the bond coat. Work the KERDI-DS into the mortar by applying pressure to the membrane with the flat side of the trowel (held at an angle) in smooth, diagonal sweeps. Air bubbles must be avoided.
3. Seams can be constructed by overlapping the edges of the KERDI-DS by 2" (5 cm) using Schluter-SET, Schluter-ALL-SET, Schluter-FAST-SET, or unmodified thin-set mortar, or by abutting the edges and covering the joint with KERDI-BAND using Schluter-SET, Schluter-ALL-SET, Schluter-FAST-SET, or unmodified thin-set mortar.
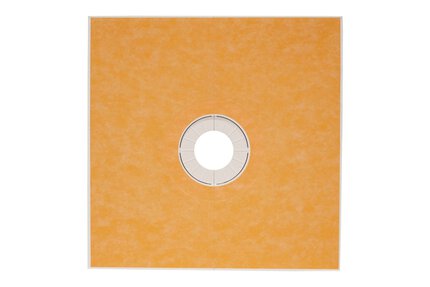
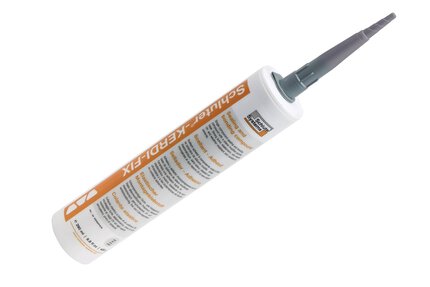
4. For inside and outside corners, adhere pre-formed KERDI-KERECK-F corners. For floor/wall connections, use KERDI-BAND. Install KERDI-SEAL-PS pipe seals at showerhead, body sprays, etc. and KERDI-SEAL-MV at the mixing valve. As an alternative to KERDI-SEAL- PS/-MV, KERDI-FIX or other suitable sealant can be used to seal pipe protrusions and protect moisture sensitive solid backing panels at the mixing valve.
5. Connections to fixed building elements can be achieved by using KERDI-DS, KERDI-BAND, or KERDI-FLEX in conjunction with KERDI-FIX, suitable trowel-applied waterproofing materials (such as urethane or similar), that require atmospheric moisture to cure, or other suitable sealing compounds.
6. KERDI-DS shall be separated at existing expansion, structural and flexible edge joints. Cover the joints with KERDI-FLEX. To allow for greater movement, the center section of the KERDI-FLEX can be tucked into the cavity of the expansion joint prior to bonding.
7. Once the entire membrane—with seams, corners, and connections—has been completely bonded, and therefore waterproofed, the covering may be applied.
Note: Water testing of the assemblyPrior to setting tile, wait 24 hours to allow for final set of the mortar before testing to ensure waterproof performance of the assembly at seams and connections.
8. For tile installations using the thin-bed method, apply Schluter-SET, Schluter-ALL-SET, Schluter-FAST-SET, or unmodified thin-set mortar directly to the exposed KERDI-DS surface and install the tiles, ensuring full coverage. For acid-resistant coverings, use an epoxy adhesive to set and grout the tile.
For complete installation guidelines and warranty criteria for KERDI-DS in continuous use steam rooms, please download the Schluter®- Shower System Installation Handbook and view the installation videos available below.
Warranties
FAQ
How do I know if the thin-set mortar is modified or unmodified?
In general, unmodified thin-set mortar is a blend of Portland cement, sand, and water retention agents that is mixed with...
Read moreHow far up the wall do I need to install the Schluter®-KERDI?
For showers and bathtub surrounds, KERDI must be carried to the height of the showerhead at minimum...
Read moreWhat size notched trowel should I use to install Schluter®-KERDI?
A 1/4" x 3/16" (6 mm x 5 mm) V-notched trowel or the Schluter™-KERDI-TROWEL is recommended..
Read moreHow do I seal Schluter®-KERDI to a bathtub?
There are two methods to seal KERDI to a bathtub. Please refer to the Schluter®-Shower System Installation Handbook...
Read moreHow long do I have to wait before I can install tile on the Schluter®-KERDI membrane?
Once the KERDI membrane, including seams, corners and protrusions have been completely bonded and, therefore, waterproofed...
Read moreWhat is the proper thin-set mortar consistency for installation of Schluter®-KERDI/-KERDI-DS?
When installing KERDI/-KERDI-DS the unmodified thin-set mortar is mixed to a fairly fluid consistency, but still able to hold a notch...
Read moreProduct Evaluations and Listings
Schluter®KERDI was evaluated by ICC-ES - ESR-2467 Schluter®-DITRA was evaluated by ICC-ES - ESR-2467 Schluter®-KERDI is listed by cUPC® Schluter®-DITRA is listed by cUPC® Schluter®-KERDI-DRAIN is listed by UPC® Schluter®-KERDI-DRAIN is listed by CSA® Schluter®-KERDI is listed by ICC-ES - PMG-1204 Schluter®-KERDI-DS is listed by ICC-ES - PMG-1204 Schluter®-KERDI-DRAIN is listed by ICC-ES - PMG-1204System Approvals
State of Kentucky State of Massachusetts State of MichiganState of Wisconsin Schluter Systems holds a Los Angeles Research Report (LARR) for Kerdi - File M-100022 Schluter Systems holds a Los Angeles Research Report (LARR) for Kerdi-Drain - File M-100023
Watch & Learn
About the product

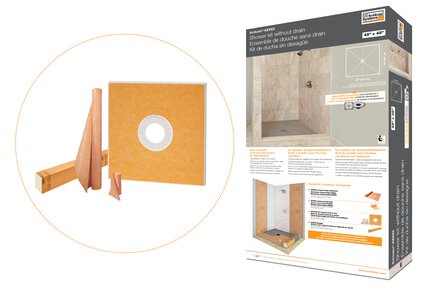
How to waterproof your shower installation with the Schluter®-KERDI-SHOWER-KIT Complete Kit

Scott McGillivray on Waterproofing Principles using Schluter®-Systems

Shower Systems: Schluter® Sealed System vs. Traditional System

Schluter®-Systems Warranties
Find some existing tutorials and project documentation videos to learn how-to get the best out of our products - for more fun in your life, start now!
Watch more videos / playlists
