Schluter®-KERDI-BOARD-KIT
Complete bathtub and shower base surround kit
- KERDI-BOARD panels are applied directly to stud framing
- Kit covers up to 101 ft² (9.4m²) of wall area
- Eliminates need for gypsum and cement board
- Waterproof and vapor tight to prevent mold growth
- Quick and easy to install
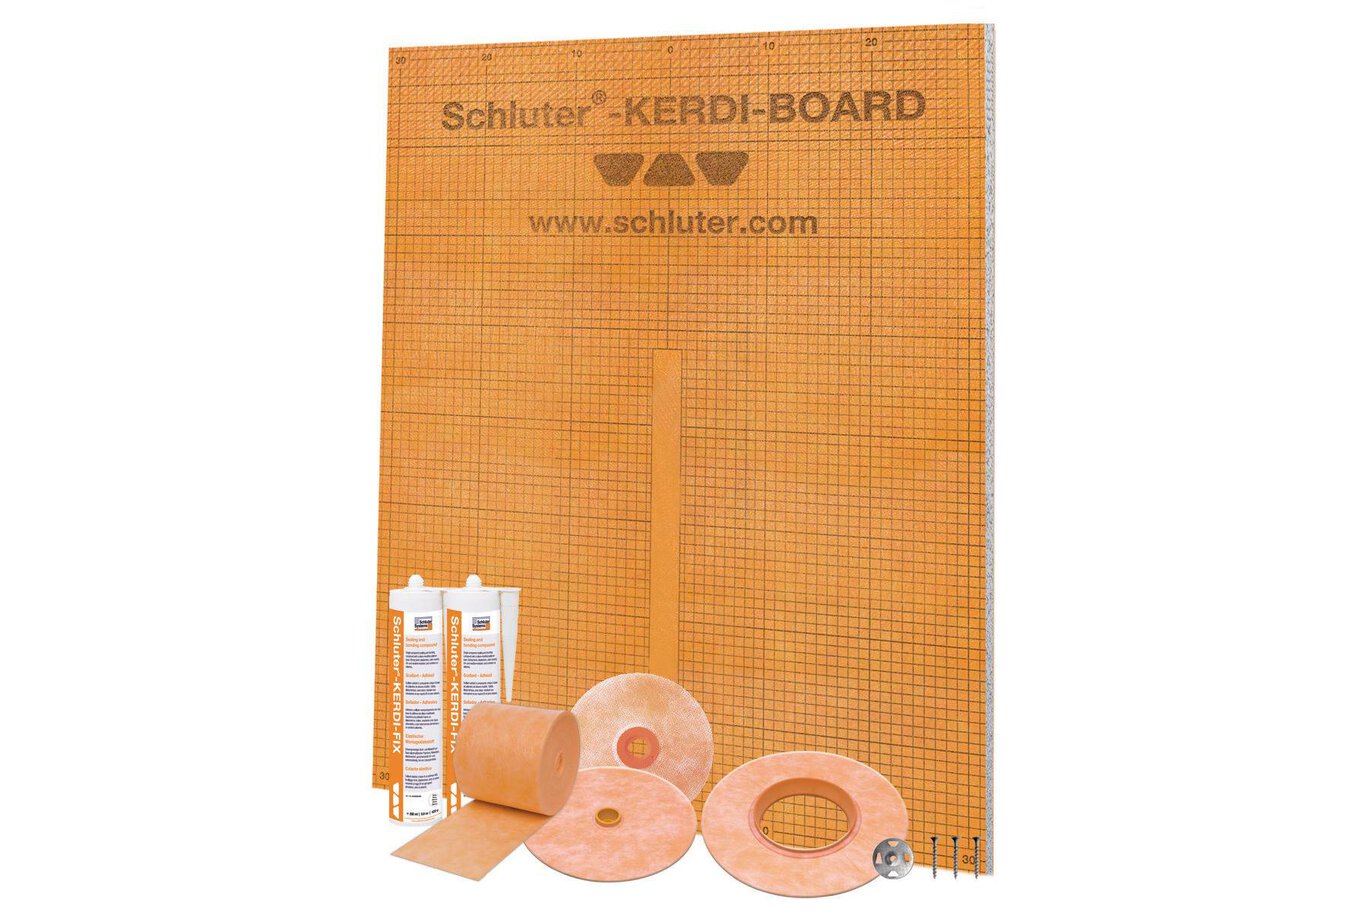
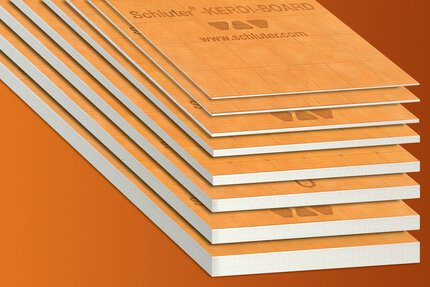
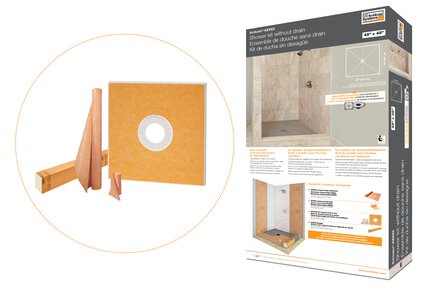
- Includes ½”x 48” x 38” (1.25 cm x 122 cm x 97 cm) KERDI-BOARD waterproofing panels, KERDI waterproofing band, pipe and mixing valve seals, screws and washers, plus 290 ml of KERDI-FIX sealant in bright white
Find recommended accessories here
KERDI-BOARD Estimator
Calculate your building panels for a quick and easy waterproof installation.
Shower System Estimator
Calculate all you need for your shower project.
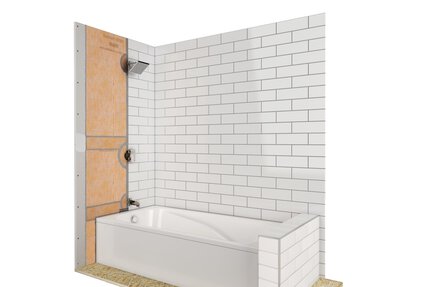
The Schluter®-KERDI-BOARD-KIT combines all of the necessary components to waterproof and tile ready the walls of your bathtub and acrylic shower base using waterproof building panels. The KERDI-BOARD-KIT provides enough KERDI-BOARD to cover up to 101 ft² (9.4 m²) of wall area. For example, in installations with standard 8 ft. ceilings, the panels included will cover 12 linear feet (3.6 m).
Notes:
- The waterproofing is carried to the height of the showerhead (at minimum). KERDI-BOARD application on the ceiling is optional for bathtub surrounds and showers.
- Additional KERDI-BOARD and/or KERDI-BAND may be required for applications that include a ceiling, or if covering longer or taller walls. Grab bars or other heavy objects must be anchored in the structure or solid blocking behind KERDI-BOARD.
- Installation instructions for other applications of KERDI-BOARD (e.g. fully embedded or spot-bonded over solid backing) can be found in the Schluter®-KERDI-BOARD technical data sheet.
KERDI-BOARD should be stored flat. In case of outdoor storage, protect the material from direct sunlight and weather exposure.
1. KERDI-BOARD can be mounted vertically or horizontally on framing with appropriate screws (e.g., KERDI-BOARD-ZS coarse thread screws for wood studs [included] and corresponding KERDI-BOARD-ZT washers [included].) If applying over metal studs, use self-tapping screws.
Minimum board thickness = 1/2" (12.5 mm) for studs spaced at 16" (40.6 cm) o.c.; 3/4" (19 mm) for studs spaced at 24" (61.0 cm) o.c.. Screws must reach a depth of at least 3/4" (20 mm) in wood studs. For metal studs, screws should reach a depth of at least 3/8" (10 mm).
2. Leave a 1/4" (6 mm)-gap between the bottom edge of KERDI-BOARD and the top of the tub or acrylic shower pan. The back of the KERDI-BOARD can be routered to cover the tub/pan flange.
3. The vertical edges of each panel should be positioned over the center of a stud or other solid backing. If necessary, KERDI-BOARD panels can be cut easily with a utility knife and straight edge. Screws may be placed between adjacent panels such that the washers fasten both panel edges. The maximum allowable on-center fastener spacing is 12" (30 cm) for walls and 6" (15 cm) for ceilings.
4. Place painter’s tape at inside corners of the tub deck or shower base for protection.
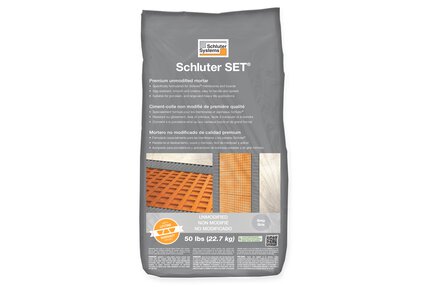
Apply a minimum of 5" (125 mm) of Schluter SET™, ALL-SET™, FAST-SET™, or unmodified thin-set mortar to the KERDI-BOARD using the KERDI-TROWEL or a 1/4" x 3/16" (6 mm x 5 mm) V-notched trowel. Use KERDI-FIX to completely fill the 1/4" (6 mm)-wide gap between the KERDI-BOARD and tub.
Note: When KERDI-BOARD is installed above the tub flange, apply KERDI-FIX to the tub flange and spread using a small-notched trowel.
5. Apply KERDI-BAND waterproofing strips. Solidly embed the membrane in the mortar and KERDI-FIX to ensure full coverage and remove air pockets.
6. KERDI-BOARD joints, corners, and fastener penetrations are sealed with KERDI-BAND, ensuring a minimum 2" (50 mm) overlap. Any protrusions through the panel (e.g., mixing valve, shower head, etc.) must be sealed with KERDI-SEAL-PS/-MV, or KERDI-FIX.
Note: KERDI-BAND can be folded in half to help corner installation.
Warranties
FAQ
How do I connect Schluter®-KERDI-BOARD to a bathtub?
There are two methods to seal KERDI-BOARD to a bathtub. Please refer to the Schluter®-Shower System...
Read moreHow long do I have to wait before I can install tile on Schluter®-KERDI-BOARD?
For most installations of KERDI-BOARD, tile can be installed right away. Exceptions include curved wall areas and non-bearing...
Read moreWhat is the R-value for Schluter®-KERDI-BOARD?
R-value is a measure of thermal resistance used in the building and construction industry, which depends primarily...
Read moreCan I install glass tile over Schluter®-KERDI-BOARD?
Glass tiles are unique products and may require special consideration. Please call Schluter®-Systems...
Read moreWhy should I use the Schluter®-Shower System?
The Schluter®-Shower System is an integrated family of products that together form a fully bonded, watertight assembly for tiled showers...
Read moreHow do I receive a lifetime warranty?

Watch & Learn
About the product

How to install the Schluter®-KERDI-BOARD-KIT

Schluter®-Systems Warranties

How to Waterproof Connections to Fixed Building Elements
Find some existing tutorials and project documentation videos to learn how-to get the best out of our products - for more fun in your life, start now!
Watch more videos / playlists
