Schluter®-VINPRO-U
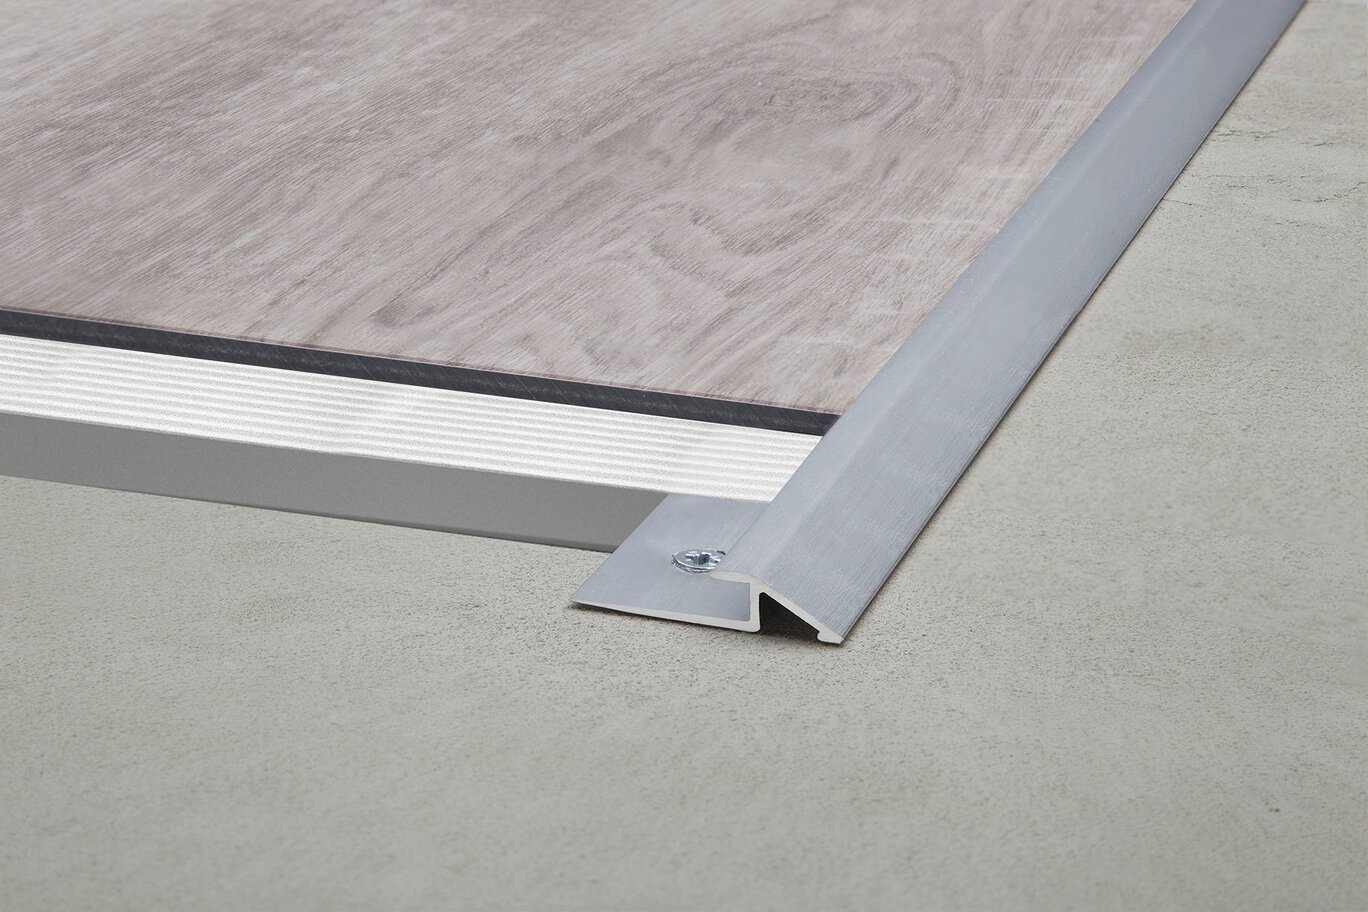
Resilient surface floor profile for reducing to lower elevations

- NEW! Now available in 11 additional sizes
- Prevents resilient surface coverings from chipping
- Creates smooth transitions to eliminate trip hazards
- Ideal for transitions from LVT coverings to finished concrete
- Certain sizes are ADA-compliant
- Available in anodized aluminum in three finish colors
Find recommended accessories here

Profile Estimator
Discover what you need for tile protection and easy transitions.
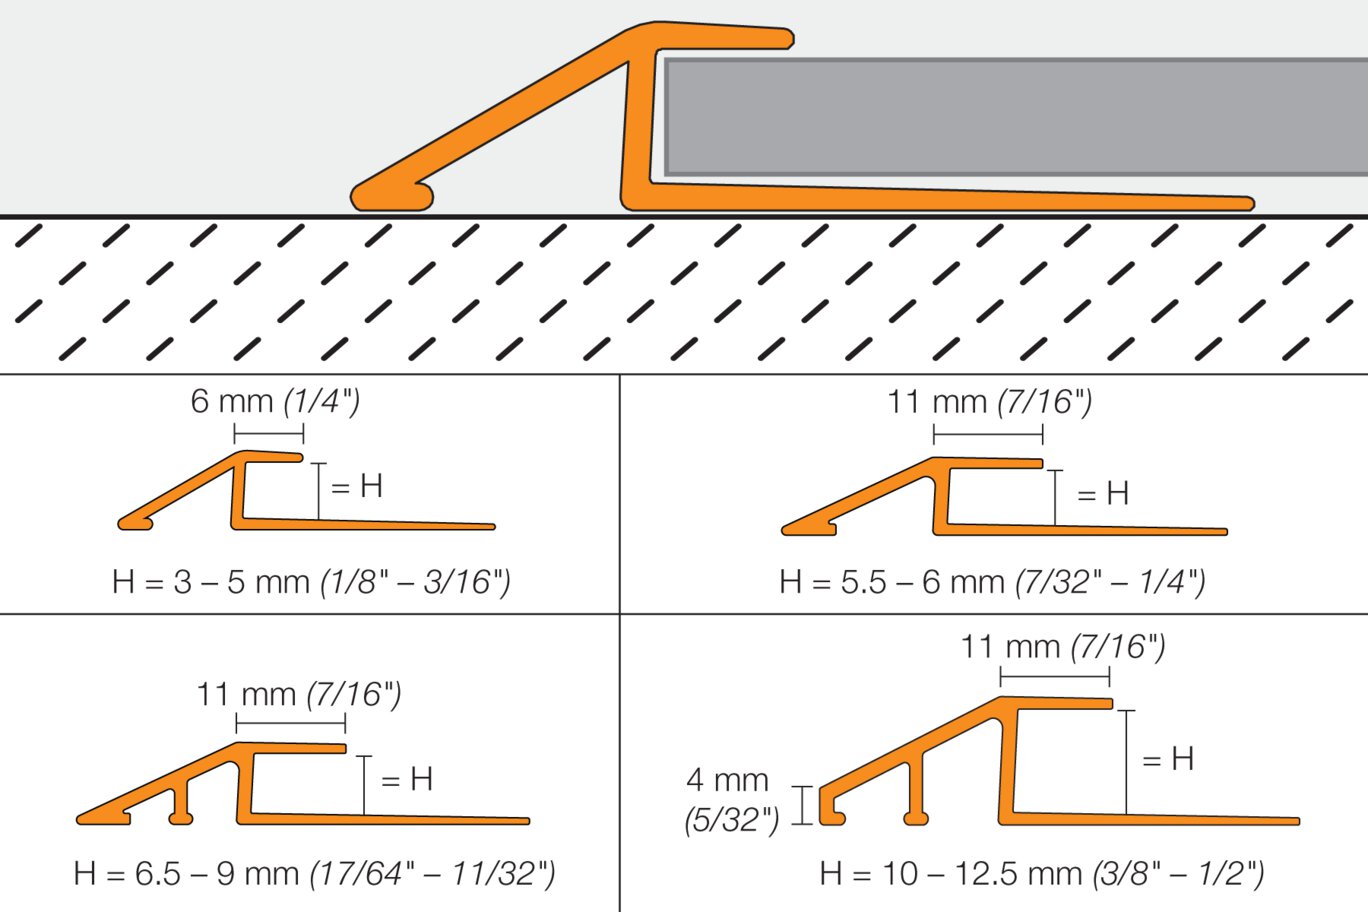
Schluter-VINPRO-U assure une transition douce entre revêtements de plancher en vinyle ou encore avec des revêtements de sol plus bas ou du béton fini. Il est offert en aluminium anodisé. VINPRO-U présente une ailette d’ancrage inclinée et des trous espacés uniformément sur sa longueur pour sa fixation. L’ailette d’ancrage peut également être collée au substrat à l’aide d’un adhésif comme Schluter®-KERDI-FIX. Le dessus du profilé comporte une pente de 1/4 po (6 mm) ou de 3/8 po (10 mm) qui recouvre le rebord du revêtement de sol en vinyle pour procurer une apparence finie.
Les profilés Schluter pour revêtements en vinyle ne requièrent aucun soin ou entretien particulier et sont résistants aux moisissures et aux champignons. Nettoyez les profilés au moyen d’un produit de nettoyage neutre. Dans le cas de l’aluminium anodisé, il faut éviter d’employer des nettoyants abrasifs ou alcalins puissants.
1. Sélectionnez le profilé en fonction de l’épaisseur et du format du revêtement en vinyle. Il est recommandé de choisir un profilé jusqu’à 0.5 mm plus haut que l’épaisseur du revêtement.
2. Déposez le profilé dans la position voulue, et marquez ses rebords sur le substrat.
3.a. Installation collée
Appliquez Schluter-KERDI-FIX ou un adhésif équivalent au dos l’ailette d’ancrage, conformément aux instructions d’installation du fabricant. Enfoncez l’ailette d’ancrage sur le substrat, et alignez-la à la position désirée. Nettoyez rapidement tout excédent adhésif
3b. Installation vissée
Alignez le profilé à la position voulue et fixez-le au substrat par les trous dans l’ailette d’ancrage. Vis recommandée : Vis no 6/M3.5 à tête plate, d’au moins 3/4 po (19 mm). Voyez à ce que les têtes de vis arrivent à l’égalité de la surface de l’ailette d’ancrage, ce qui préviendra les bosses dans le revêtement fini.
For concrete substrates: The use of anchors is recommended. First, place the profile in its desired position and mark the hole locations onto the substrate. Next, drill pilot holes at the marked locations and install the anchors according to the manufacturer's instructions. Be sure that the anchor size is suitable for the selected fastener prior to the installation.
4. A patching/leveling compound can be used to eliminate inconsistencies in the floor and anchoring leg if required. Please refer to the patching/leveling compound manufacturer's installation instructions.
5. Install resilient covering according to the manufacturer's installation instructions, with recommended edge spacing. Be sure to cut the adjacent covering accordingly to fit within the pocket of the profile.
6. When installing with adhesives or grouting materials, remove any residue from the visible surface of the profile quickly.
FAQ
Are screws included with the VINPRO profiles?
Is a leveling patch required to feather out the anchoring leg to prevent telegraphing through to the top surface of the vinyl flooring?
What finishes are the VINPRO profiles available in?
The VINPRO profiles are available in brushed chrome (ACGB), brushed nickel (ATGB), and brushed antique bronze (ABGB) ...
Read moreHow can I choose the best profile height for my resilient covering?
We recommend choosing the profile height that is up to a 0.5 mm greater than the coverings thickness ...
Read more

Watch & Learn
About the product
Schluter®-VINPRO: Profiles for resilient floor and wall coverings
Find some existing tutorials and project documentation videos to learn how-to get the best out of our products - for more fun in your life, start now!
Watch more videos / playlists

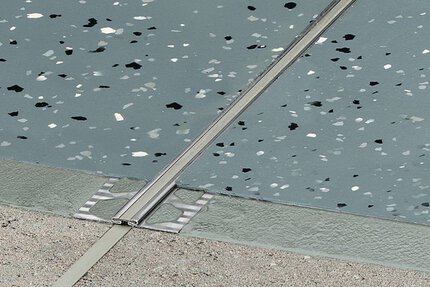
Profilés pour joints de mouvement / Joints de surface et d'expansion
Schluter®-DILEX-EKSB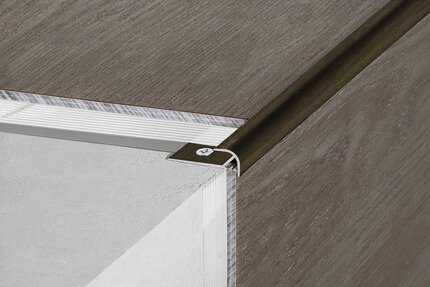
Profilés pour revêtements en vinyle / Applications LVT pour les murs
Schluter®-VINPRO-RO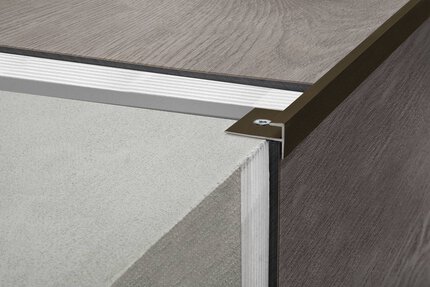
Profilés pour revêtements en vinyle / Applications LVT pour les escaliers
Schluter®-VINPRO-STEP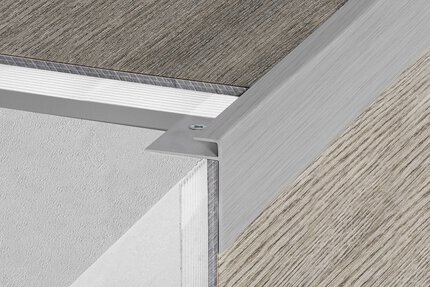
Profilés pour revêtements en vinyle / Applications LVT pour les escaliers
Schluter®-VINPRO-STEP-R