Schluter®-KERDI-LINE-VARIO
Variable length linear drain for tiled showers

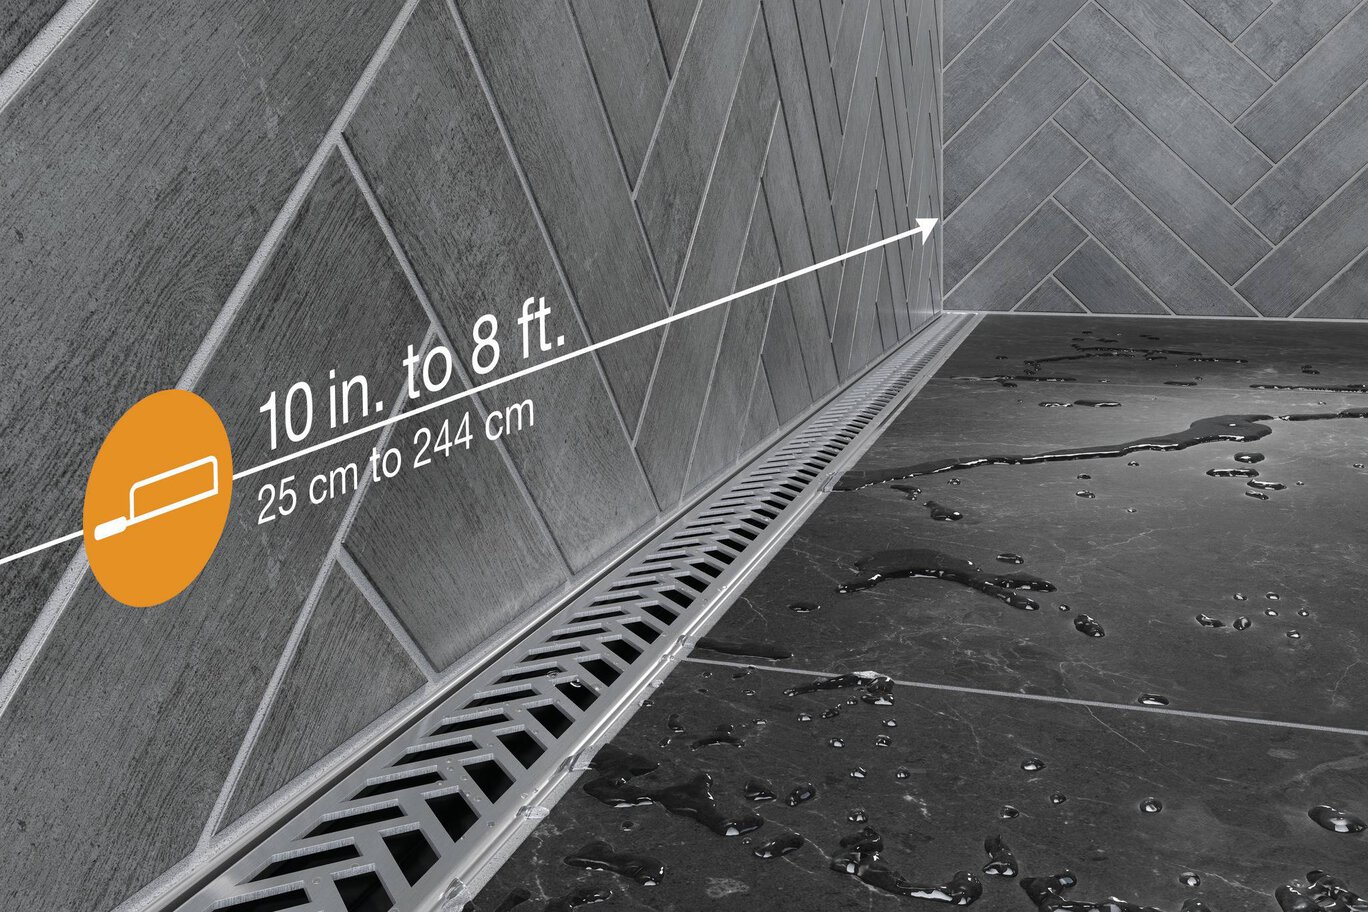
- L’ensemble de grille et de caniveau est offert dans une longueur de 4 pi ou 8 pi, et peut être facilement taillé aux dimensions souhaitées sur place
- Conception étroite : d’une largeur de 1-11/16 po (43 mm) seulement
- Convient à divers emplacements de drains, notamment contre le mur et au centre de la douche
- Des capuchons de fermeture sont fournis pour couvrir les extrémités coupées, donnant à l’installation une finition épurée et esthétique
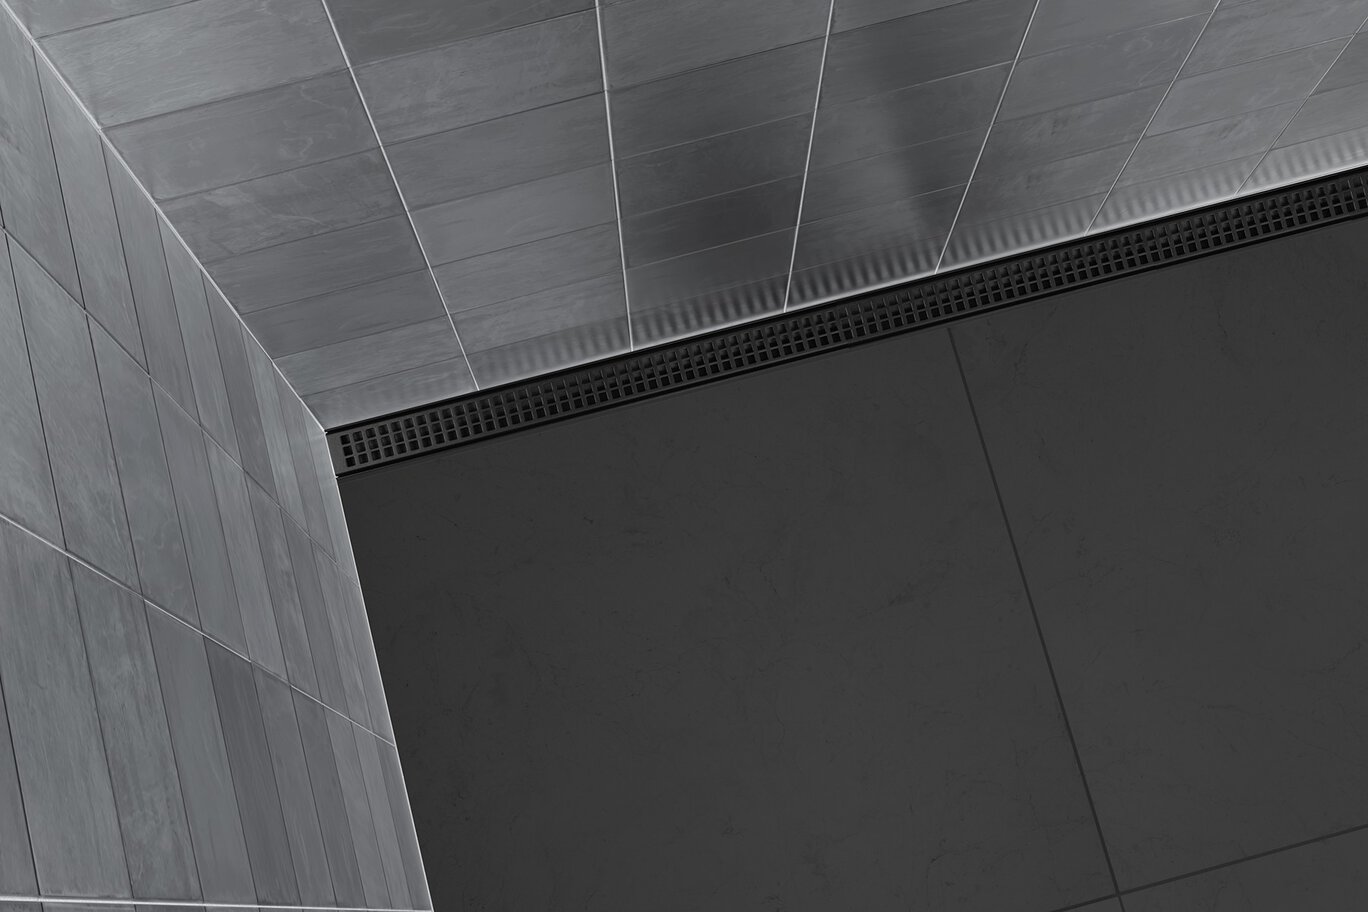
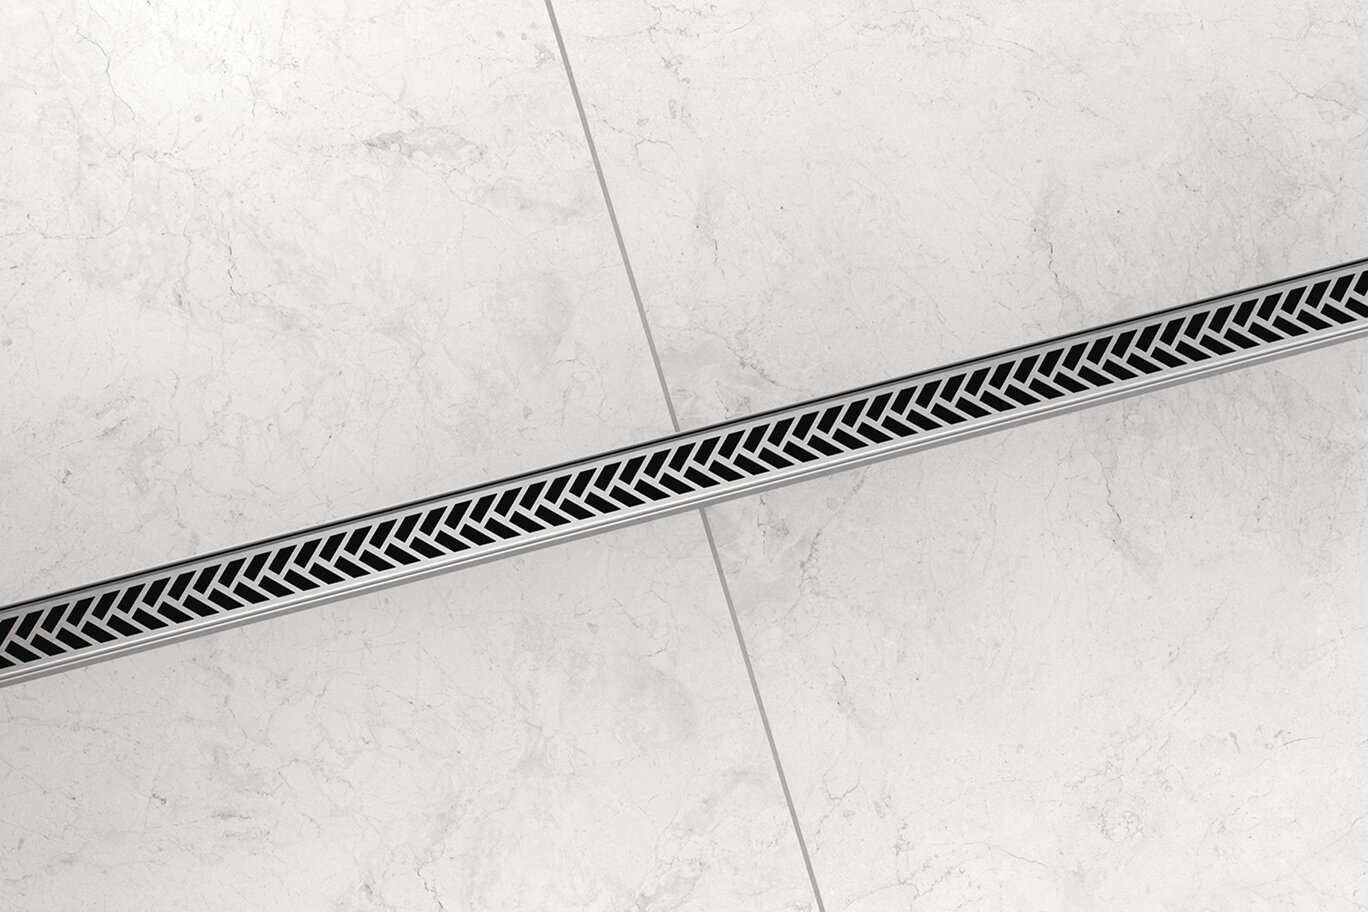
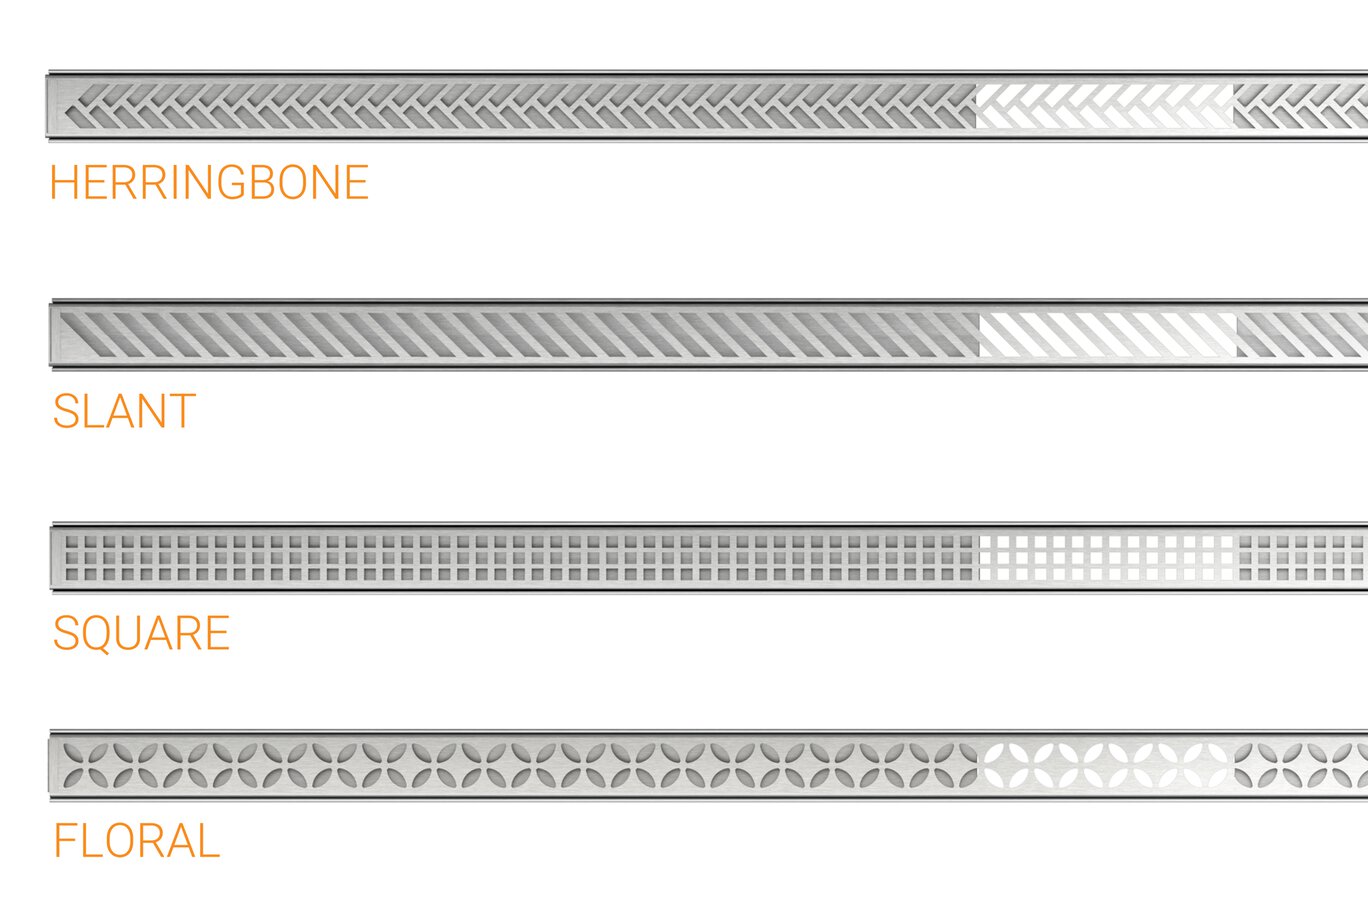
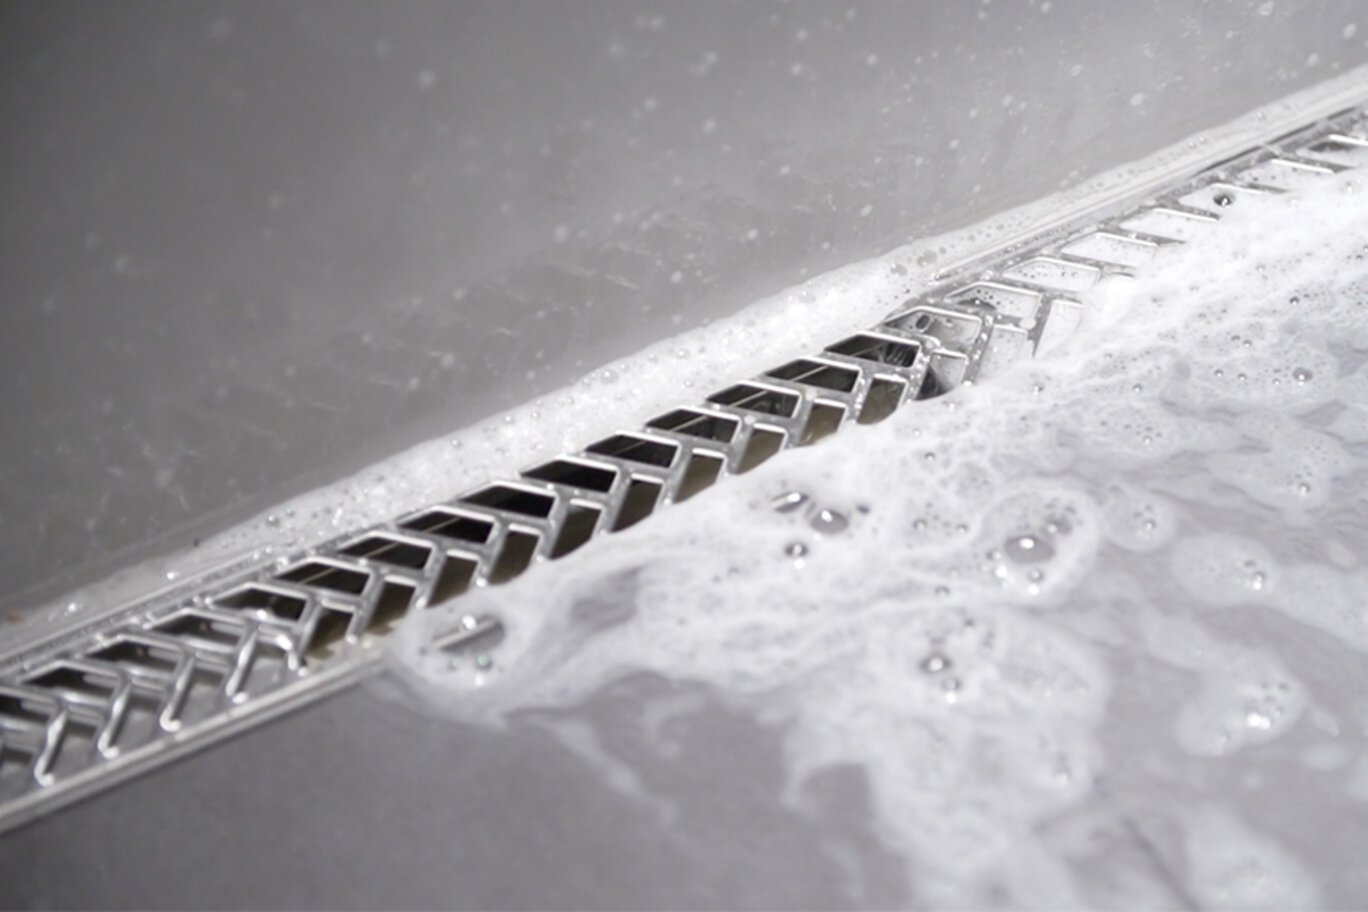
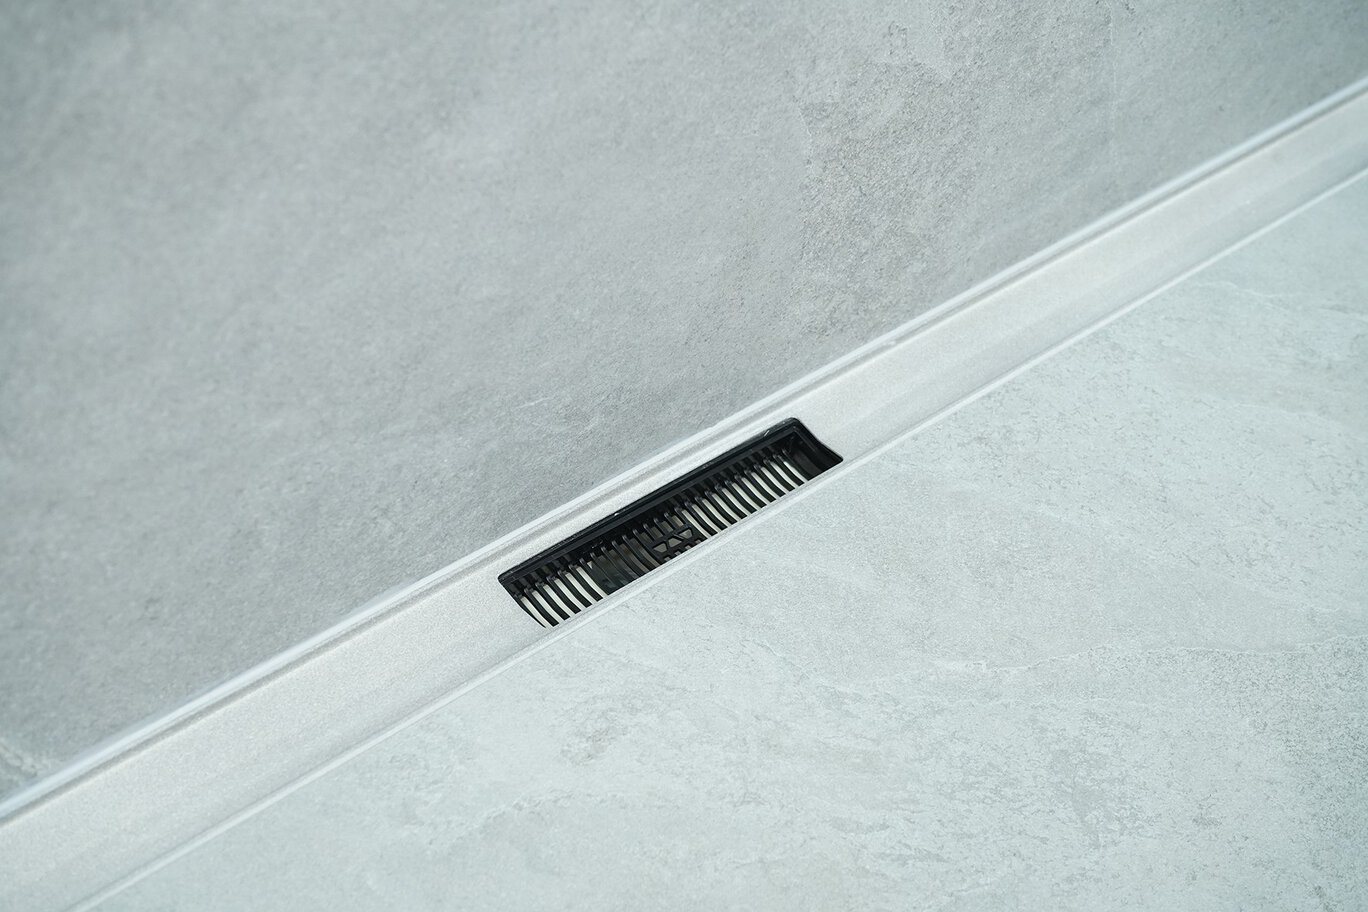
- Quatre modèles de grilles en acier inoxydable brossé et 9 couleurs TRENDLINE : SQUARE, FLORAL, HERRINGBONE et SLANT
- L’ensemble de bride comprend une collerette KERDI intégrée, qui assure un raccordement étanche, et des raccords en PVC et en ABS
- La bride peut être placée à l’endroit souhaité en fonction de l’emplacement de la sortie de drainage
- L’ensemble de grille et de caniveau et l’ensemble de bride doivent être achetés séparément
- Coupelle maillée et protège-grilles offerts en option pour simplifier l’installation et protéger le système


Trouvez ici les accessoires recommandés

Shower System Estimator
Calculate all you need for your shower project.
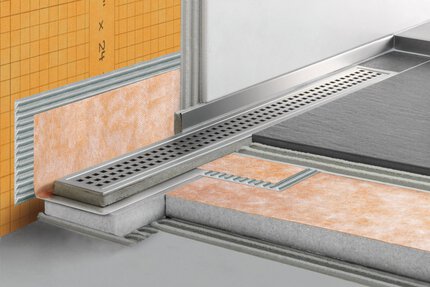
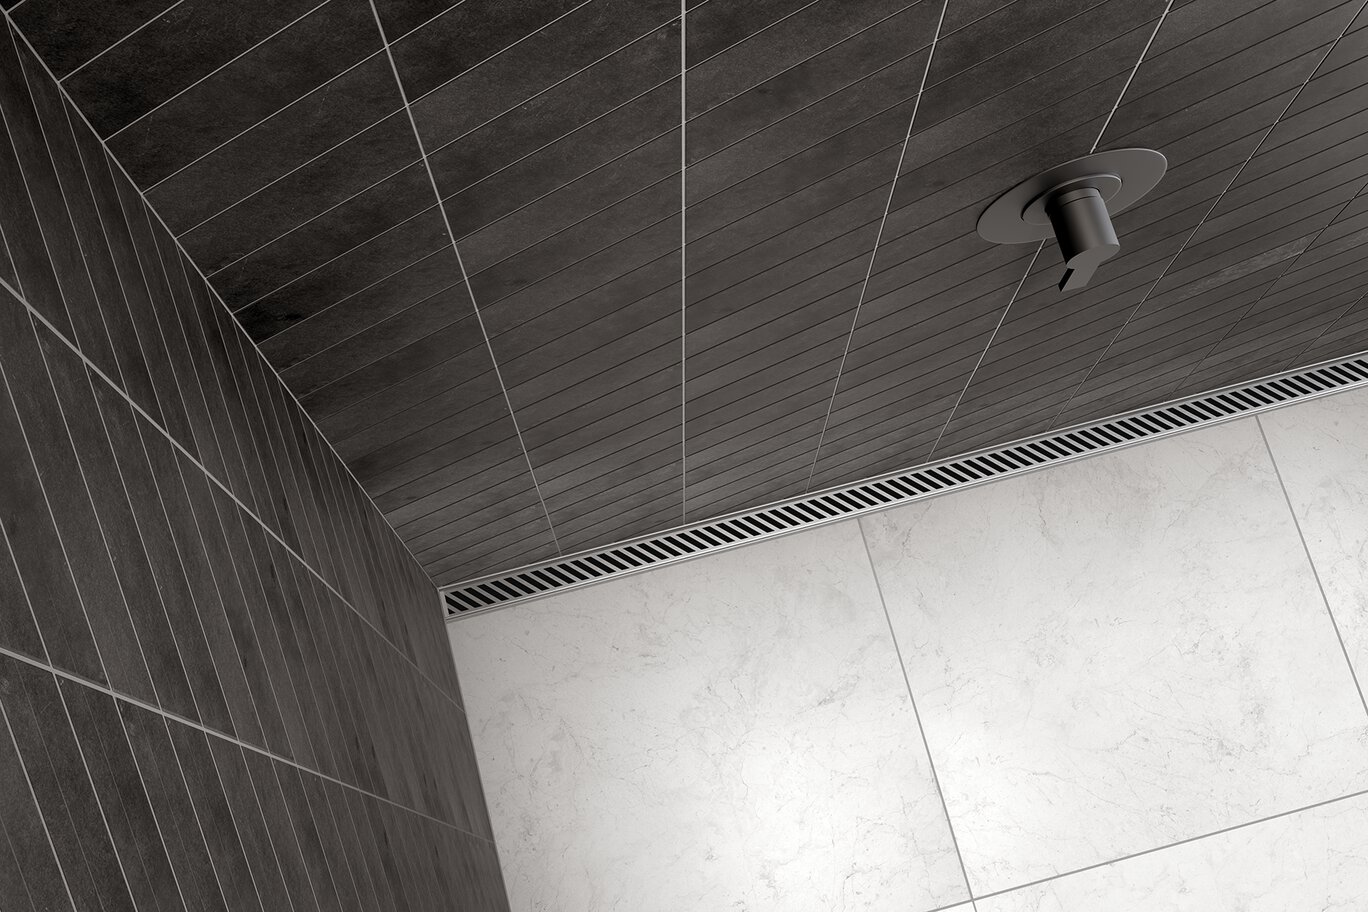
Schluter®-KERDI-LINE-VARIO est un drain de douche linéaire encastré, de longueur variable, spécialement conçu pour les assemblages étanches collés. KERDI-LINE-VARIO peut être taillé sur place en fonction des dimensions de la douche. Le plancher peut présenter une pente unique convergeant vers le drain linéaire KERDI-LINE-VARIO, ce qui permet l’utilisation de grands carreaux et la création d’agencements intéressants. Idéal pour une installation le long d’un mur, KERDI-LINE-VARIO peut également être positionné au centre de la douche. Pour un drain placé à l’entrée de la douche, veuillez consulter la section sur le drain linéaire KERDI-LINE.
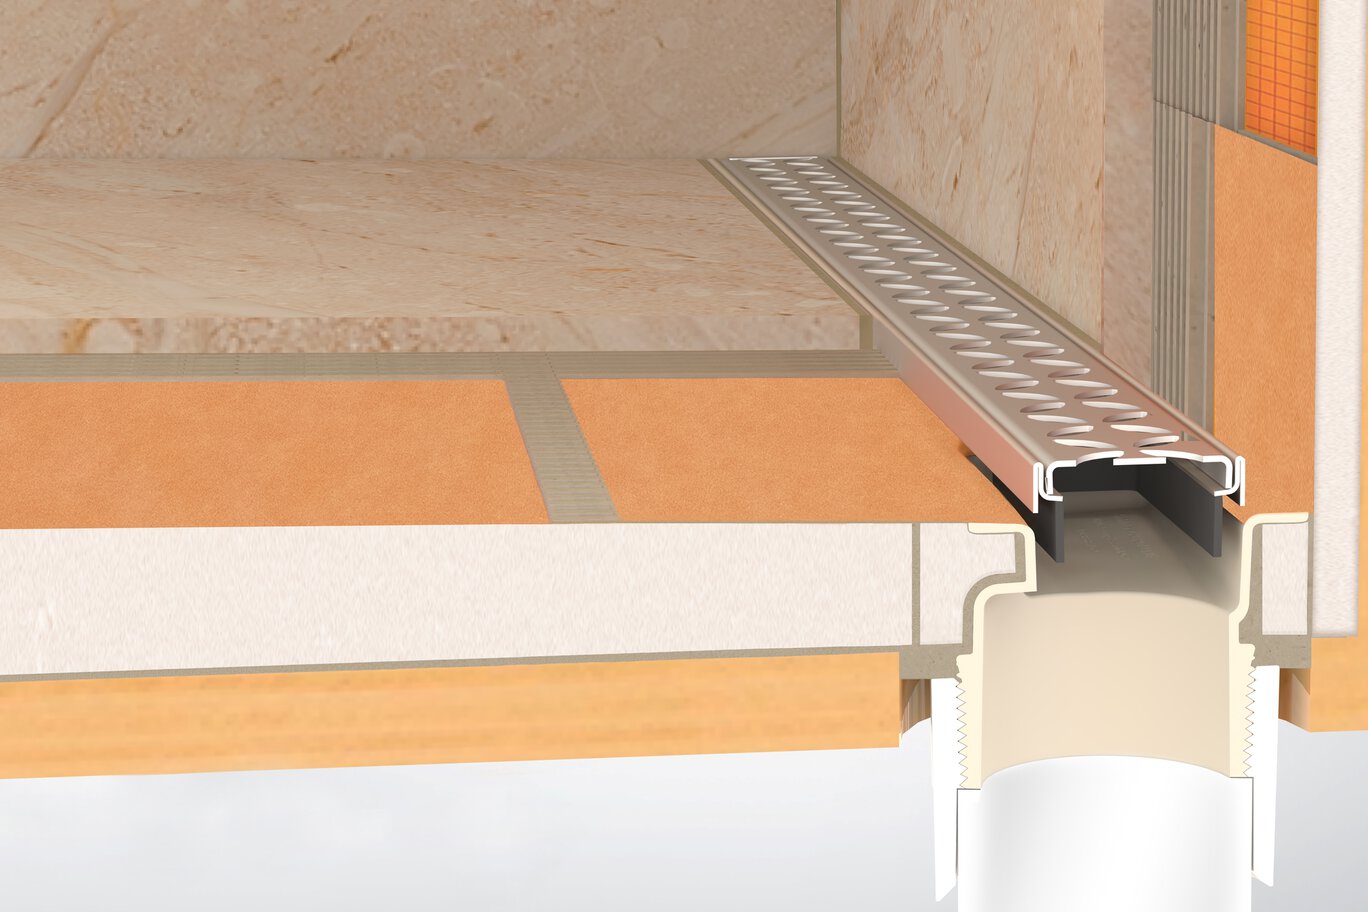
KERDI-LINE-VARIO se compose d’une bride en polypropylène ainsi que d’un caniveau, d’une grille et de capuchons de fermeture en acier inoxydable.
La bride KERDI-LINE-VARIO comprend un corps de drain en polypropylène moulé par injection muni d’une sortie NPT standard de 2 po (50 mm) qui se fixe à un raccord mécanique standard fileté, ce qui favorise l’adhérence au tuyau de drainage par liaison chimique. KERDI-LINE-VARIO est fourni avec des raccords en PVC et en ABS. Grâce à la simplicité de son raccordement, KERDI-LINE-VARIO convient aux nouvelles constructions et aux rénovations. Le rebord de la bride en polypropylène est doté d’une collerette faite de membrane KERDI. Ce système assure un raccordement simple et efficace du drain à l’assemblage collé, tant au niveau du sol que des murs adjacents. L’ensemble de la bride KERDI-LINE-VARIO contient des supports en mousse de polystyrène servant à fixer l’élévation du drain en fonction de la base de douche KERDI-SHOWER-LT/-LTS.
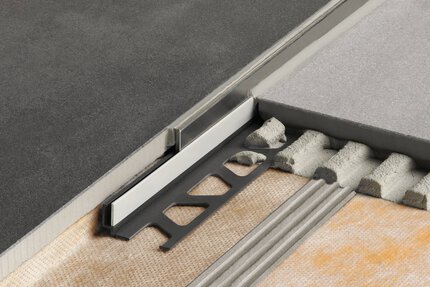
Issu d’un procédé de formage, le caniveau KERDI-LINE-VARIO en acier inoxydable mesure 1‑11/16 po de largeur par 3/8 po de hauteur (43 mm de largeur par 10 mm de hauteur) et comporte une ouverture de drainage découpée en son centre. Il est offert dans une longueur de 48 po ou de 96 po (122 cm ou 244 cm) et peut être coupé à la longueur voulue pour un ajustement sur mesure. La sortie de la bride peut être positionnée n’importe où le long du caniveau coupé, ce qui permet d’éviter les obstacles rencontrés pendant la construction (comme les solives de plancher).
Remarque: L’épaisseur minimale recommandée pour les carreaux utilisés avec le caniveau KERDI-LINE-VARIO est de 3/8 po (10 mm). Ne pas couper le caniveau et la grille à une longueur inférieure à 10 po (25,4 cm).
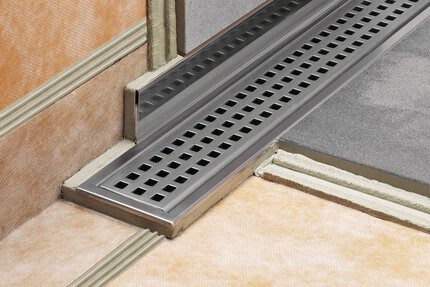
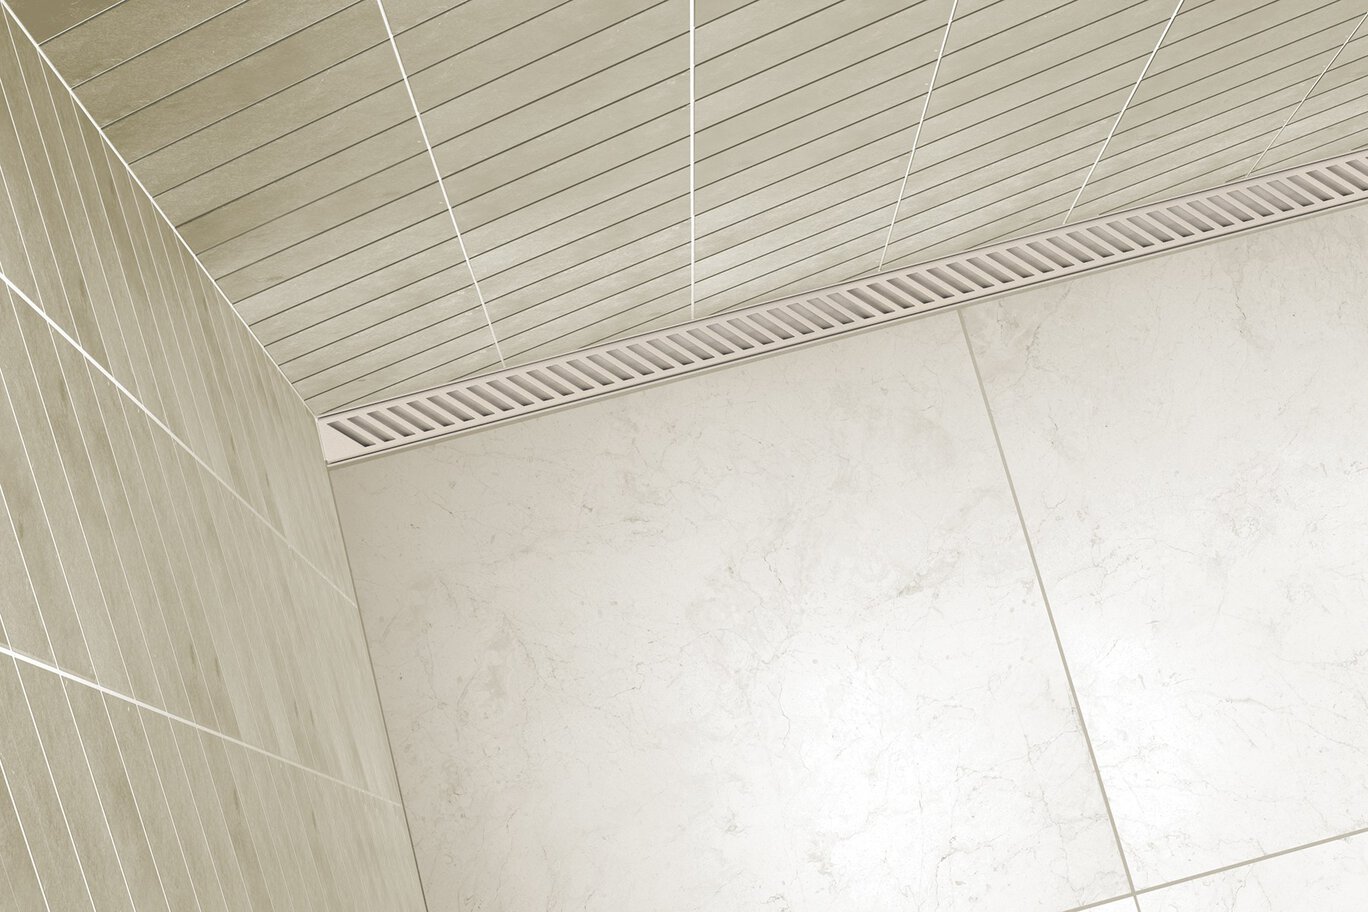
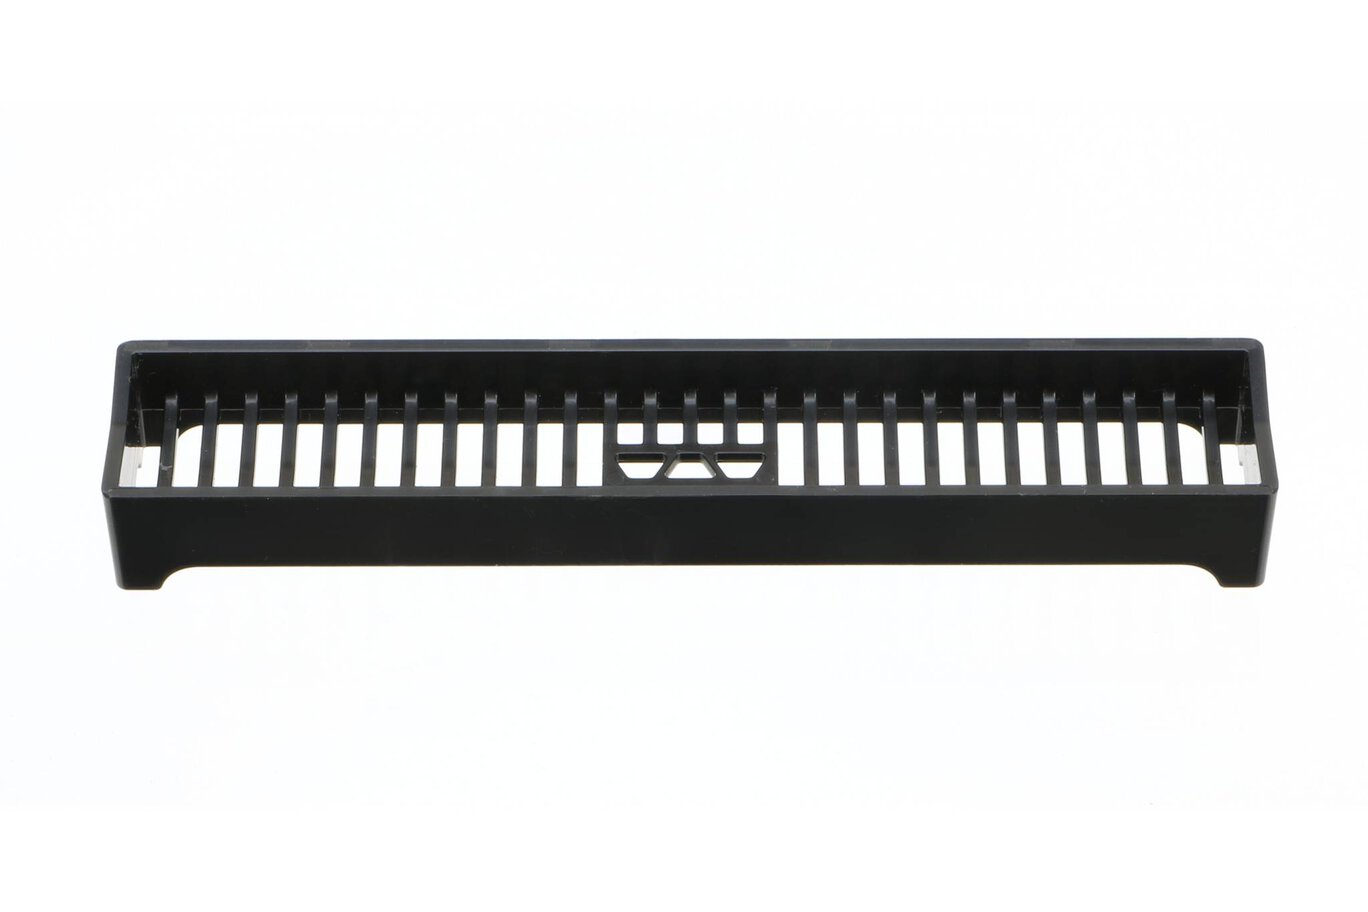
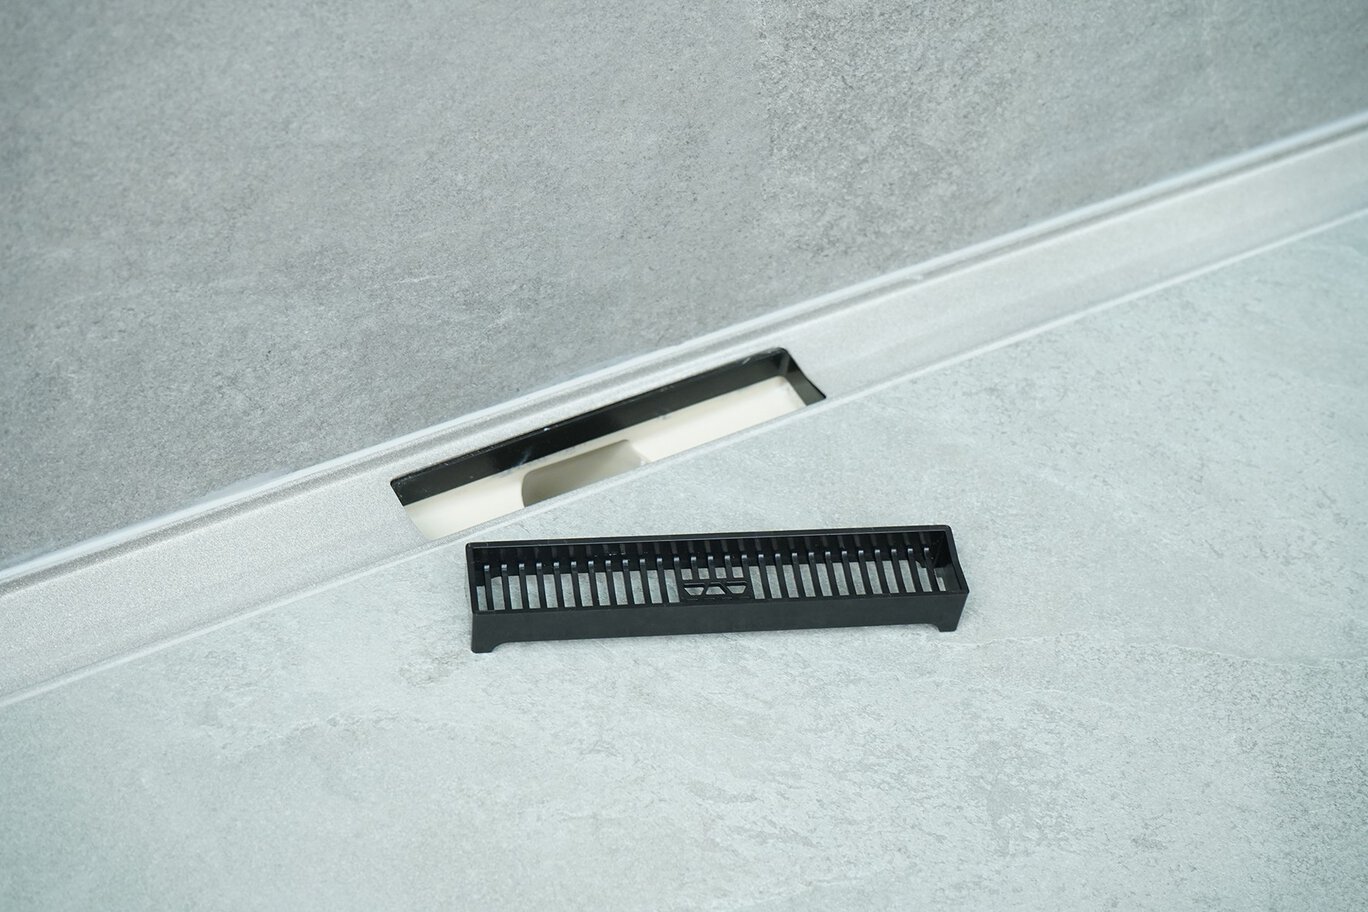
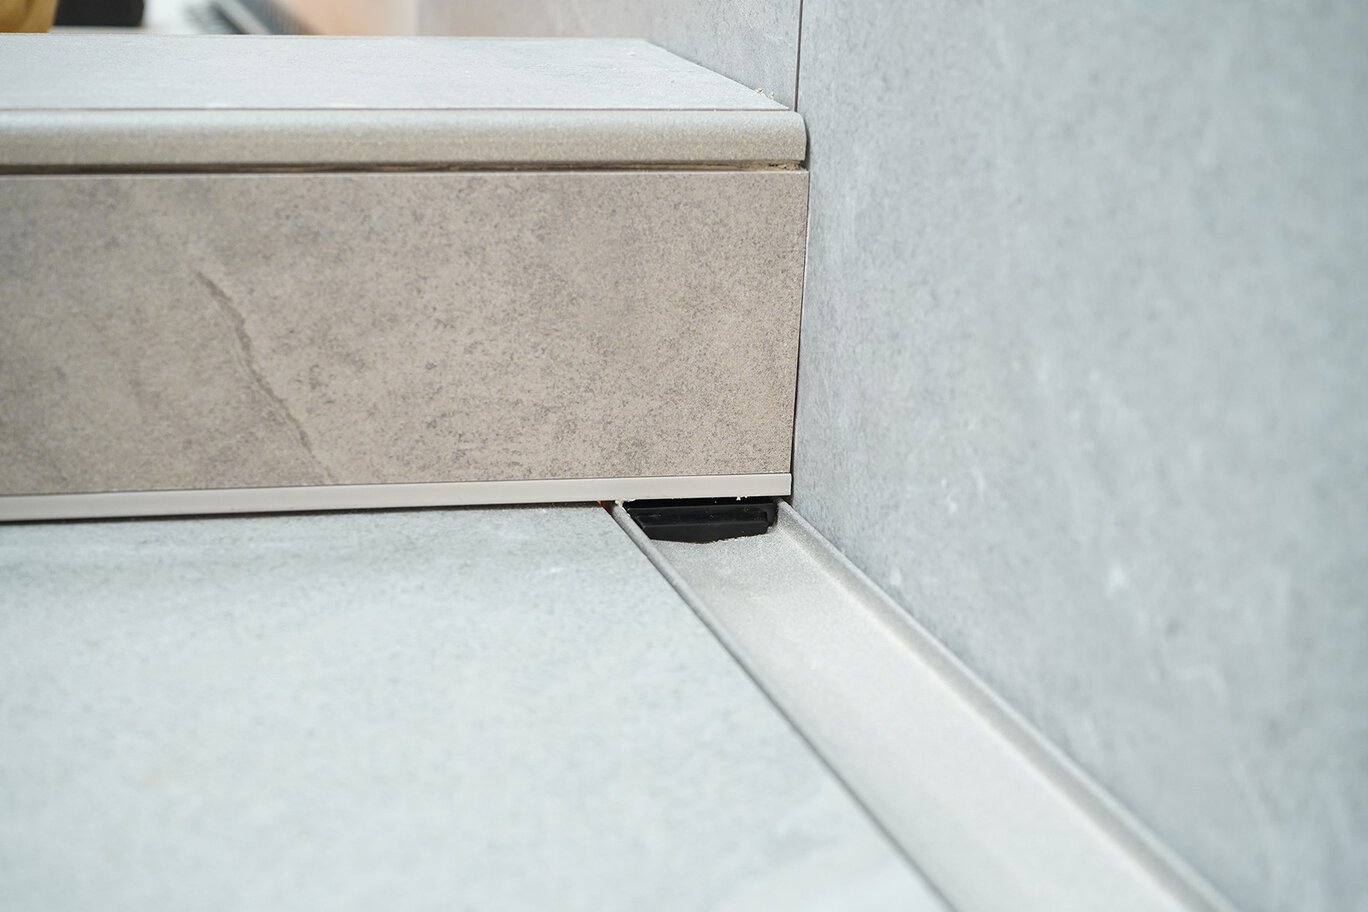
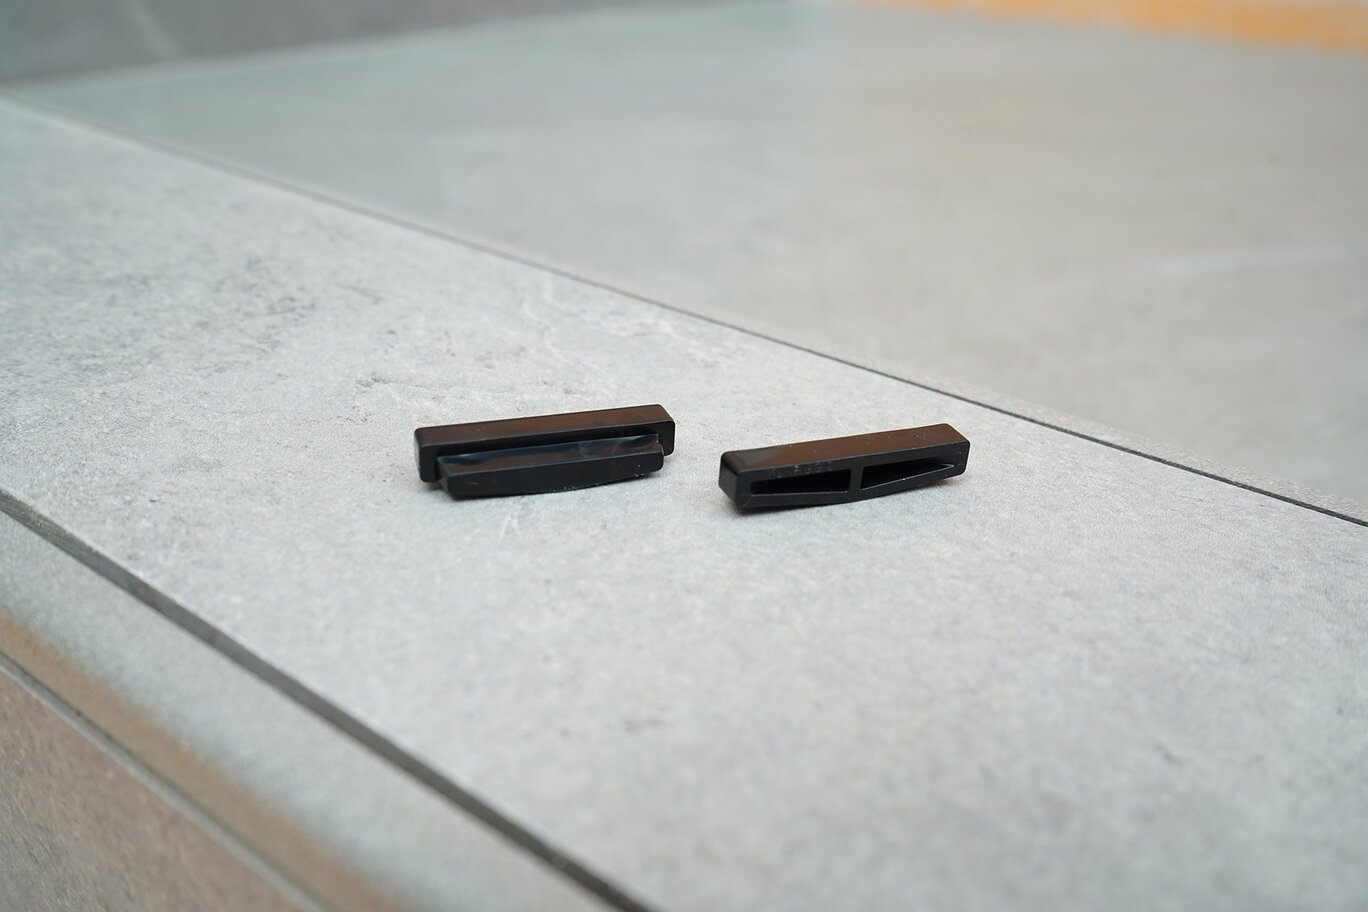
La grille KERDI-LINE-VARIO en acier inoxydable vient s’insérer dans le caniveau. Elle doit être coupée à la même longueur que le caniveau. S’il faut tailler la grille, il convient d’utiliser les capuchons de fermeture fournis pour obtenir une finition épurée et esthétique. Une fois installée, la grille KERDI-LINE-VARIO présente une surface visible minimale. Elle est offerte en quatre modèles : SQUARE, FLORAL, HERRINGBONE et SLANT en acier inoxydable brossé (EB) ou en finitions texturées et colorées. Les protège-grilles KERDI-LINE-VARIO offrent un certain jeu lors de l’installation du corps de caniveau par rapport aux carreaux voisins. L’utilisation de protège-grilles permet de poser les carreaux de plancher avant les rangées de carreaux muraux, selon la méthode traditionnelle, en comblant le vide créé par le recouvrement des carreaux muraux sur le corps de caniveau.
KERDI-LINE-VARIO ne demande aucun entretien particulier et résiste aux moisissures ainsi qu’aux champignons. On peut retirer la grille afin de nettoyer le corps de caniveau et la conduite d’évacuation.
Nettoyez les grilles au moyen d’un agent de nettoyage neutre. Évitez les acides puissants (ex. : acide chlorhydrique ou fluorhydrique) et les nettoyants alcalins (ex. : eau de javel, ammoniaque, chlore). N’utilisez pas de nettoyants ni d’outils abrasifs. Même l’acier inoxydable requiert un nettoyage périodique pour favoriser la préservation de son apparence et réduire les risques de corrosions. Les surfaces d’acier inoxydable deviennent plus lustrées lorsqu’on les nettoie au moyen d’un produit de polissage pour chrome.
Les instructions pour l'installation avec un lit de mortier se trouvent sous l'onglet "téléchargements" dans la section "manuels" sous le nom "KERDI-LINE-VARIO Installation - Mortier-Mortier-Mortero".
Installation avec base de douche préfabriquée
- Manipulez la grille et le caniveau avec précaution, car les rebords peuvent être tranchants.
- Évitez de tordre, de déformer ou de plier la grille et le caniveau.
- La hauteur totale du caniveau KERDI-LINE-VARIO est de 3/8 po (10 mm). L’épaisseur minimale suggérée pour le carrelage est de 3/8 po (10 mm).
Planification
- Le substrat doit être propre, de niveau et apte à supporter une charge. Tout travail de nivelage doit être fait avant la pose de la base de douche. Percez ou forez à l’endroit qui convient dans le substrat une ouverture pour la sortie du drain et le raccordement au tuyau d’évacuation au moyen du gabarit fourni [3-1/2 po (88,9 mm)]. L’ouverture doit avoir un diamètre maximal de 4 po (101,6 mm), de façon à soutenir adéquatement l’assemblage de carreaux. Lorsque KERDI-LINE-VARIO est installé contre un mur, placez l’ouverture d’évacuation à environ 1-3/4 po (44,45 mm), en prenant la mesure du centre au centre, à partir de la face du panneau mural.
Remarque : Pour les substrats de béton, remplissez le boîtier de mortier sec ou de béton. Un manchon ou raccord similaire peut être utilisé comme forme autour du tuyau d’évacuation. - Remarque sur le gabarit :
La feuille complète comprend deux gabarits perforés à retirer et à utiliser pour l’installation : Un pour la coupe de la sortie ou du sous-plancher et un pour le support de la bride KERDI-LINE-VARIO.
Installation
1. Posez à sec la base KERDI-SHOWER-LT/-LTS. Si nécessaire, coupez à la dimension voulue la base de douche avant l’installation.
2. Utilisez le gabarit fourni comme guide afin de couper une section de la base pour le support en mousse.
3. Prenez une éponge humide pour essuyer le substrat. Appliquez Schluter SET®, ALL-SET®, FAST-SET®, ou un ciment-colle non modifié sur le substrat à l’aide d’une truelle à dents carrées ou en U de 1/4 po x 3/8 po (6 mm x 10 mm) ou de 3/8 po x 3/8 po (10 mm x 10 mm). Placez la base KERDI-SHOWER-LT/-LTS et encastrez-la solidement dans le ciment-colle. La douche peut également s’étendre au-delà de la base, auquel cas on recouvrira le sol d’un lit de mortier et on y appliquera la membrane KERDI.
4. Sélectionnez l’adaptateur du raccord en ABS ou en PVC correspondant au matériau de la conduite d’évacuation et rattachez-le à la bride au moyen d’une pâte ou d’un ruban à sceller.
5. Attachez les supports en polystyrène à la bride, en utilisant Schluter®-KERDI-FIX, Schluter SET®, ALL-SET®, FAST-SET® ou un ciment-colle non modifié.
Remarque : Les supports ne s’ajustent que d’une seule façon pour s’aligner sur la sortie décentrée de la bride.
Accès à la plomberie: Lorsqu’il n’y a pas d’accès à la plomberie par en dessous, l’installation et le raccordement de la bride à la conduite d’évacuation doivent être réalisés simultanément, conformément à l’étape 6. S’il est possible d’accéder à la plomberie par en dessous et que la conduite d’évacuation peut être raccordée après la pose de KERDI-LINE-VARIO, vous pouvez sauter l’étape 6.
Remarque : Si la bride KERDI-LINE-VARIO est installée avant la base de douche, la plaque protectrice est utilisée pour protéger la bride et la collerette KERDI de tout dommage pouvant survenir durant les travaux. La plaque peut être coupée pour mieux s’adapter lorsque la bride est très près du mur.
La plaque protectrice est fixée en place jusqu’aux prochaines étapes de l’installation.
6. Begin by dry-fitting the components; make any necessary modifications to the existing plumbing. Apply the thin-set mortar or KERDI-FIX underneath the foam support. Prepare the adjoining pipe and KERDI-LINE-VARIO per the manufacturer's instructions and connect when installing the flange in Step 7.
7. Install the flange with foam supports and coupling of choice and solidly embed in the thin-set mortar or KERDI-FIX.
Note: If the drain location is desired to be close to the wall, then orient the outlet so the off-set is opposite the wall. Embossed text on the inside of the flange will be legible in the proper orientation. Refer to the template for wall placement.
8. Ensure that the flange and foam support are firmly embedded. Check to ensure the KERDI-LINE-VARIO flange is level. The flange should now be flush with the top of the shower tray.
Waterproofing
9. The KERDI collar on KERDI-LINE-VARIO is integrated with the adjoining waterproofing assembly using Schluter SET®, ALL-SET®, FAST-SET®, or unmodified thin-set mortar. The KERDI collar must be cut and folded where the KERDI-LINE-VARIO is installed at a wall corner and may require trimming to avoid excess build up over the tray recess lip.
10. Remaining seams in the membrane are constructed by overlapping the edges by 2" (50 mm) or by abutting adjacent sheets and installing KERDI-BAND with thin-set mortar, centered over the joint.
Note: A flood test is strongly recommended before setting tile to verify a successful installation. Wait a minimum of 24 hours after the membrane installation is complete to allow for final set of thin-set mortar and ensure waterproof performance at seams and corners. Refer to local plumbing codes for any specific requirements in your area.
Note: A specialized inflatable bladder style drain plug works best with KERDI-LINE-VARIO.
Channel and Grate Assembly (without grate guards)
11. Determine the tile layout and install the first course of tile on the back and side walls.
Note: To protect the finished surfaces of either brushed stainless steel or color coated stainless steel KERDI-LINE-VARIO Channel Body/Grates, consider applying painters tape to the cut line prior to making any cuts. For best results, minimize heat build up during cutting operations.
12. Determine the centerline of the drain flange and the centerline of the channel body/grate at the drain opening, and temporarily mark. Measure from the center mark of the flange to the tiled surface on each wall and transfer each measurement to the channel body/grate, measuring from the center mark. Leaving a 1/16”-1/8” (1.5-3 mm) gap at each wall, cut the channel and grate to the measured length(s). Verify that the drain opening on the channel body is positioned over the flange opening. Example: if the channel is to be 36" (91 cm) long and the flange opening is centered, cut 6" (152 mm) from both ends of a 48" (122 cm) channel and grate.
Note: The shortest allowable length to cut the channel and grate is 10" (25.4 cm).
Caution: The cut ends may be jagged or sharp; use a metal file to remove any burrs or sharp edges. Utilize applicable safety equipment and use care when making cuts. See the Cutting KERDI-LINE-VARIO section for additional guidance.
13. Press the stainless-steel end cap(s) to the cut end(s) of the grate and set aside in a safe location until it is time to install in the channel body.
Note: End caps are compression fit and do not require any adhesive to install.
14. Center and attach the black downspout to the bottom of the channel using the provided two-sided tape.
Note: Use the included foam spacer block to aid in aligning the downspout opening to the channel body opening during the attachment step.
15. Dry fit and mark where the channel will be placed. Then, install a row of tile adjacent to the channel position on the shower floor using thin-set mortar.
16. Using a notched trowel, liberally apply thin-set mortar to the substrate and to the back side of the channel. Schluter SET®, ALL-SET®, FAST-SET, or unmodified thin-set mortar will be used to adjust to the required height of the channel to accommodate the thickness of the tile.
17. Embed the channel into the thin-set mortar until it is flush with or slightly lower than the adjacent tile. Check to ensure the channel is level and the 1/16"-1/8" (1.5 mm-3 mm) gap is accomodated for along the perimeter.
Note: Wipe out all excess thinset.
18. Install all remaining tile on the shower floor and then the shower wall surfaces. Apply grout and clean up the work area. Insert the grate into the channel body and wipe down any remaining smudges or marks from the work done during the install.
Channel and Grate Assembly (using Grate Guards)
11. Determine the centerline of the drain flange and the centerline of the channel body at the drain opening and temporarily mark them. Measure from the center mark of the flange to each waterproofed wall surface and transfer the measurements to the channel body, measuring from the center mark. Leaving a 1/16”-1/8” (1.5-3 mm) gap at each wall, cut the channel body to the measured length. Verify that the drain opening is positioned over the flange opening. Example: if the channel is to be 36" (91 cm) long and the flange opening is centered, cut 6" (152 mm) from both ends of the 48" (122 cm) channel body.
Note: The shortest allowable length to cut the channel and grate is 10" (20 cm) for shower applications.
Caution: The cut ends may be jagged or sharp; use a metal file to remove any burrs or sharp edges. Use applicable safety equipment and use care when making cuts. See the Cutting KERDI-LINE-VARIO section for additional guidance.
12. Center and attach the black downspout to the bottom of the channel using the provided two-sided tape.
Note: Use the included foam spacer block to aid in aligning the downspout opening to the channel body opening during the attachment step.
13. Dry fit and mark where the channel will be placed. Then, install a row of tile adjacent to the channel position on the shower floor using thin-set mortar.
Note: For wall placement, be sure to account for wall tile thickness, appropriate mortar thickness for tile installation, and a gap of 1/16”-1/8” (1.5-3 mm) along the back of the channel body.
14. Using a notched trowel, liberally apply thin-set mortar to the substrate and to the back side of the channel. Schluter SET®, ALL-SET®, FAST-SET®, or unmodified thin-set mortar will be used to adjust to the required height of the channel to accommodate the thickness of the tile.
15. Embed the channel into the thin-set mortar until it is flush with, or slightly lower than, the adjacent tile. Check to ensure the channel is level and the 1/16"-1/8" (1.5-3 mm) gap is accommodated for along the perimeter. Ensure the foam block remains in the downspout until the mortar has hardened.
Note: For wall placement, account for wall tile thickness, appropriate mortar thickness for tile installation, and a gap of 1/16”-1/8” (1.5-3 mm) along the back of the channel body.
Note: Wipe out all excess thin-set.
16. Install all remaining tile on the shower floor and then shower wall surfaces using preferred methods.
17. Apply a 1/4” (6 mm) to 3/8” (10 mm) bead of KERDI-FIX (Schluter SET®, ALL-SET®, FAST-SET®, or unmodified thin-set mortar is also acceptable) into the voids created at the channel body and wall tile interface. Ensuring the hollow pockets face the wall, insert the Grate Guards into each pocket with the V-shape down, matching the profile of the channel body. Push the Grate Guards into the pocket until the front surface is flush with the wall tile surface.
Note: Wipe up any excess setting material that may have squeezed out during grate guard installation.
18. Apply grout and clean up the work area.
19. Measure the distance between tiled wall surfaces over the installed channel body. Transfer the measurement to the grate that was set aside. Leaving a 1/16”-1/8” (1.5-3 mm) gap at each wall, cut the grate to the measured length.
Note: It is recommended to trim material off the grate from each end to achieve the desired width to ensure consistent visuals once end caps are installed.
Caution: The cut ends may be jagged or sharp; use a metal file to remove any burrs or sharp edges. Use applicable safety equipment and use care when making cuts. See the Cutting KERDI-LINE-VARIO section for additional guidance.
20. Press the stainless-steel end cap(s) to the cut end(s) of the grate.
Note: End caps are compression fit and do not require adhesive for installation.
21. Insert the grate into the channel body.
Note: To protect the finished surfaces of either brushed stainless steel or color coated stainless steel KERDI-LINE-VARIO Channel Body/Grates, consider applying painters tape to the cut line prior to making any cuts. For best results, minimize heat build-up during cutting operations.
Cutting KERDI-LINE-VARIO
Observe all safety instructions and standards as directed by the cutting tool manufacturer including protective eyewear, hearing protection, and gloves. Always measure carefully and dry fit the channel and grate after cutting to ensure proper fit and alignment prior to installation.
KERDI-LINE-VARIO may be cut using the following options:
- Variable-speed angle grinder set to a medium-low speed using the Schluter®-PROCUT-TSM cutting wheel or alternative cutting wheel suitable for stainless steel.
- Band saw with a blade suitable for cutting stainless steel.
- Hack saw with a blade suitable for cutting stainless steel.
Note:To protect the finished surfaces of either brushed stainless steel or color coated stainless steel KERDI-LINE-VARIO Channel Body/Grates, consider applying painters tape to the cut line prior to making any cuts. For best results, minimize heat build up during cutting operations.
Manuel
Brochures et dépliants
FAQ
Can I use another manufacturer’s drain with your Schluter®-Shower System?
The Schluter®-KERDI-DRAIN, Schluter®-KERDI-LINE, Schluter®-KERDI-LINE-VARIO drains are specifically designed to integrate with the Schluter®-Shower System...
Voir plusWhy should I use the Schluter®-Shower System?
The Schluter®-Shower System is an integrated family of products that together form a fully bonded, watertight assembly for tiled showers...
Voir plusWhat design and finish combinations are offered for the KERDI-LINE-VARIO grates?
There are presently four different designs: SLANT, SQUARE, FLORAL and HERRINGBONE. All offered in...
Voir plusWhat is provided in each KERDI-LINE-VARIO kit?
What size diameter is the cut-out on the sub-floor for the KERDI-LINE-VARIO drain outlet?
The subfloor template for KERDI-LINE-VARIO is 3 ½” (88.9 mm) but the max is 4” (101.6 mm)...
Voir plusCan KERDI-LINE-VARIO be used as a secondary drain?
No, this product should not be used as a secondary drain.
What is shortest allowable length for KERDI-LINE-VARIO?
The shortest allowable length to cut the channel and grate is is 10" (25.4 cm).
Can KERDI-LINE-VARIO be integrated or used with the KERDI-LINE products?
No, KERDI-LINE-VARIO is its own individual product line and cannot be utilized with any existing products.
Are there any limitations to the GPM of the showerhead/water supply system output for the KERDI-LINE-VARIO drain?
KERDI-LINE-VARIO drains are designed to meet the International Plumbing Code (IPC) guideline for a single standard showerhead for a maximum flow of 2.5 gpm.
Voir plusHow do I select the right KERDI-LINE-VARIO length of channel and grate if my drainage outlet is not centered?
KERDI-LINE-VARIO: needs to be placed such that the opening in the center of the channel is directly above the flange connected to the drainage outlet.
Voir plusTips on cutting the KERDI-LINE-VARIO channel and the grate?
For the channel, always measure from the center of the drain out to ensure a proper fit/alignment with the drain body. For the grate...
Voir plusDo I really need to tile the walls first before I install my KERDI-LINE-VARIO drain?
It’s recommended that you tile the walls first as this will make lining up the KERDI-LINE-VARIO drain easier...
Voir plusIs KERDI-LINE-VARIO acceptable for curbless shower applications?
Yes, however we do not recommend an entrance drain placement.
What is the minimum height that the KERDI-LINE-VARIO can be installed from the tray up?
The minimum height for installing the KERDI-LINE-VARIO is 3/8” (9.5 mm).
What is the purpose of the KERDI-LINE-VARIO cleaning brush?
The KERDI-LINE-VARIO cleaning brush is a useful tool not only if the homeowner wants to clean the “nooks and crannies” of the drain channel...
Voir plusDoes the KERDI-LINE-VARIO channel and grate assembly have to be installed wall-to-wall or can it be installed in shorter lengths?
No. The KERDI-LINE-VARIO channel and grate assembly does not need to be installed wall-to-wall. It may be installed at...
Voir plus
Product Evaluations and Listings
Schluter(R)-KERDI-LINE-VARIO is listed by UPC(R)
Schluter(R)-KERDI-LINE-VARIO is listed by ICC-ES - PMG-1204

Regarder et apprendre
À propos du produit
Schluter®-KERDI-LINE-VARIO: The Variable length linear drain!

Schluter®-KERDI-LINE-VARIO is TOTALLY ON TREND!

How to install the Schluter®-KERDI-LINE VARIO Linear Drain
Trouvez des didacticiels existants et des vidéos de documentation de projet pour apprendre comment tirer le meilleur parti de nos produits - pour plus de plaisir dans votre vie, commencez maintenant!
Regardez plus de vidéos / listes de lecture