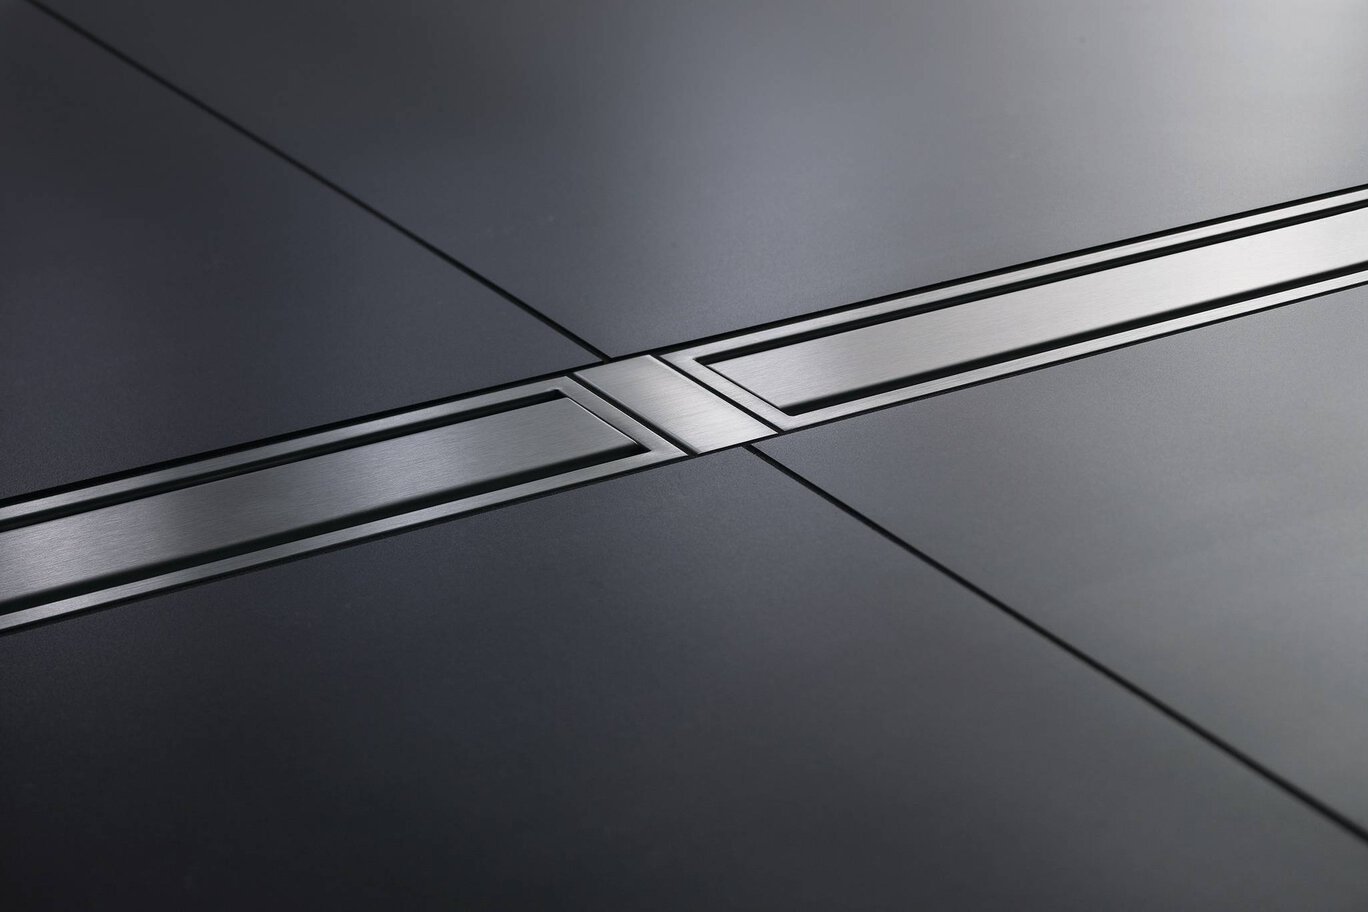
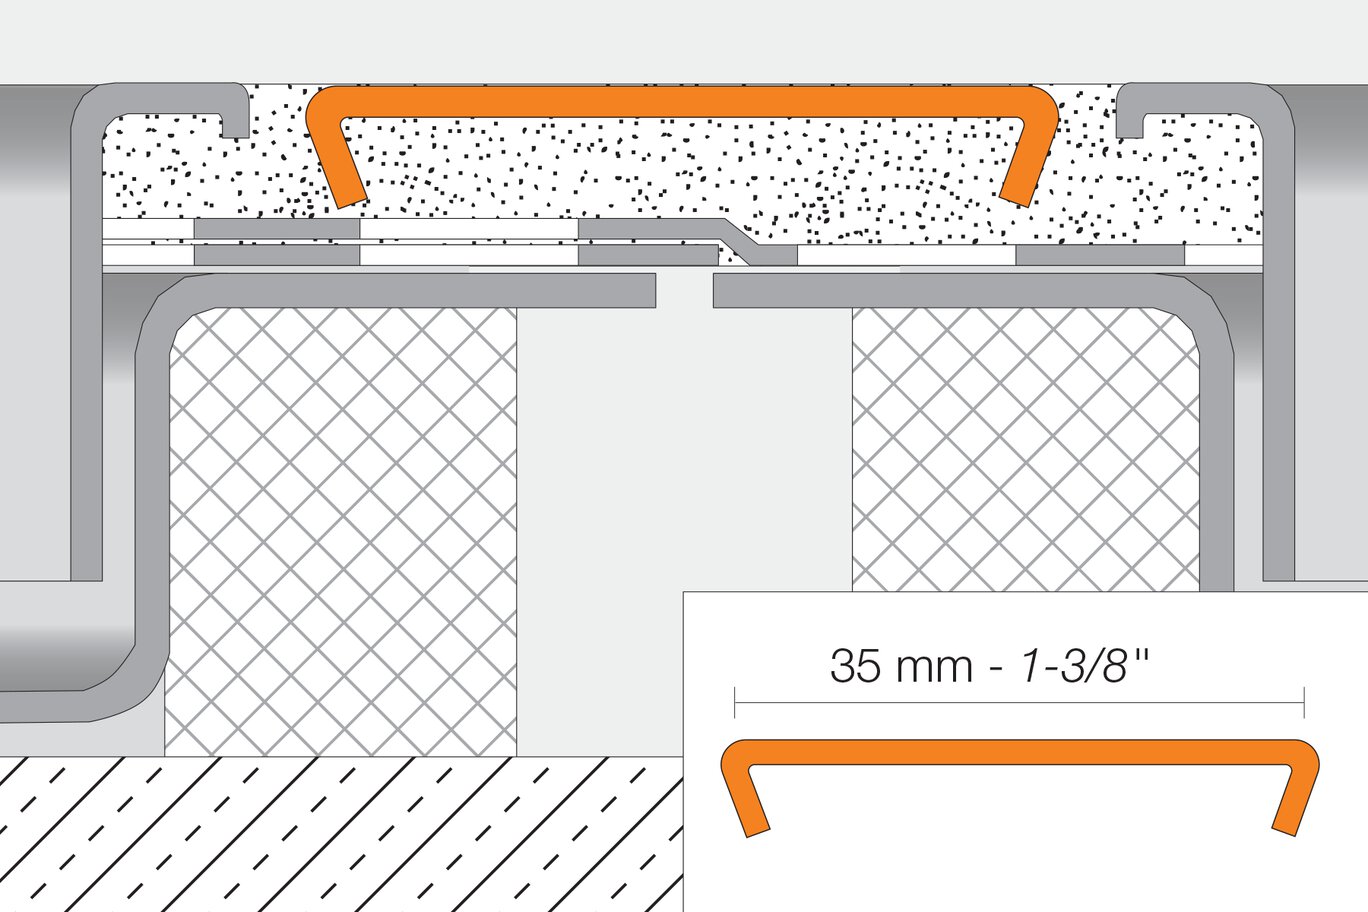
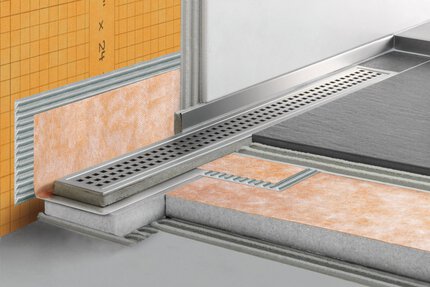
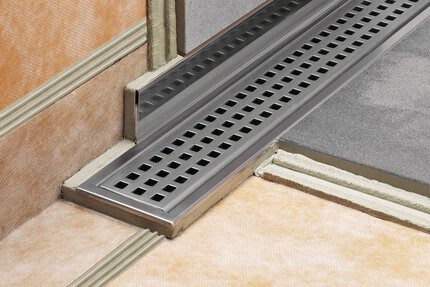
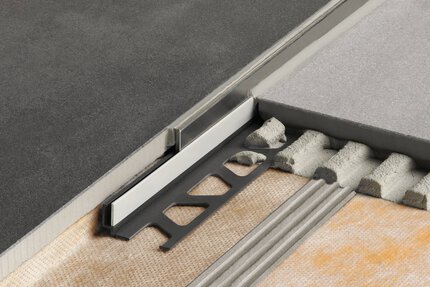
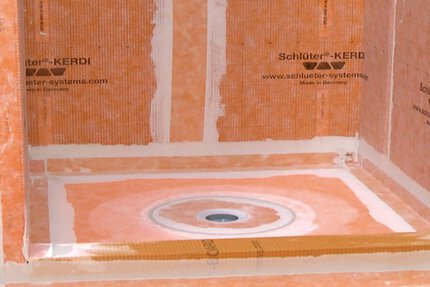
Schluter® KERDI-LINE-FC es una cubierta de acero inoxidable para utilizar con KERDI-LINE y crear un aspecto uniforme sin uniones cuando se instalan múltiples drenajes de punta a punta. KERDI-LINE-FC tiene un acabado cepillado, cromado o revestimiento de color texturizado y está diseñado para ser utilizado tanto con rejillas sólidas como perforadas con marco de acero inoxidable cepillado.
KERDI-LINE-FC requires no special maintenance and is resistant to mold and fungi. The grate may be removed to clean the drain housing and the drain pipes. Clean the grates and profiles using neutral cleaners. Avoid the use of strong acids (e.g., hydrochloric, hydrofluoric) and bases/alkaline cleaners (e.g., bleach ammonia, chlorides). Do not use abrasive cleaning agents and tools. Even stainless steel requires periodic cleaning, which will maintain a neat appearance and reduce the risk or corrosion. Stainless steel surfaces develop a sheen when treated with a chrome-polishing agent.
1. Install KERDI-LINE channel bodies end to end and overlap the KERDI collars using Schluter SET®, Schluter ALL-SET®, Schluter FAST-SET®, or unmodified thin-set mortar to ensure a waterproof connection. KERDI-LINE-FC is subsequently installed in conjunction with the KERDI-LINE grate assembly and adjacent tiles.
Note: KERDI-LINE-FC may be used with tiles that are 1/4" (6 mm) thick or greater.
2. Apply a sufficient amount of thin-set mortar to the substrate and/or the back of KERDI-LINE-FC and press the profile into the mortar until its surface is flush with the adjacent tile and grate assembly.
3 Leave a space of approximately 1/16" – 1/8" (1.5 – 3 mm).
4. Fill the joints completely with grout or setting material. Tileable Covering Support
Wall Installation
1. Peel protective foil off the cover strip and adhere the strip to the bonding flange adjacent to the wall(s). Position the strip along the edge of the channel. The cover strip hides and protects the KERDI surface under the tile.
2. Insert the tile spacers into the channel body. Install the surrounding tile on the adjoining walls and mortar bed up to the spacers using Schluter SET®, Schluter ALL-SET®, Schluter FAST-SET®, or unmodified thin-set mortar, ensuring full coverage. Remove all excess setting material.
3. Apply tile to the top of the covering support using Schluter SET®, Schluter ALL-SET®, Schluter FAST-SET®, or unmodified thin-set mortar. The tile is installed flush with the front side of the covering support to provide the drainage opening and overhanging the back side of the covering support to cover the bonding flange along the wall. Measure and cut the tile such that an approximate 1/16" (1 mm) gap is left at the wall. When the ends of the channel body are located adjacent to walls, the tile is installed overhanging the end of the plate to cover the bonding flange along the walls. Measure and cut the tile such that an approximate 1/16" (1 mm) gap is left at the walls.
Note: When the mortar bed is tiled beyond the ends of the channel, the tile on the ends of the covering support can be cut to either match the grout joints of the surrounding floor covering or to provide a perimeter drainage opening.
Intermediate Installation
1. When the ends of the channel body are located adjacent to walls, peel protective foil off the cover strip and adhere the strip to the bonding flange adjacent to the walls. Position the strip along the edge of the channel. The cover strip hides and protects the KERDI surface under the tile. When the mortar bed will be tiled beyond the ends of the channel, the cover strip is not required.
2. Insert the tile spacers into the channel body. Install the surrounding tile on the adjoining walls (if applicable) and mortar bed up to the spacers using Schluter SET®, Schluter ALL-SET®, Schluter FAST-SET®, or unmodified thin-set mortar, ensuring full coverage. Remove all excess setting material.
3. Apply tile to the top of the covering support using thin-set mortar. The tile is installed flush with the front and back of the covering support to provide the drainage openings. When the ends of the channel body are located adjacent to walls, the tile is installed overhanging the end of the plate to cover the bonding flange along the wall. Measure and cut the tile such that an approximate 1/16" (1 mm) gap is left at the wall. Note: When the mortar bed is tiled beyond the ends of the channel, the tile on the ends of the covering support can be cut to either match the grout joints of the surrounding floor covering or to provide perimeter drainage openings.
Note: For acid-resistant coverings, use an epoxy adhesive to set and grout the tile.